food photography


Food Photography
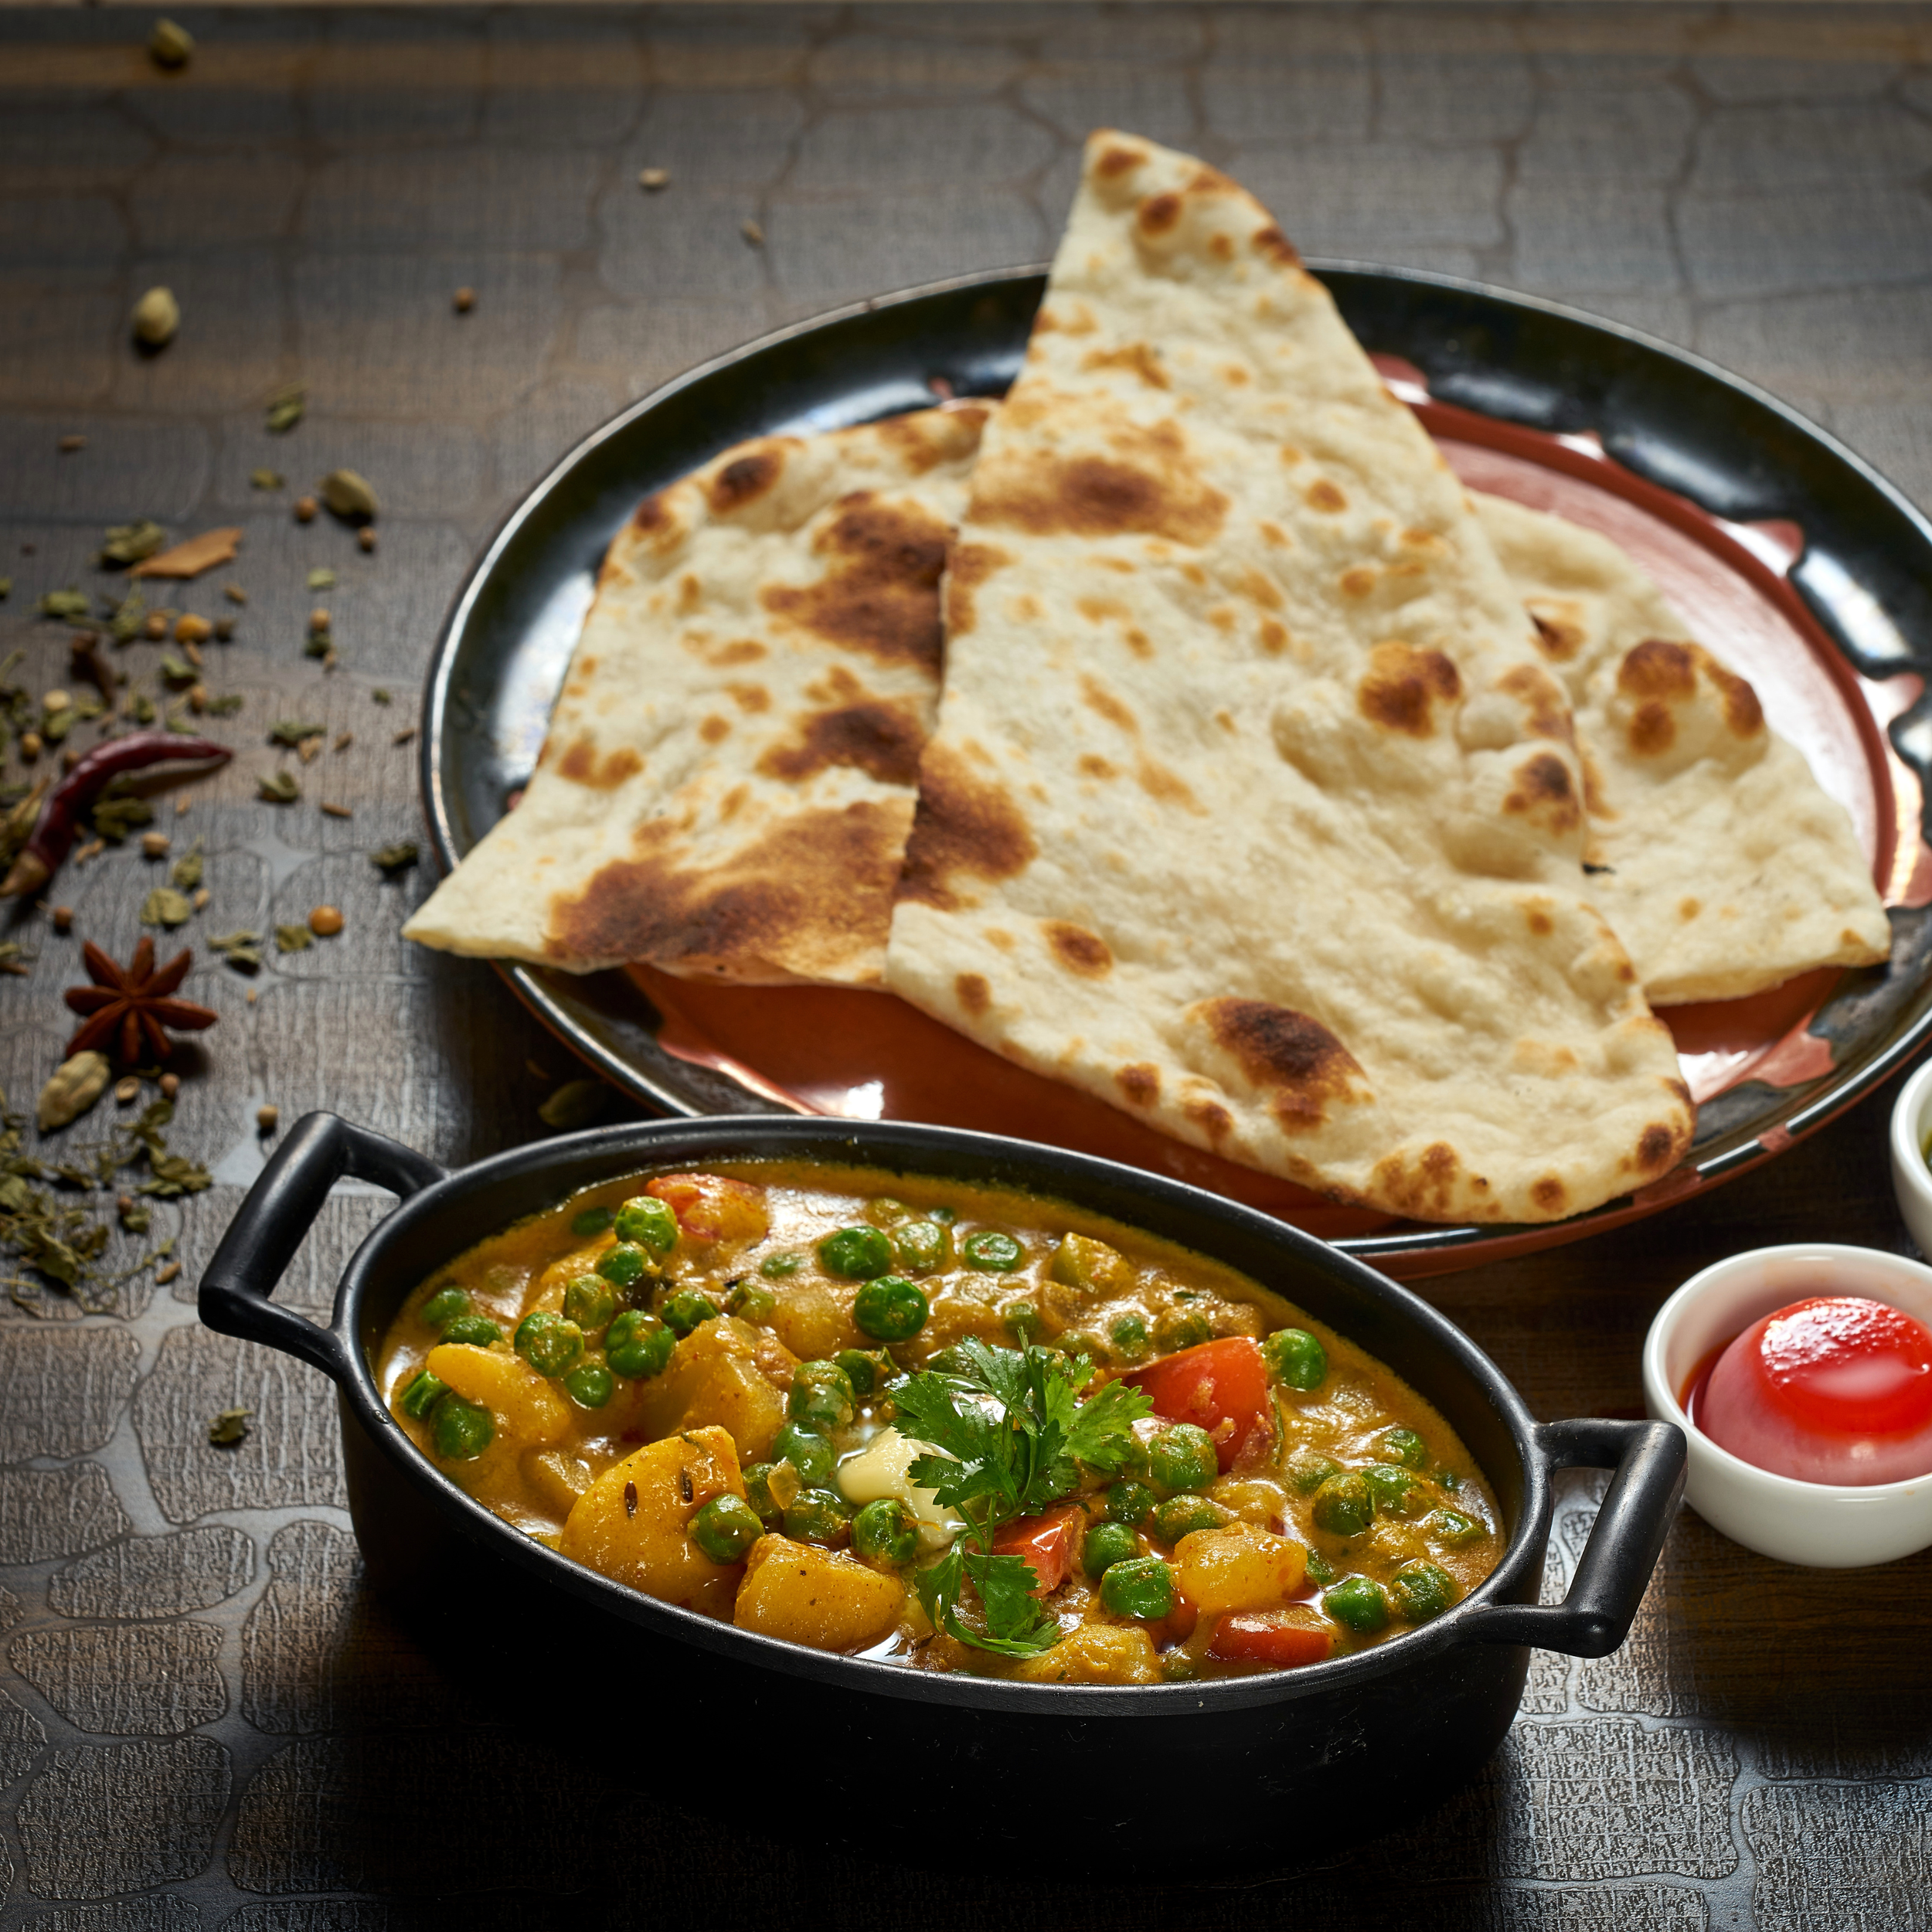
Food photography is about more than making a dish look appetizing — it's storytelling through texture, color, and light. Whether you’re photographing for a restaurant menu, social media, a cookbook, or product packaging, strong food images communicate taste, mood, and brand identity. Below are practical tips and creative directions to elevate your food photography.
Lighting
Use natural light when possible. Soft, diffused window light (from the side or back) creates appealing highlights and gentle shadows that reveal texture.
For consistent results, shoot near a large north-facing window or diffuse direct sunlight with a sheer curtain or a DIY diffuser.
Use reflectors (white foam core or a silver card) to fill shadows and add catchlights. Black cards absorb light to deepen shadows for dramatic shots.
For commercial work, supplement natural light with continuous LED panels for color consistency and control.
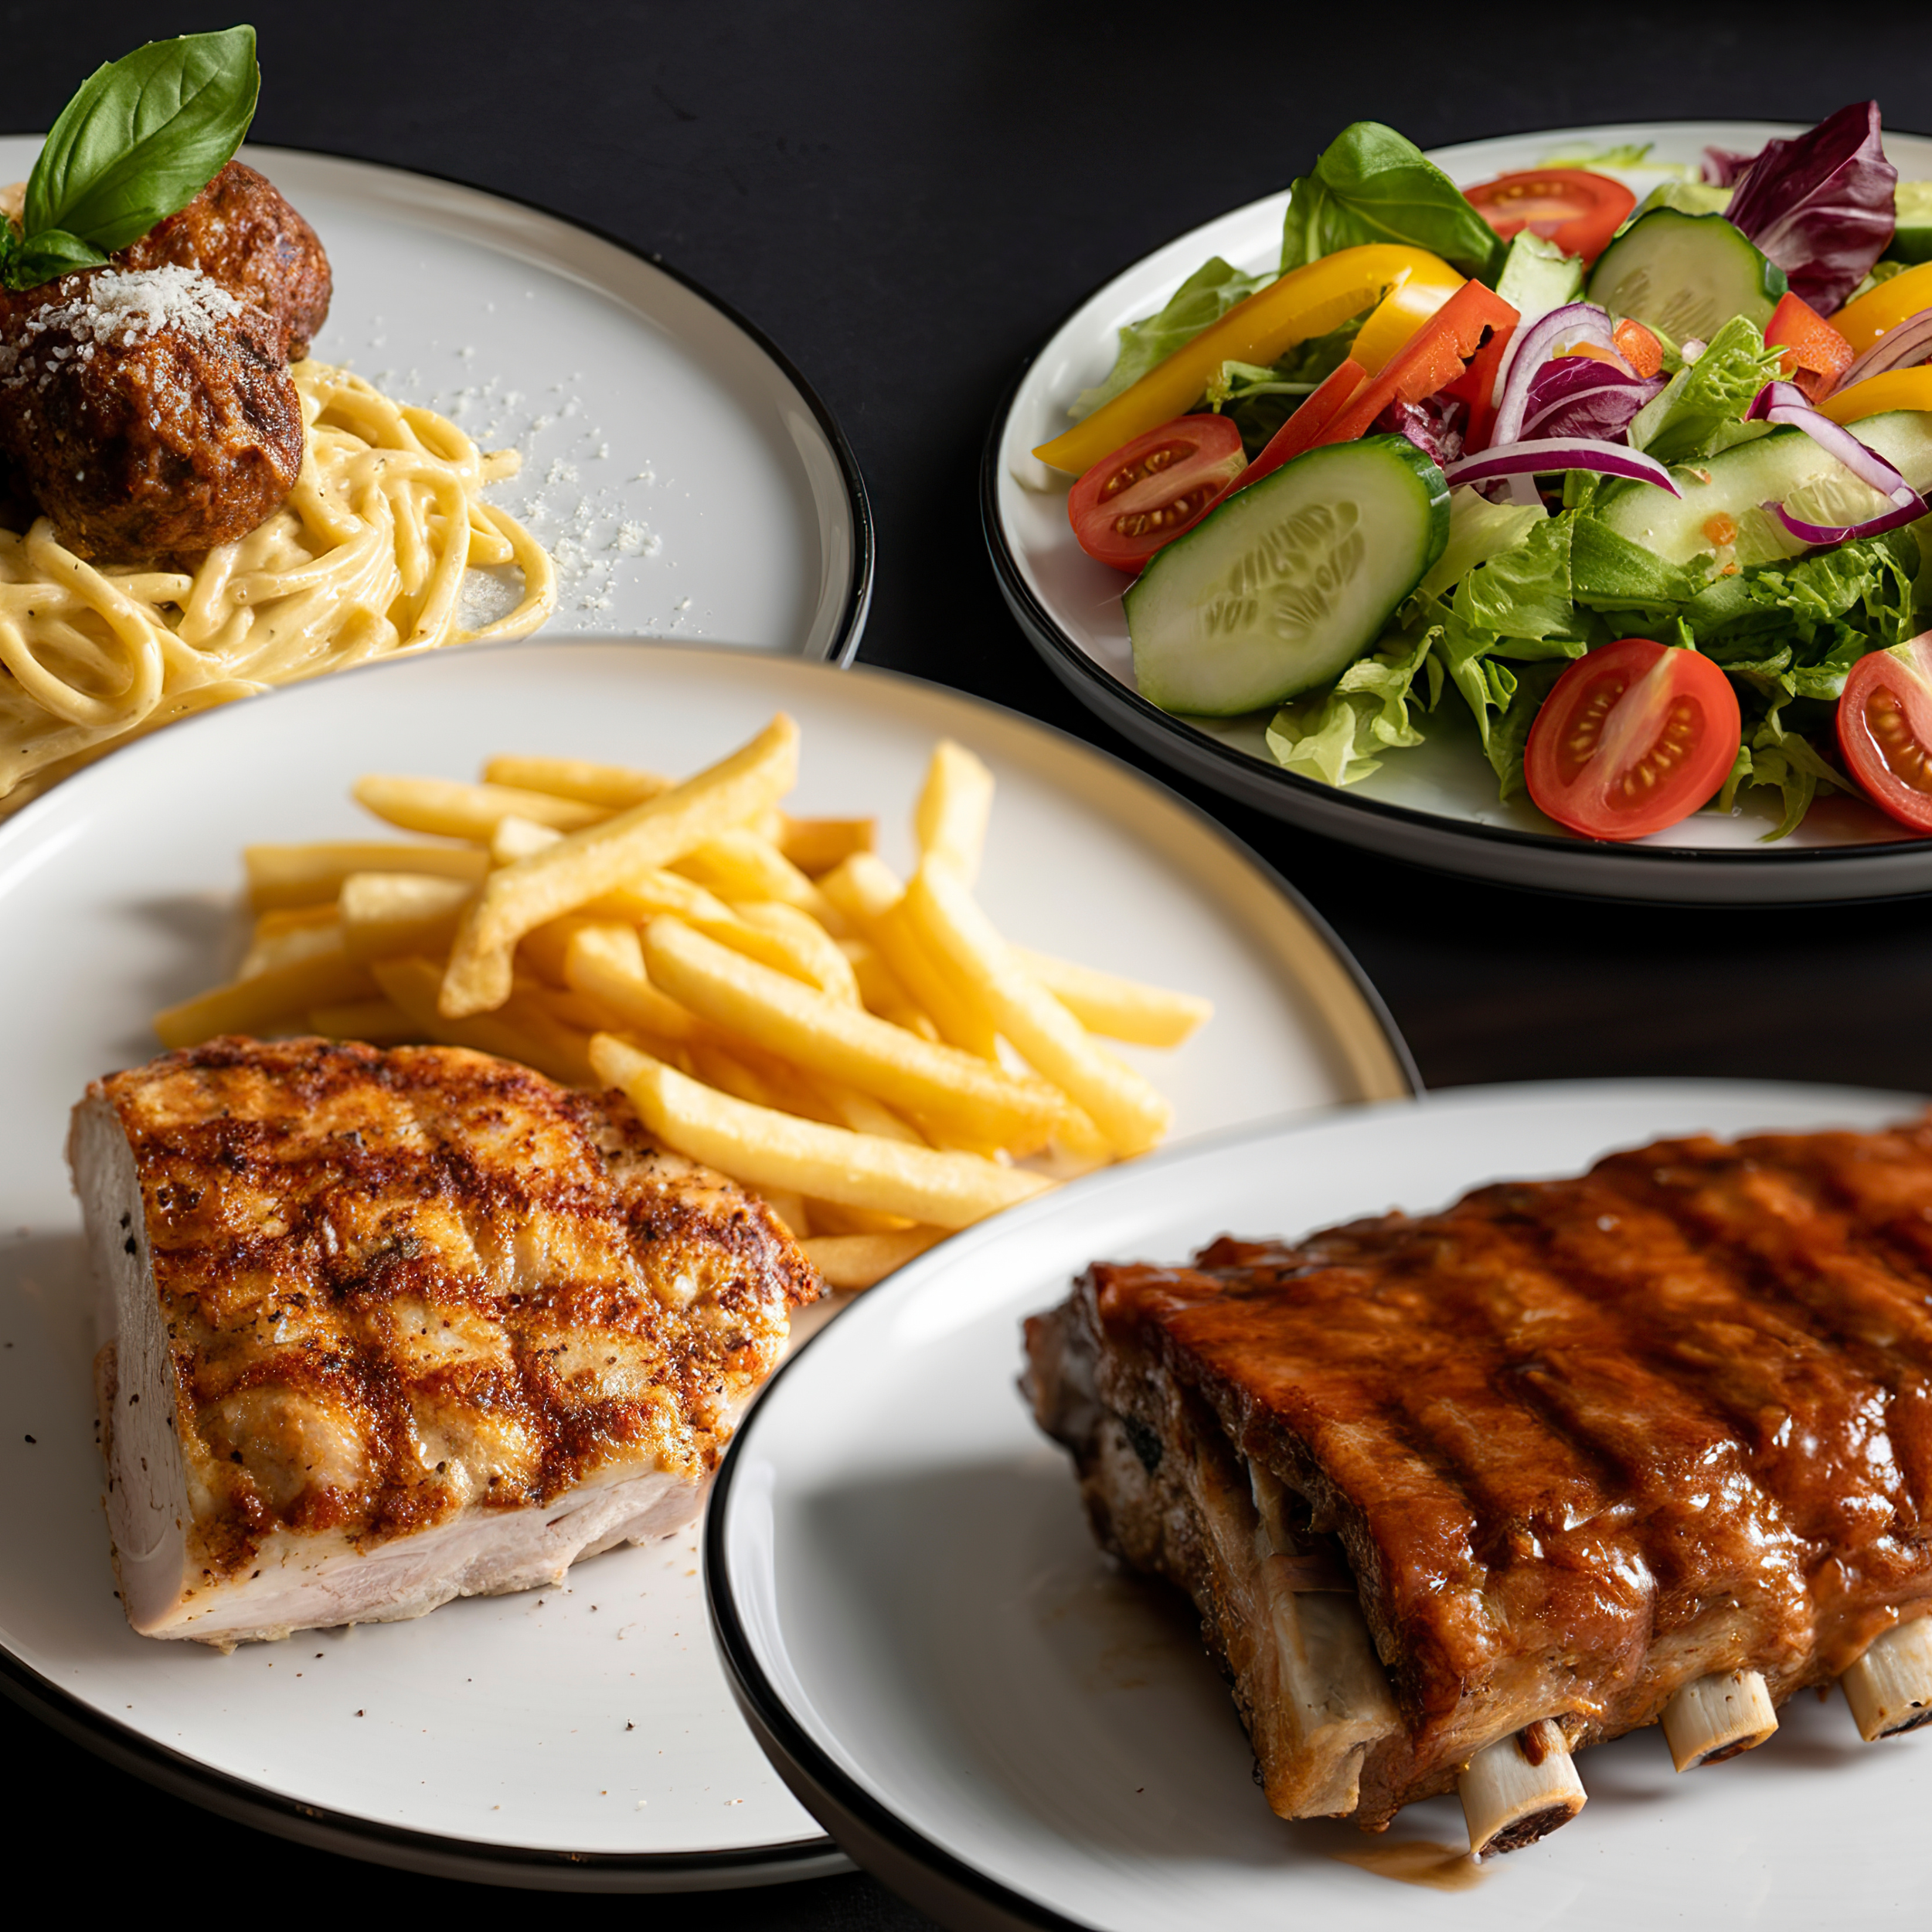
Composition & Styling
Start with a clear concept—comfort, freshness, indulgence, or speed—and choose props that support it.
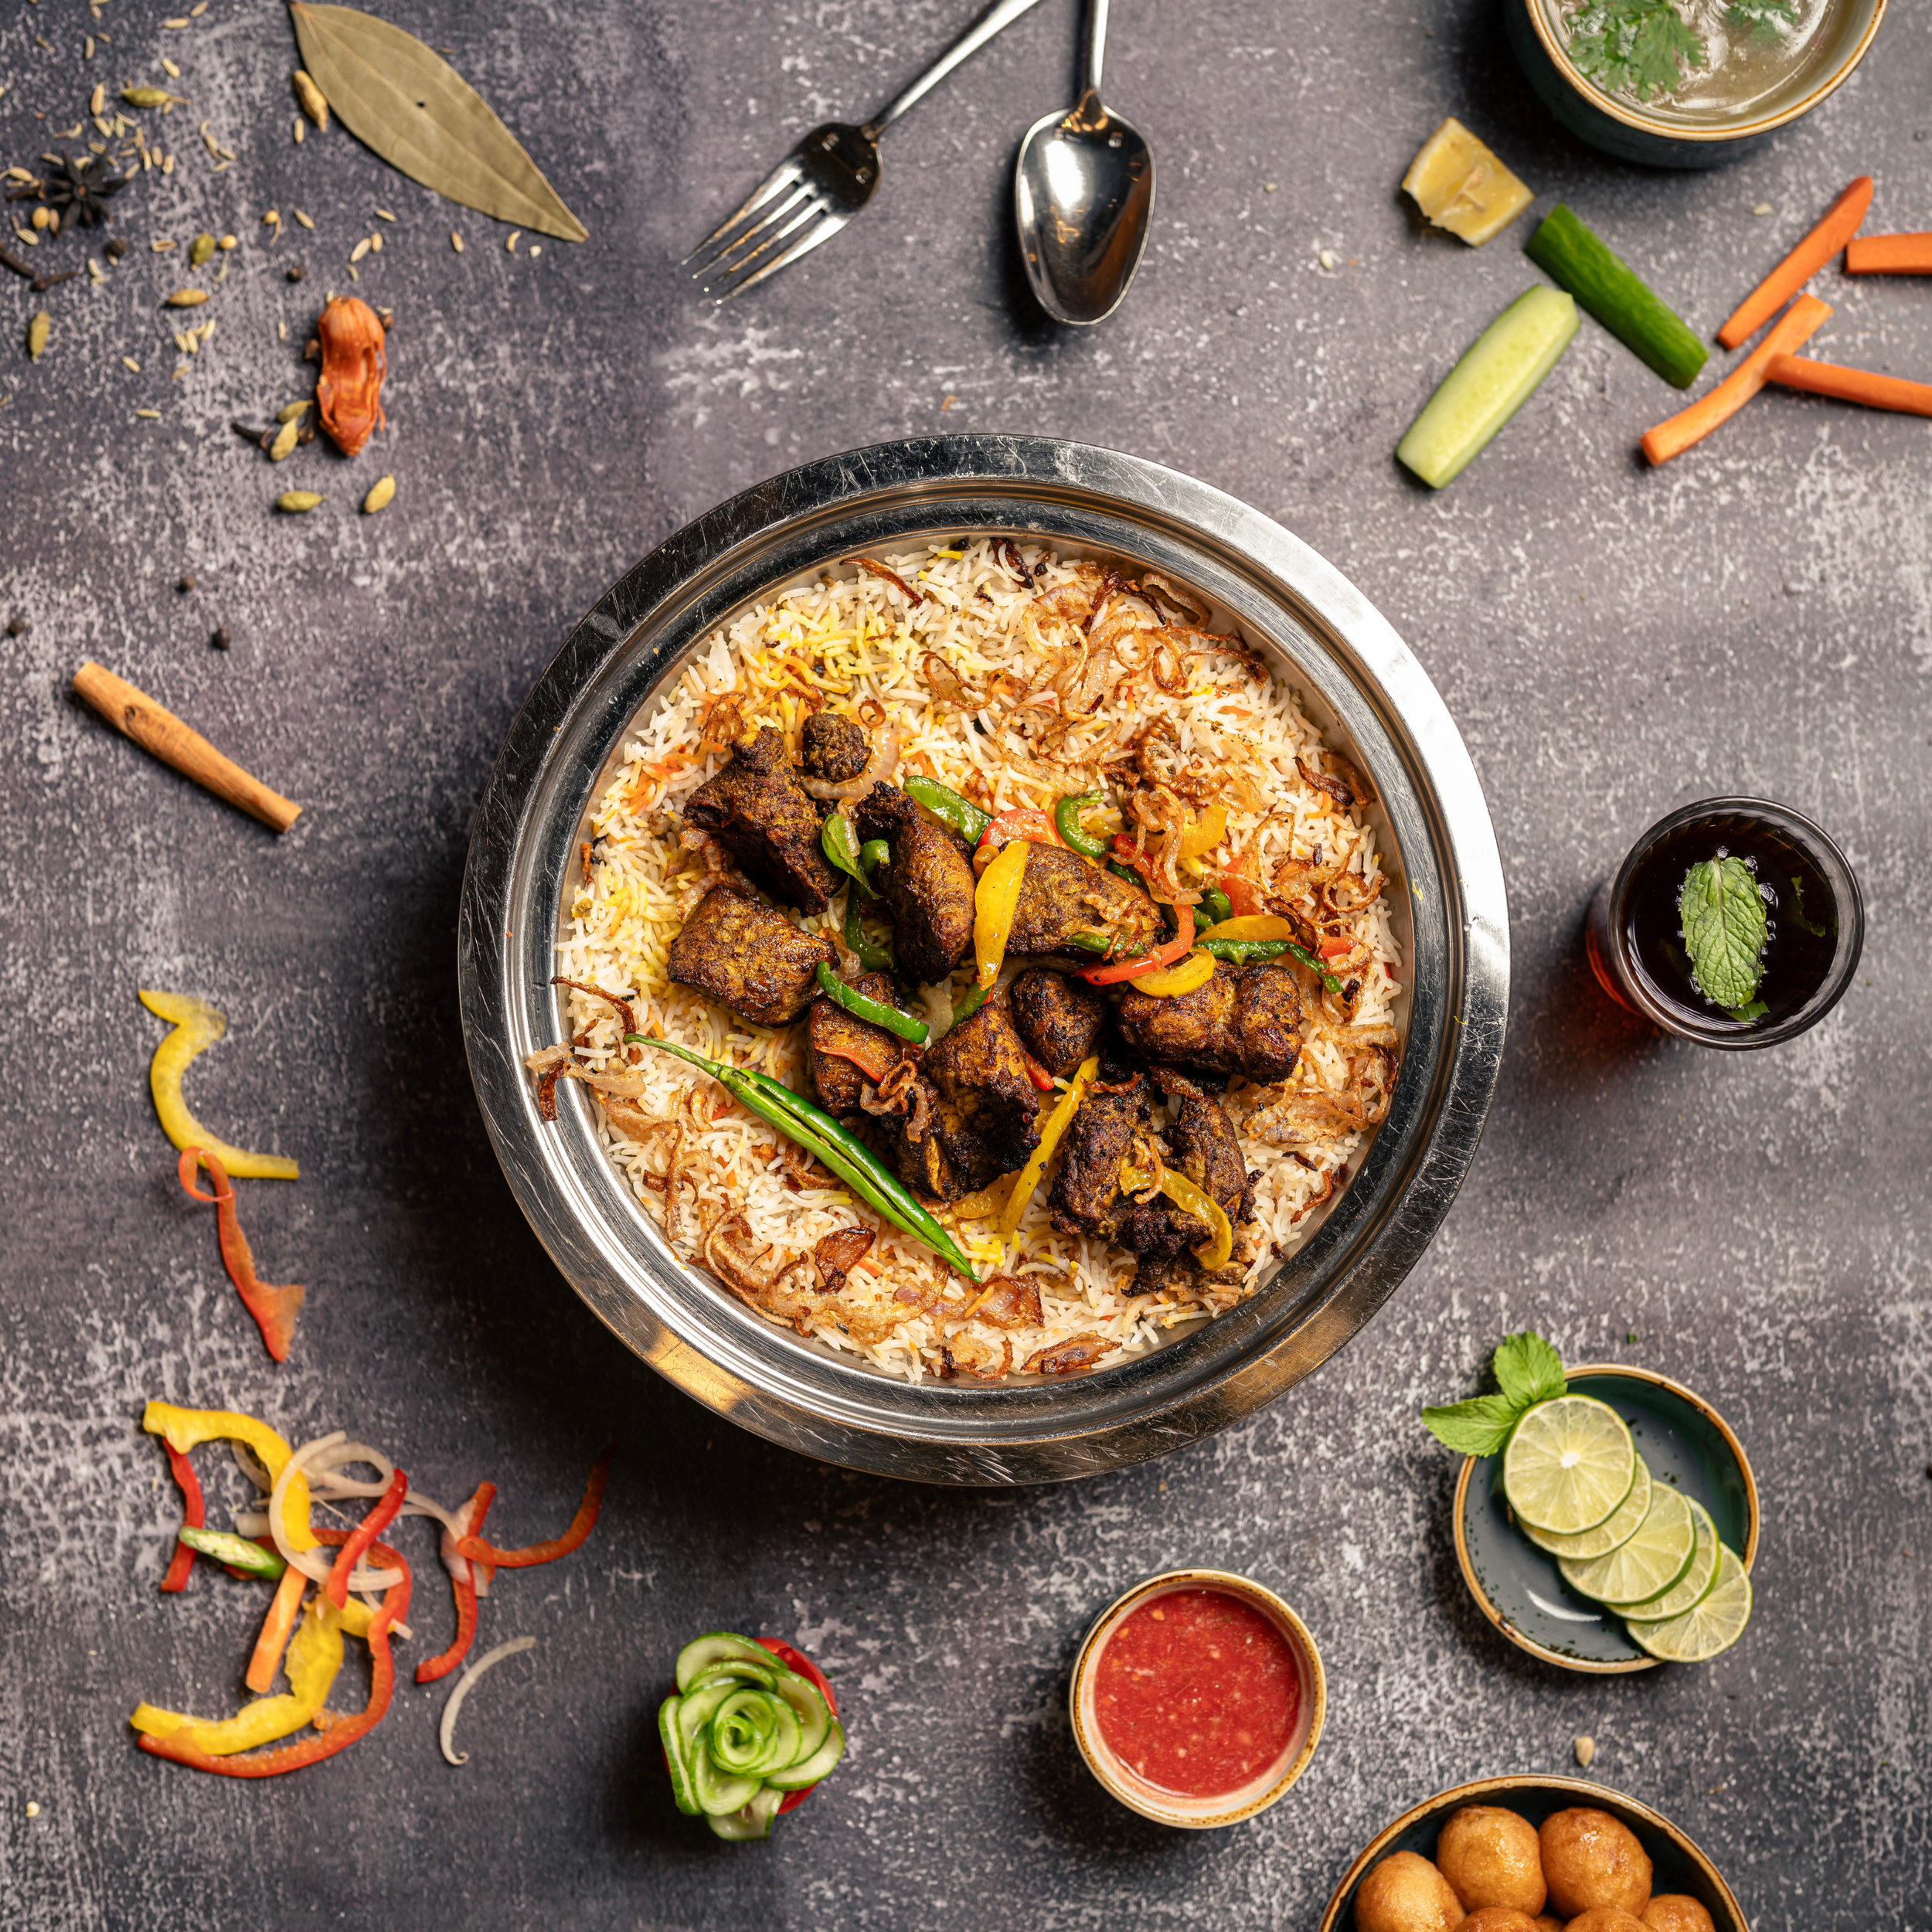
Use the rule of thirds but don’t be afraid to break it. Overhead (flat-lay), 45-degree, and eye-level angles each tell different stories:
Overhead: great for bowls, pizzas, spreads, flat arrangements.
45-degree: versatile for plates and showing height.
Eye-level: ideal for drinks, burgers, stacked items.
Lead the viewer’s eye with lines, utensils, napkins, and garnishes. Negative space can emphasize a single subject.
Keep props cohesive in color and material; avoid overly busy backgrounds that compete with the food.
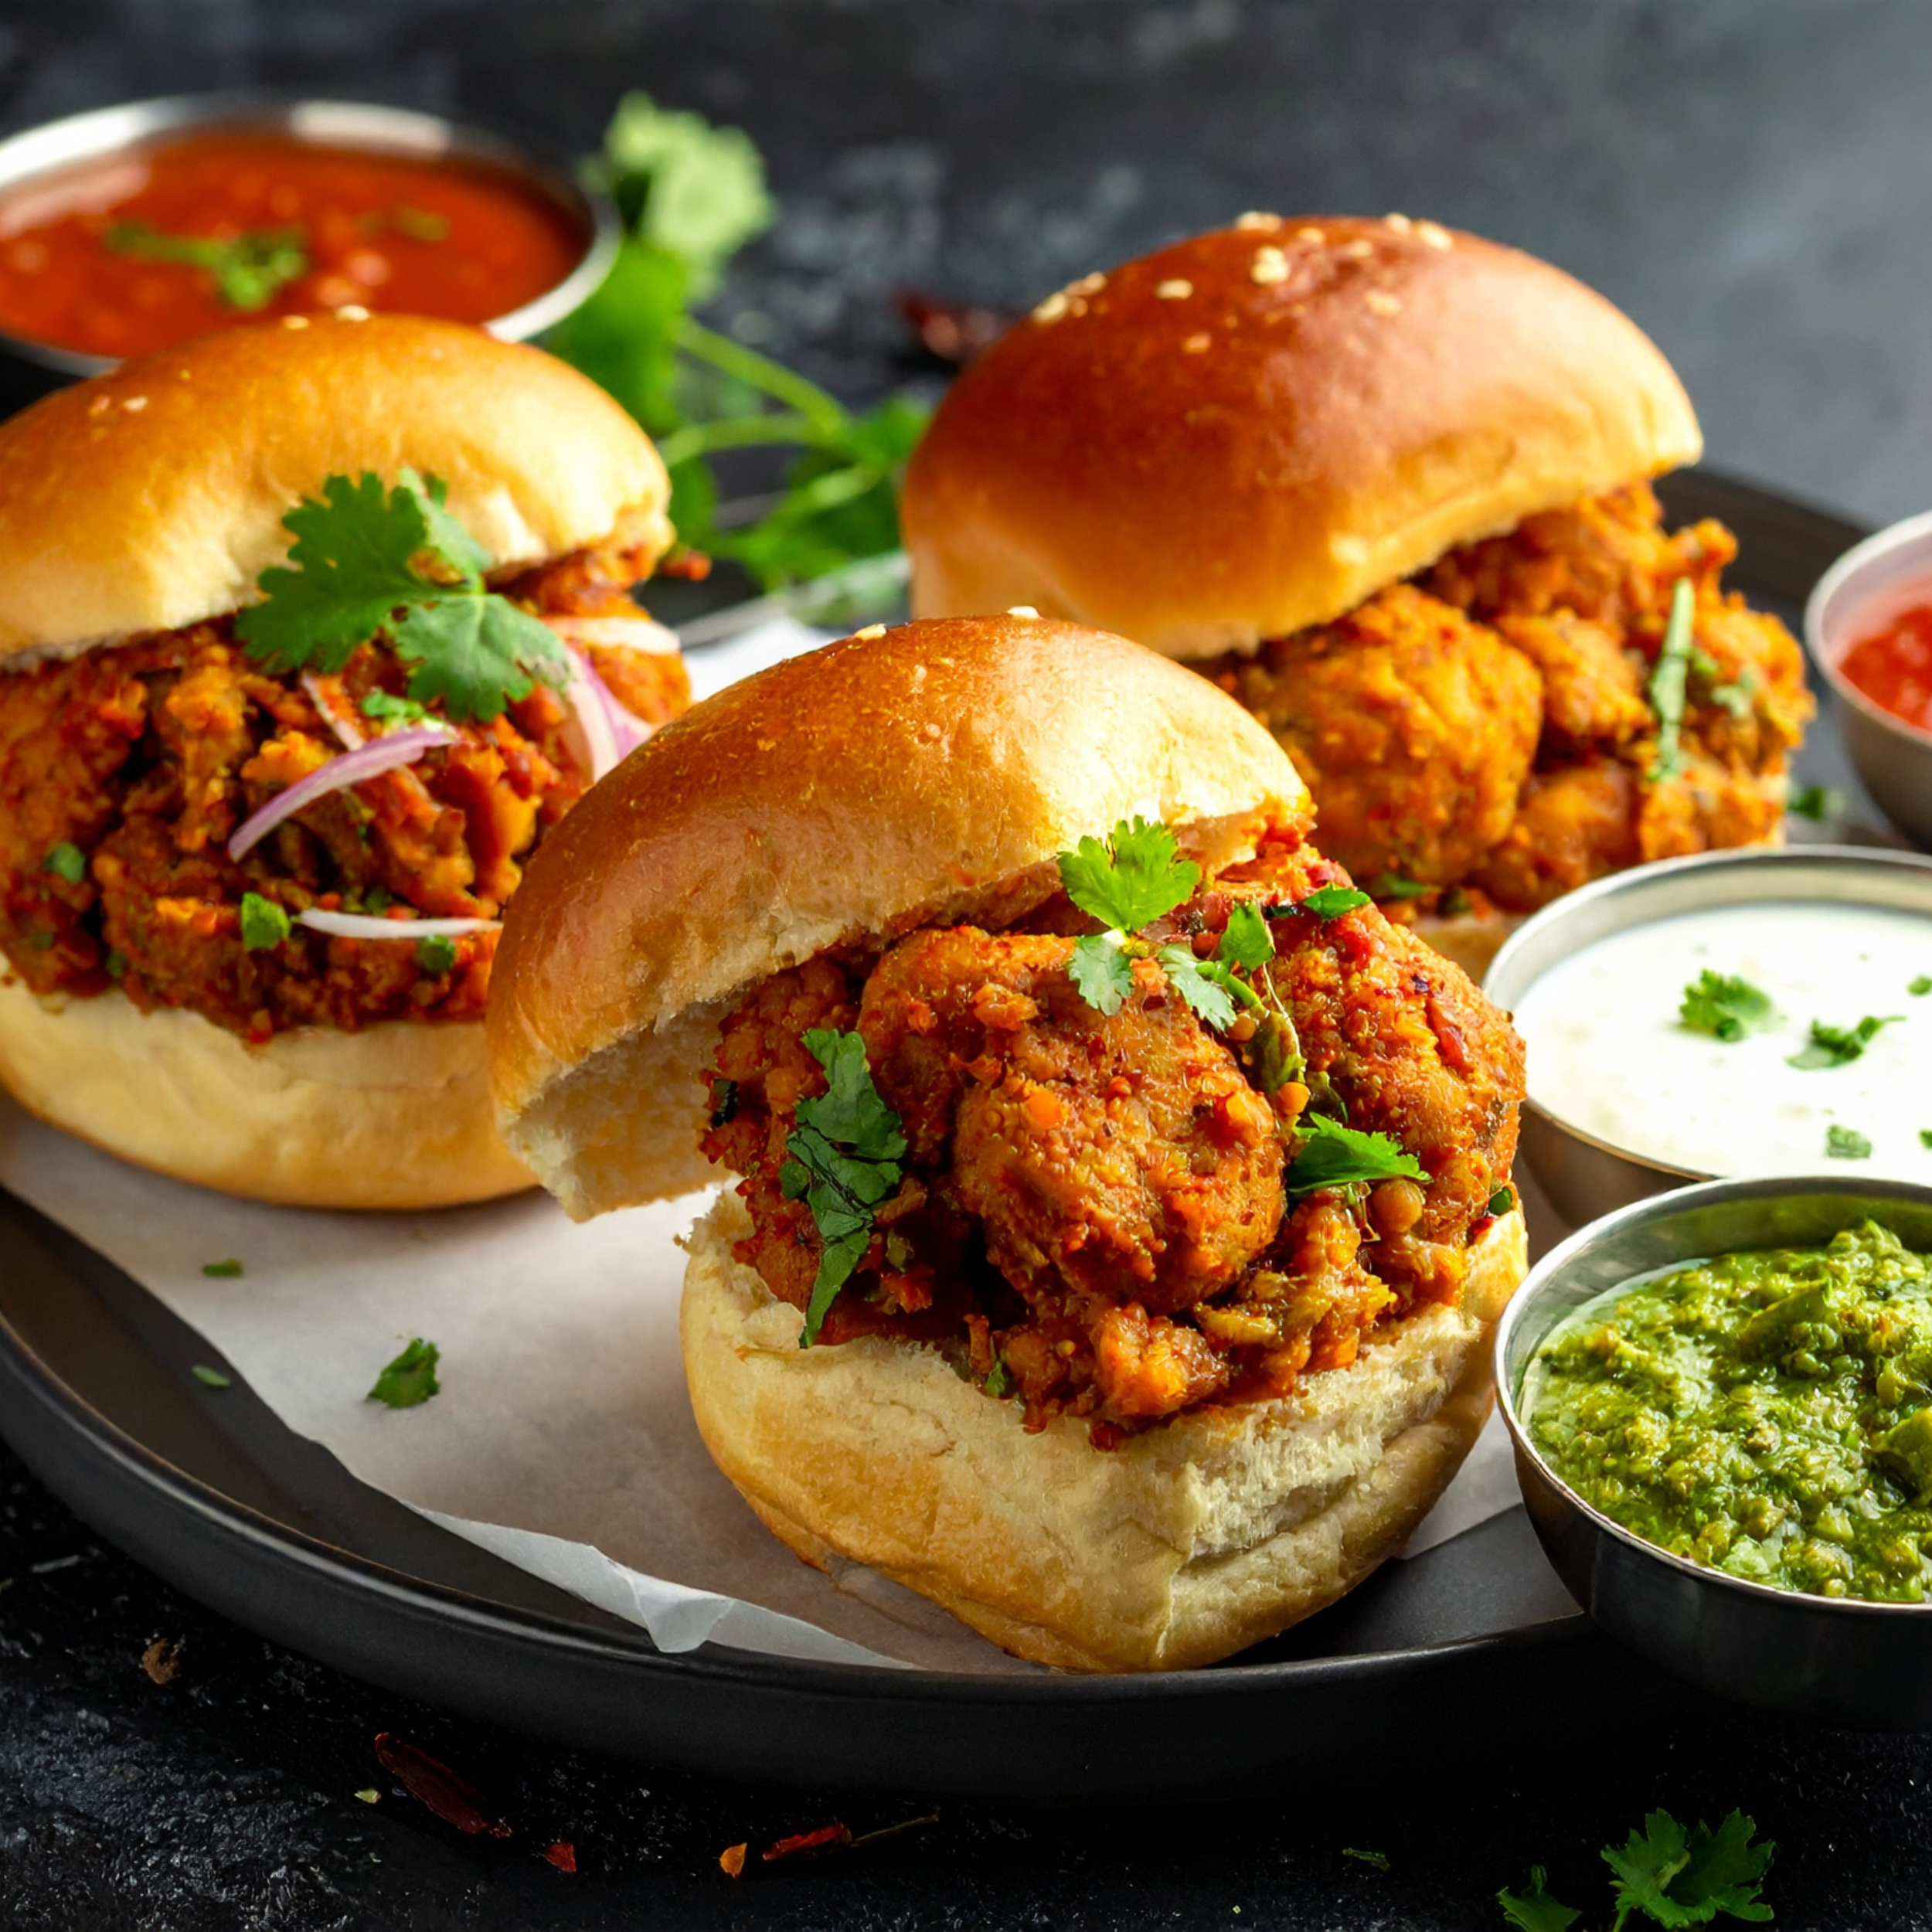
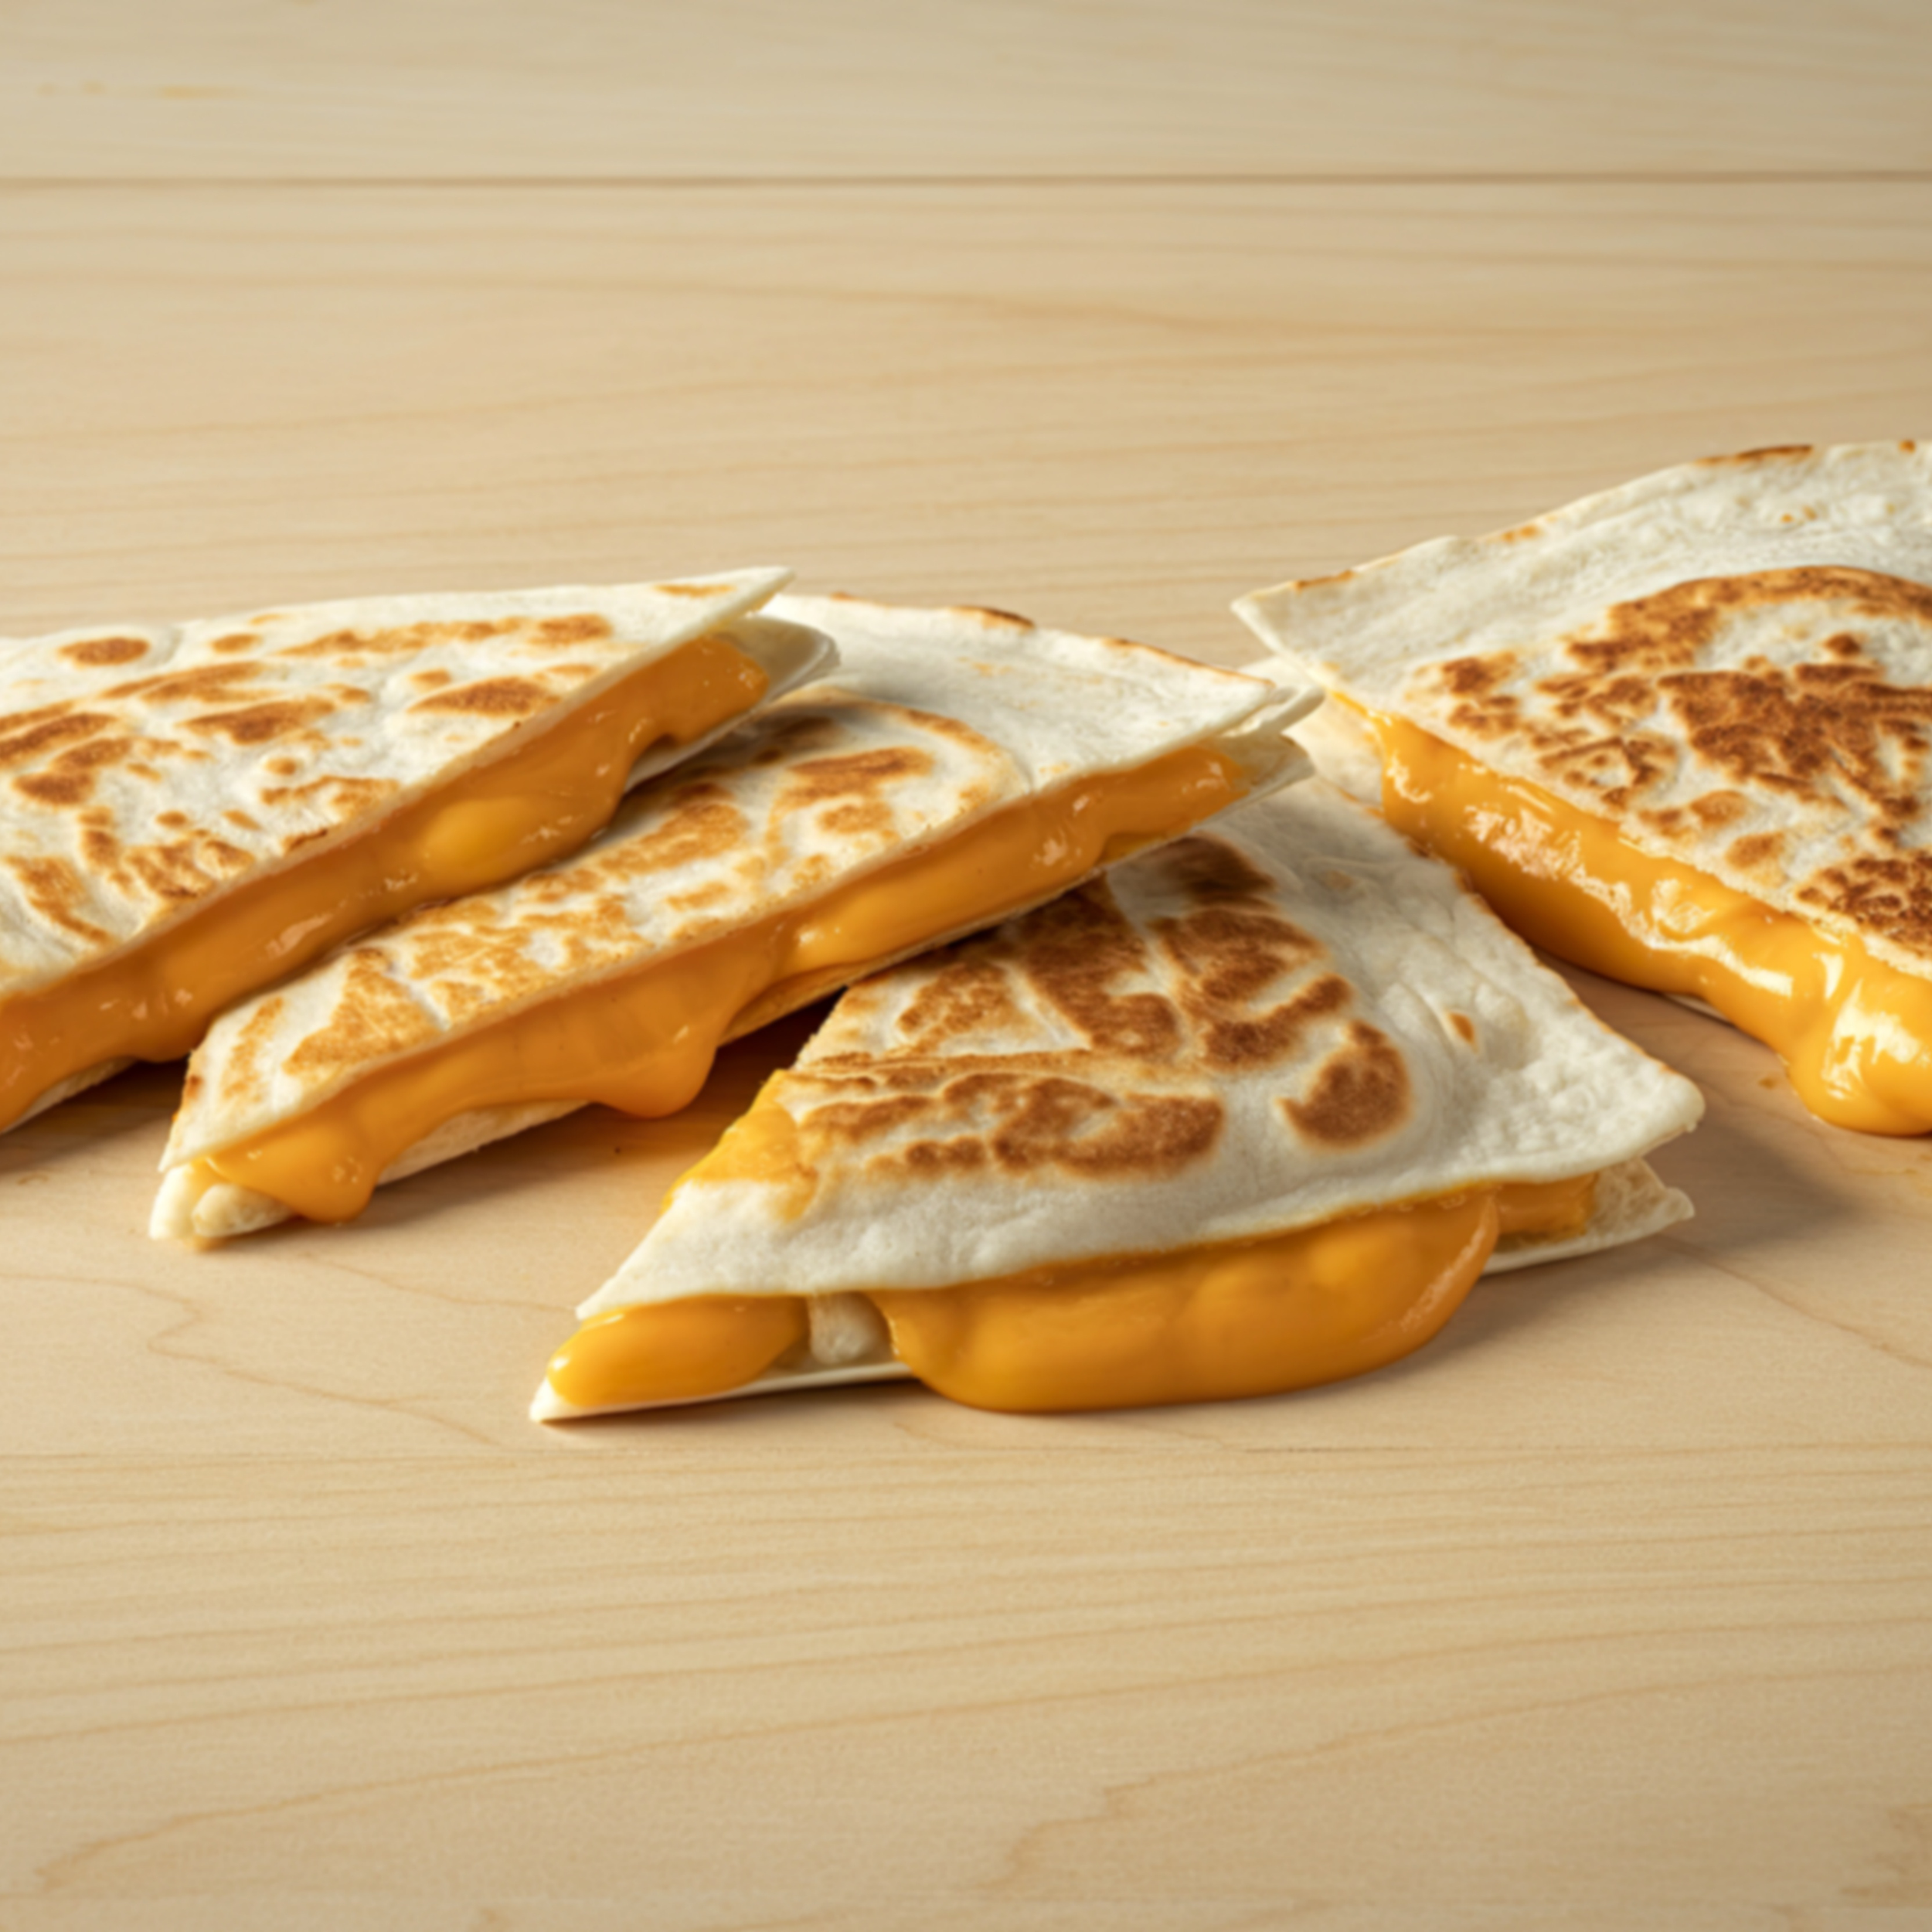
Color & Texture
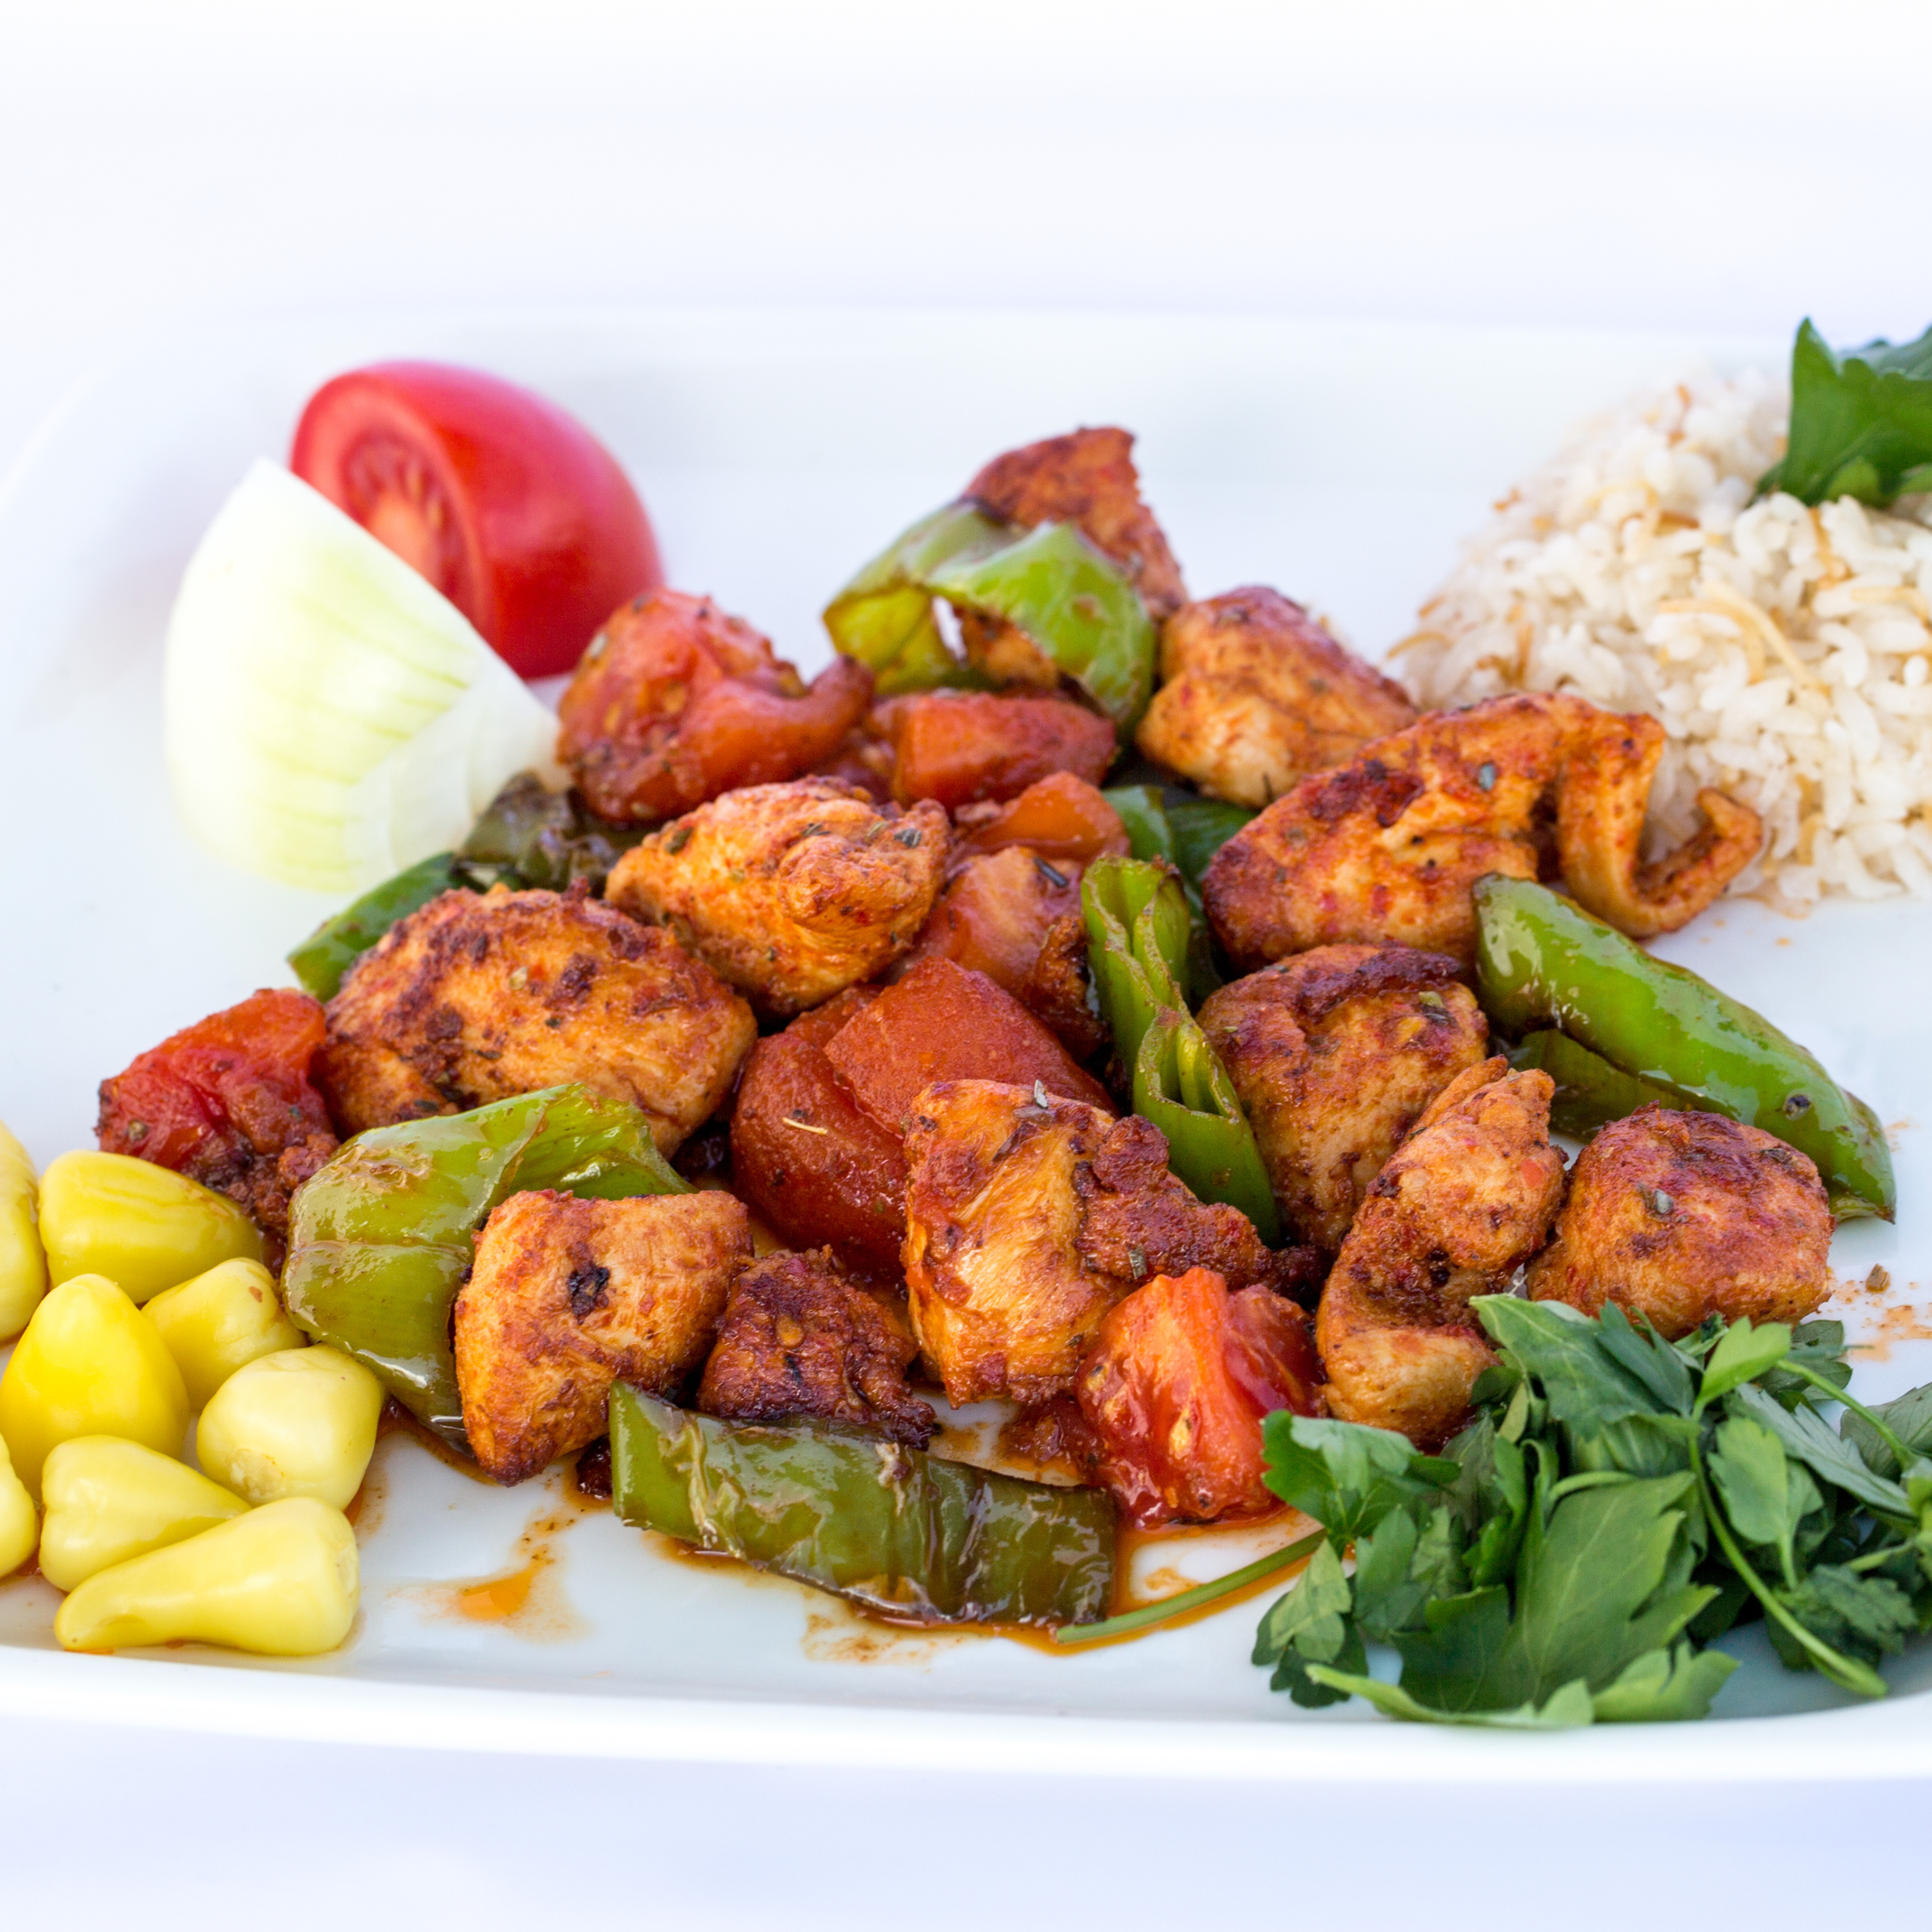
Emphasize contrast between food and background. Bright, fresh ingredients pop on muted plates; rich, warm dishes work on dark or textured surfaces.
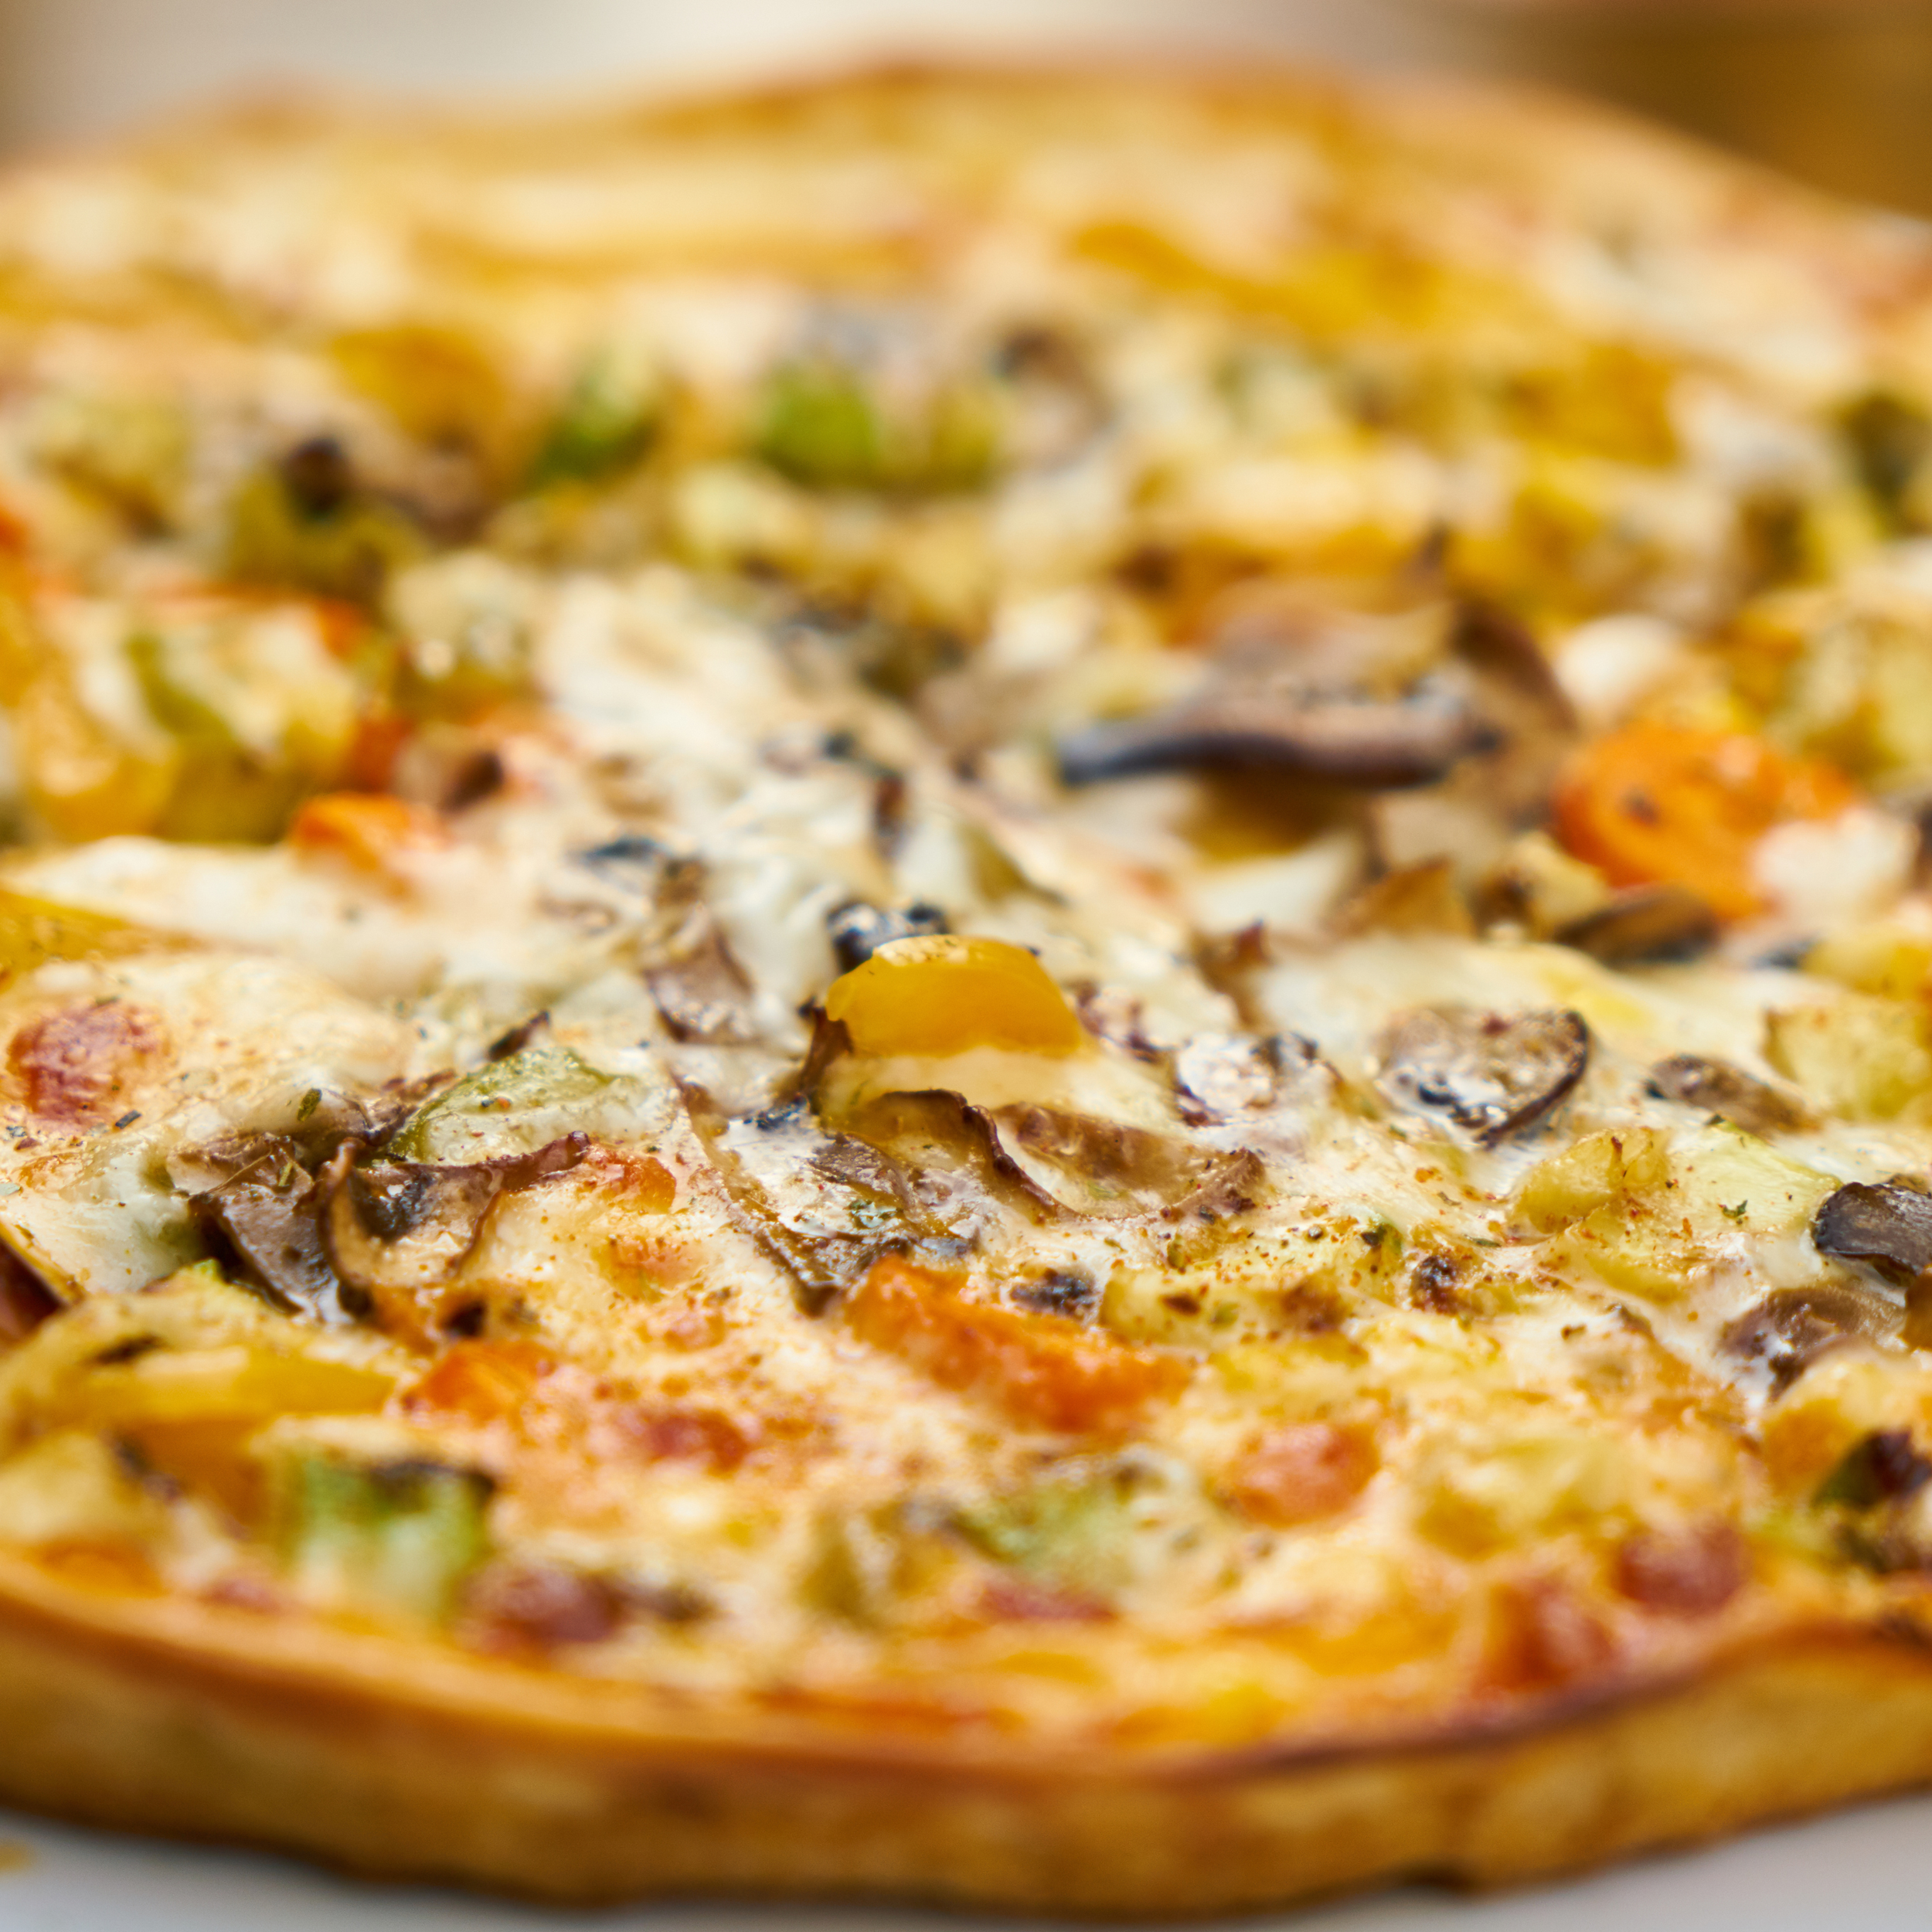
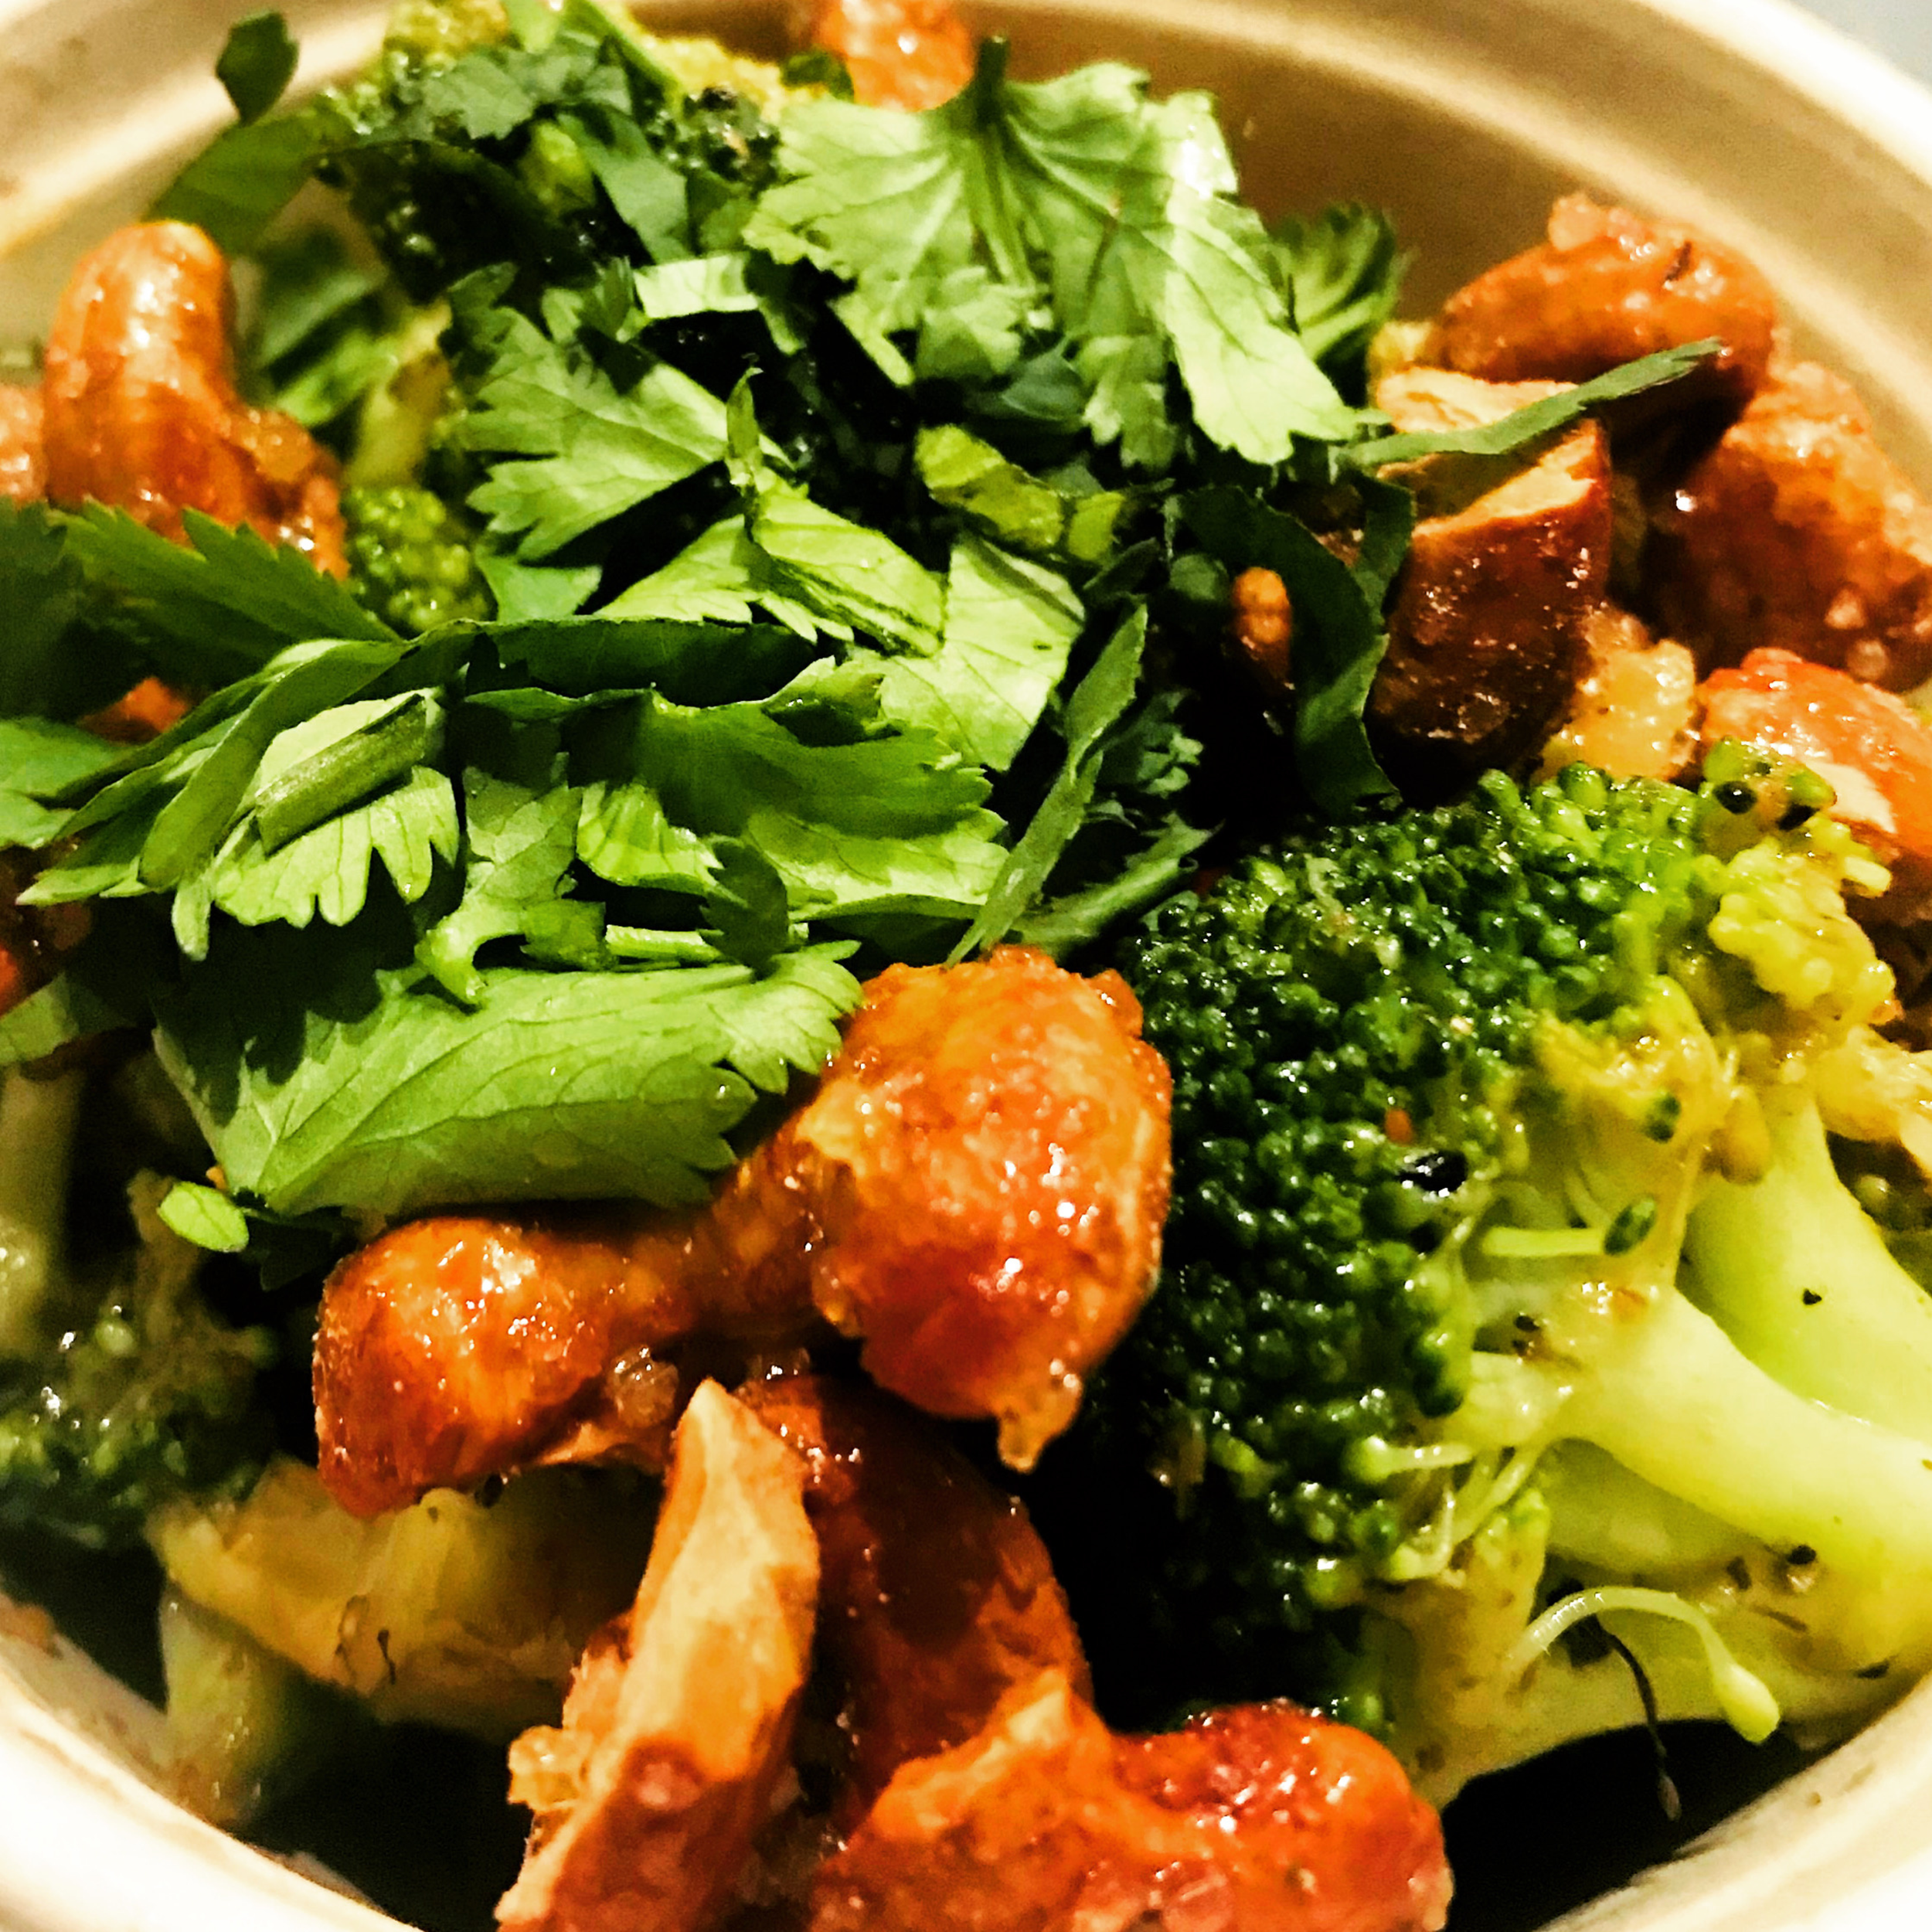
Highlight texture—crispy edges, steam, gloss from sauces—using angled light. Capture micro-details with close-ups and shallow depth of field.
Consider color theory: complementary colors (e.g., red tomato and green basil) create vibrancy; monochromatic palettes feel elegant and minimalist.
Camera Settings & Equipment
Use a tripod for consistency and sharpness, especially in low light or when shooting multiple frames for editing.
Aperture: f/2.8–f/5.6 for selective focus; f/8–f/11 for group shots or whole spreads.
Shutter speed: keep it fast enough to avoid motion blur for handheld shots; use longer exposures on a tripod for low-light scenes.
ISO: keep as low as possible to reduce noise; increase only when necessary.
Lenses: 50mm and 85mm primes for tight portraits and detail; 24–70mm for flexibility; 100mm macro for extreme close-ups.
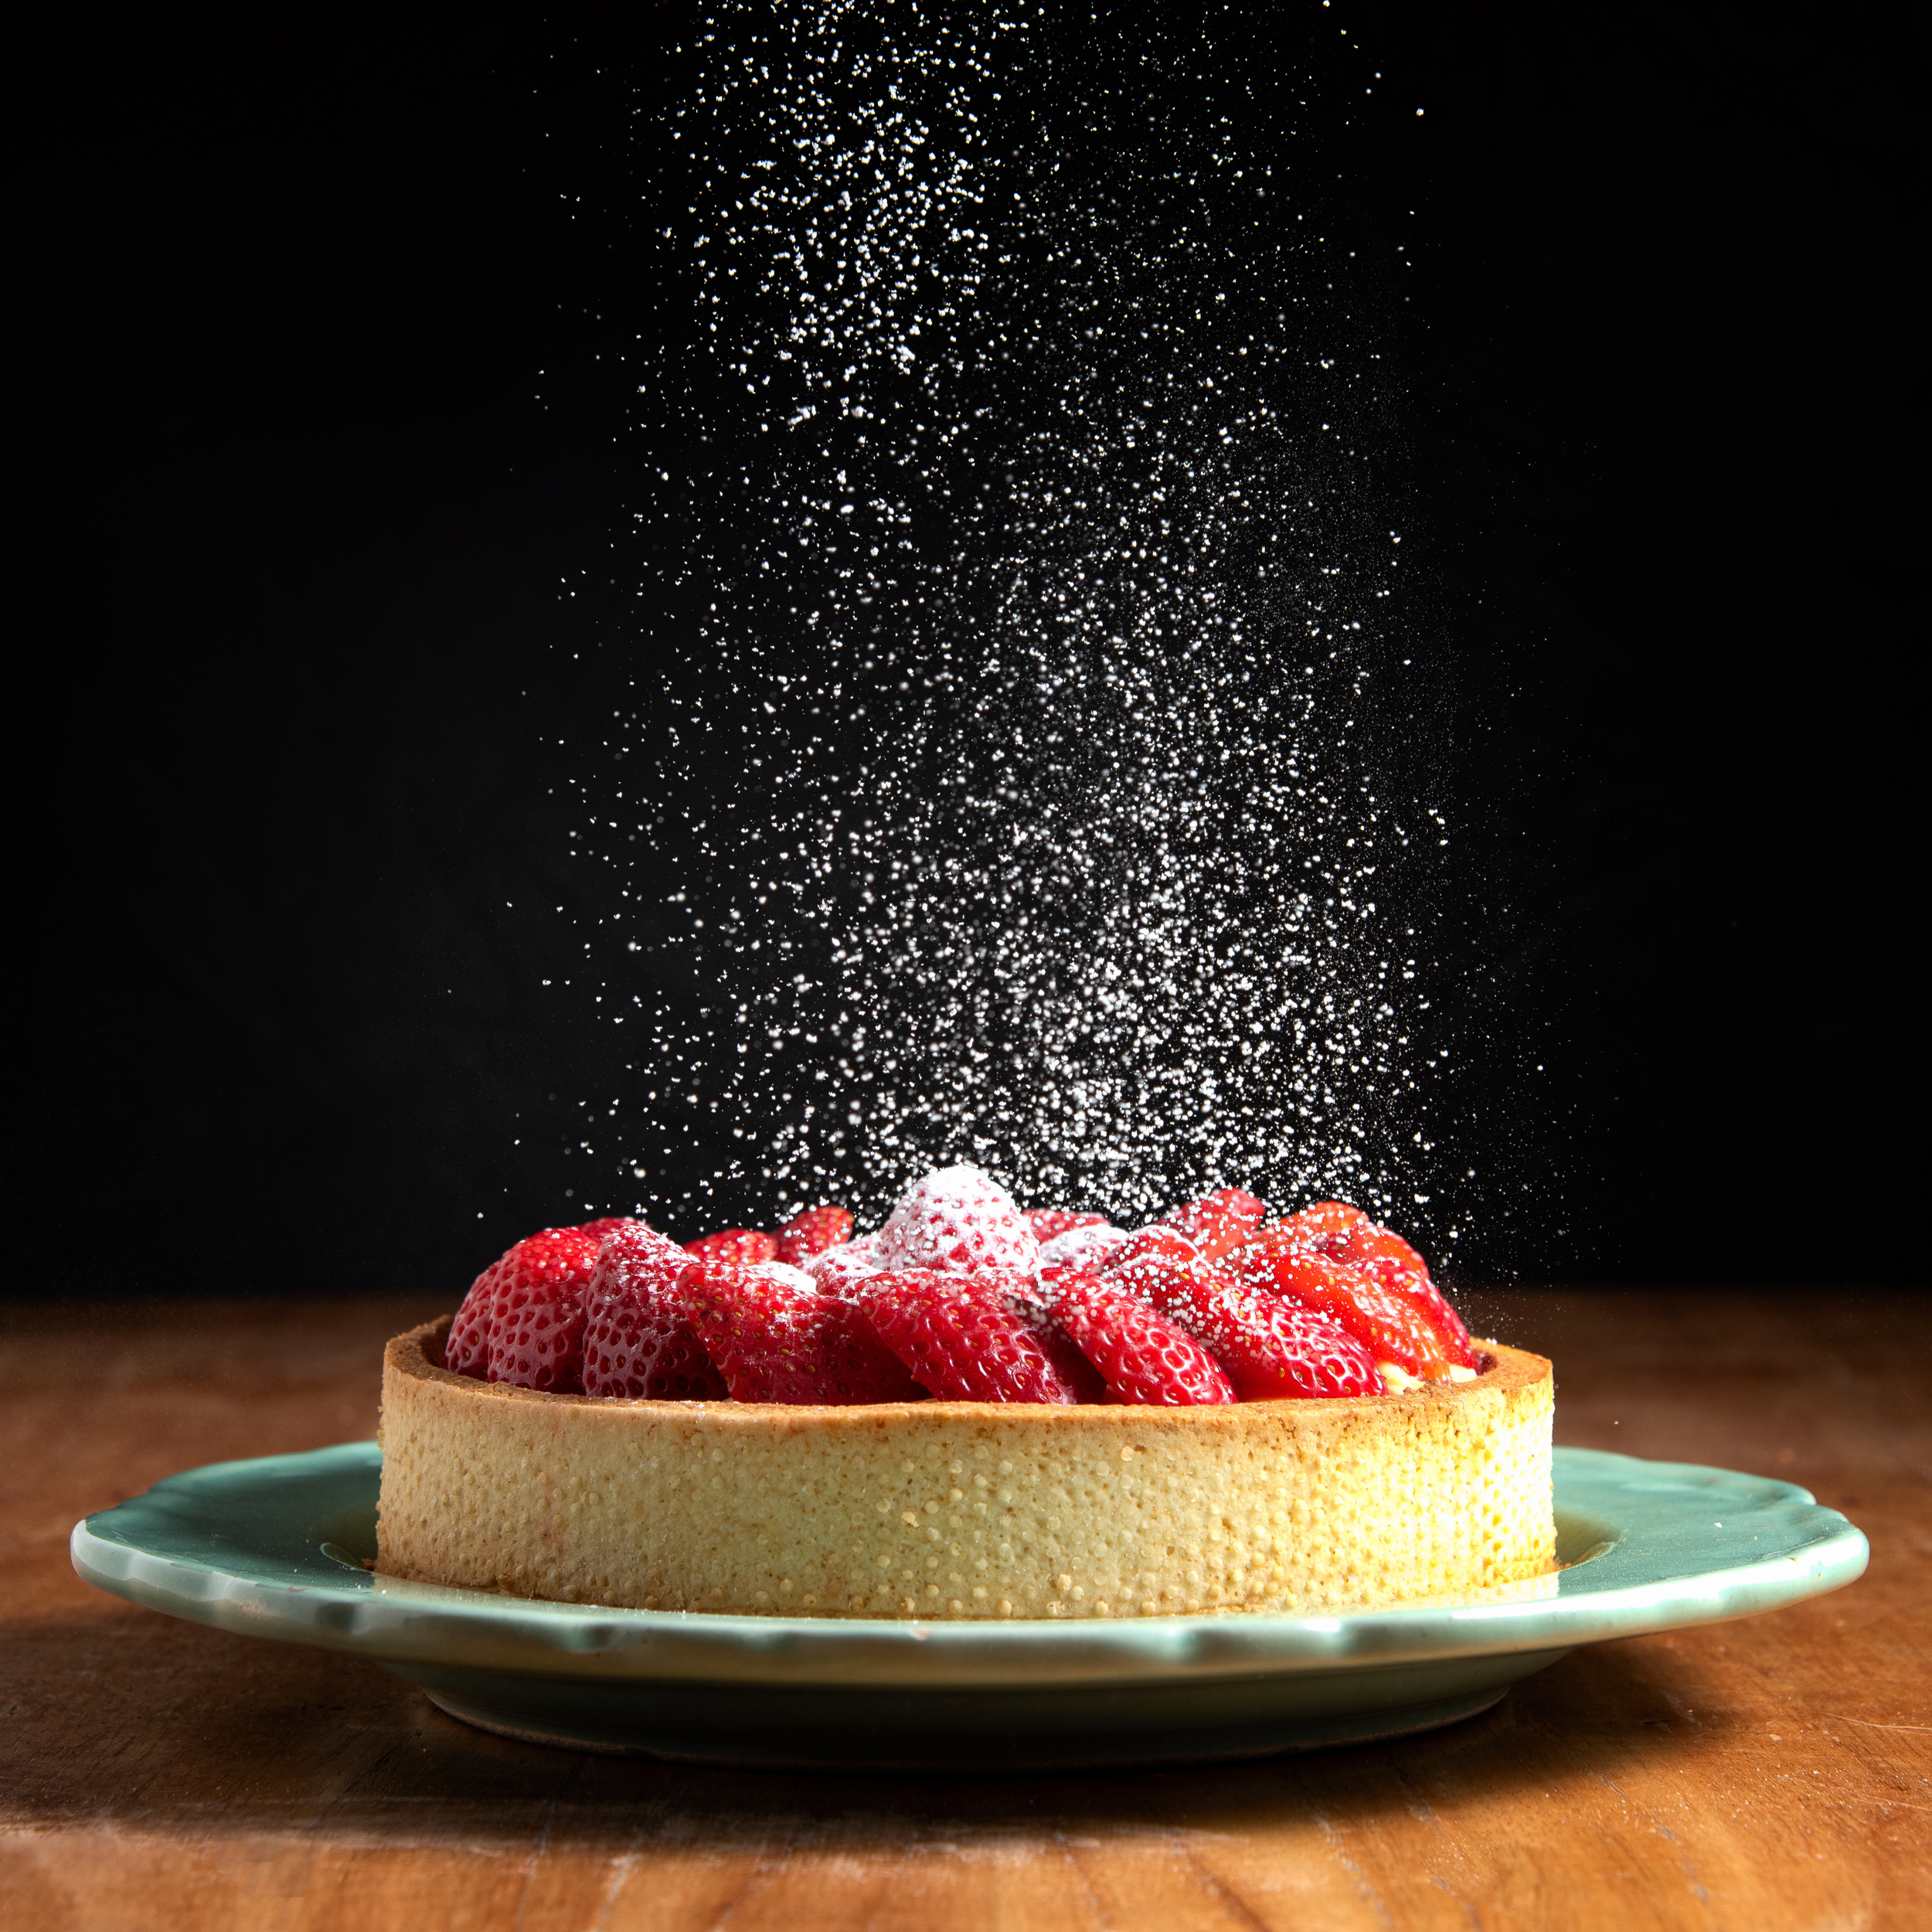
Action & Freshness
Capture action to convey immediacy—pouring sauces, steam rising, hands arranging a bite. Use burst mode or video frames for perfect timing.
Keep food fresh during the shoot: work in small batches, use coolers, misters, or oil to revive wilted greens, and have a food stylist or assistant help maintain plates between frames.
Post-Processing
Start with basic exposure, white balance, and contrast adjustments. Preserve natural tones; avoid over-saturation.
Use selective sharpening on textured areas and gentle dodging/burning to guide the eye.
Remove minor distractions (crumbs, smudges) but retain natural imperfections that make food look real and appetizing.
For commercial work, create consistent color profiles across images to match brand identity.
Brand & Usage Considerations
Tailor images to the platform: Instagram likes bright, punchy images and consistent grids; websites and menus need accurate color and high resolution; ads may require negative space for copy.
Deliver multiple crops and aspect ratios for social, web, and print. Provide both high-res and optimized web versions.
Communicate with clients about brand tone, target audience, and intended use before the shoot.
Checklist for a Successful Food Shoot
Moodboard and shot list
Fresh ingredients and prep plan
Lighting plan and modifiers (diffuser, reflectors, black cards)
Camera gear, lenses, tripod, spare batteries, memory cards
Props: plates, cutlery, linens, surfaces
Assistant or stylist for plating and touch-ups
Post-processing workflow and color profiles
Final thought Great food photography blends technical skill with empathy for the food and the story behind it. Approach each shoot with preparation, curiosity, and attention to detail — the result should make the viewer hungry before they even taste it.