Micro-Adventures Close to Home
You Don’t Need a Passport for Epic Adventure Photography
We’ve all fallen into the same trap. You scroll through your feed, look at jagged Patagonian peaks or moody Icelandic waterfalls, and convince yourself that your own photography is stalled because you aren't on a plane.
It’s easy to believe that great adventure imagery requires an expensive ticket, three weeks of PTO, and a far-flung destination.
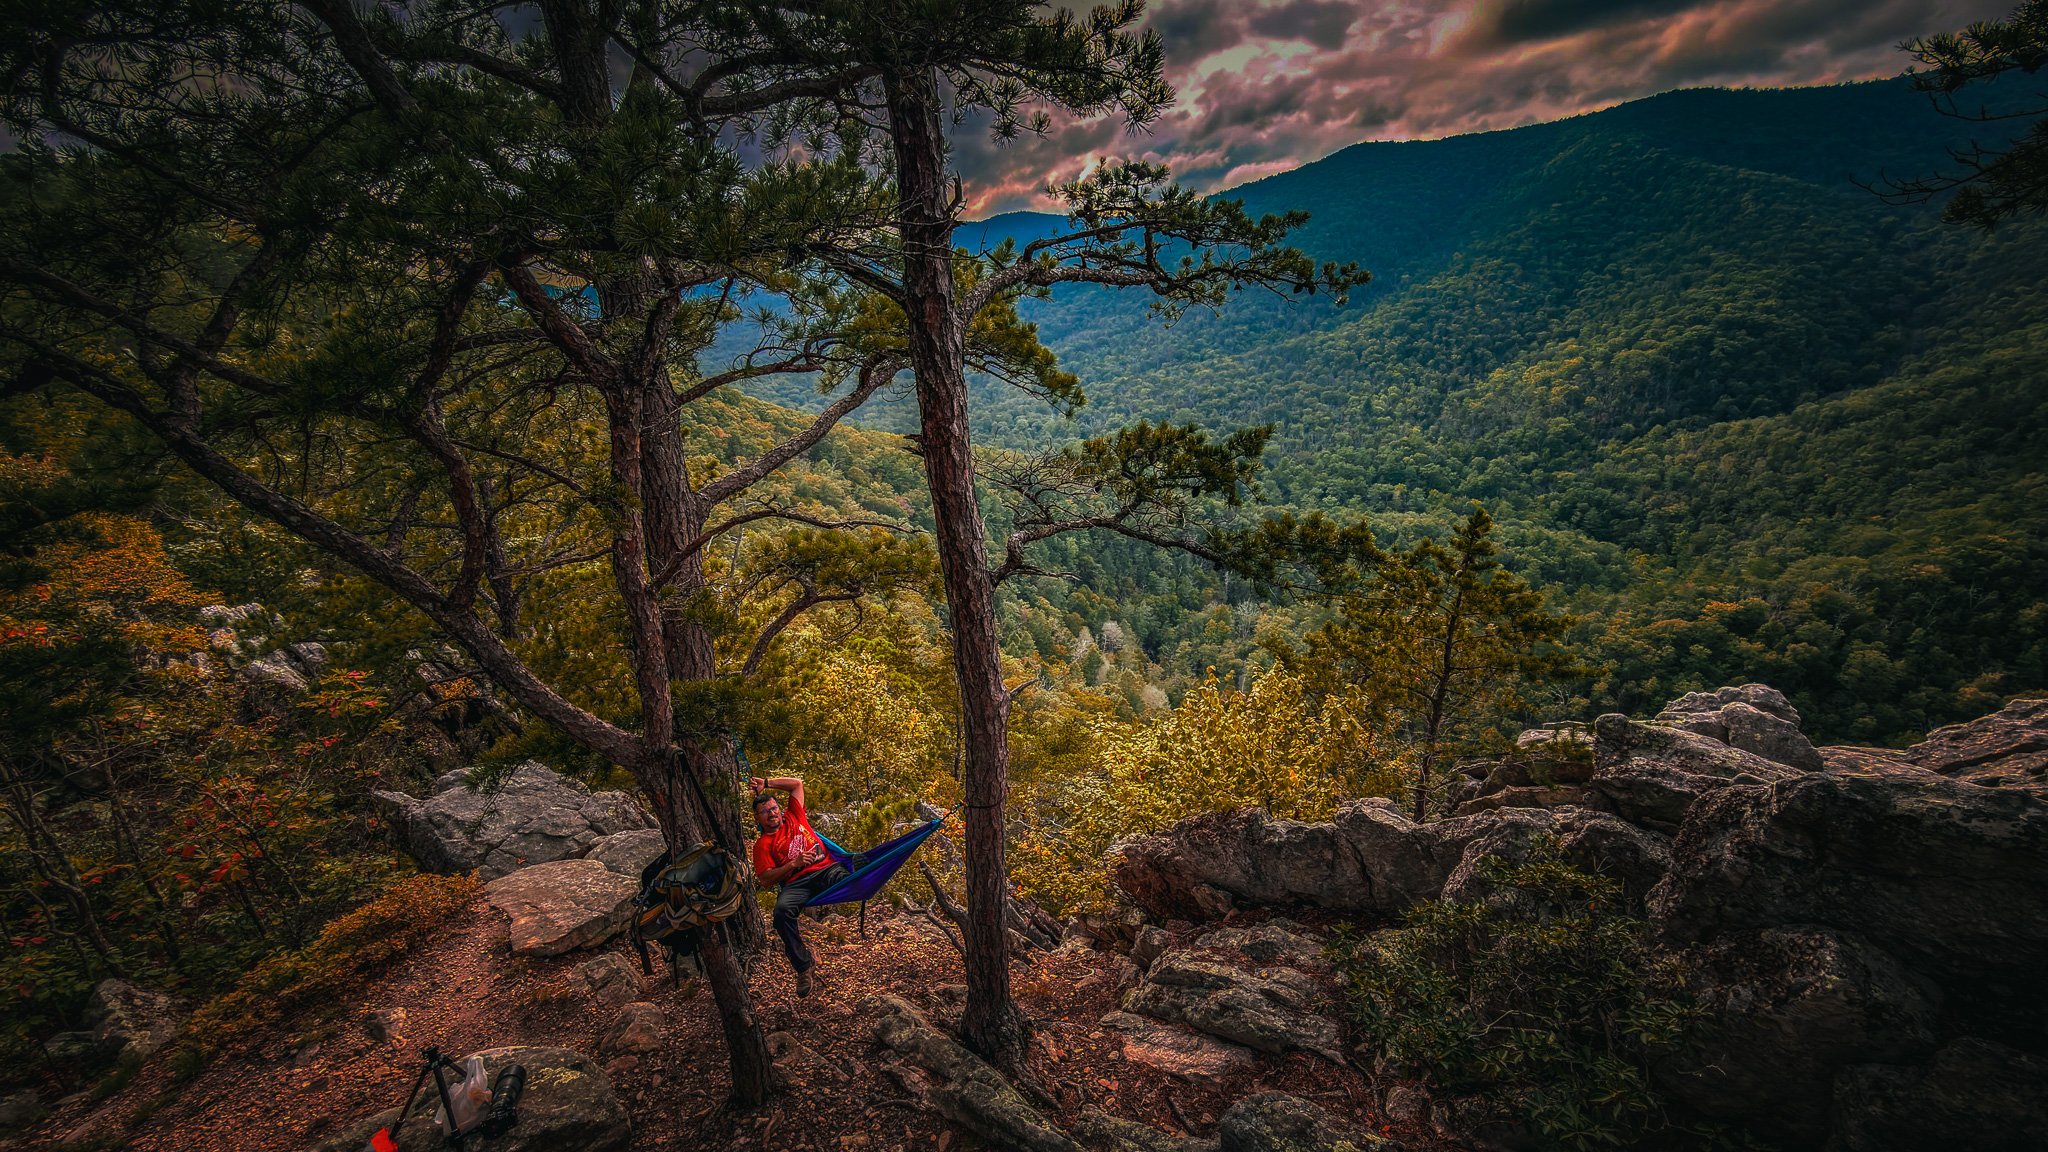
Last [Tuesday / weekend], I decided to test that theory. Instead of booking a flight, I set my alarm for 3:45 AM, packed a thermos of coffee, and drove [25 minutes] from my front door to [Insert Local Trail / Ridge / Lake Name].
Here is what happened when I treated my own backyard like an expedition—and three lessons you can use to capture your best work without ever leaving your zip code.
1. Chasing Light Over Location
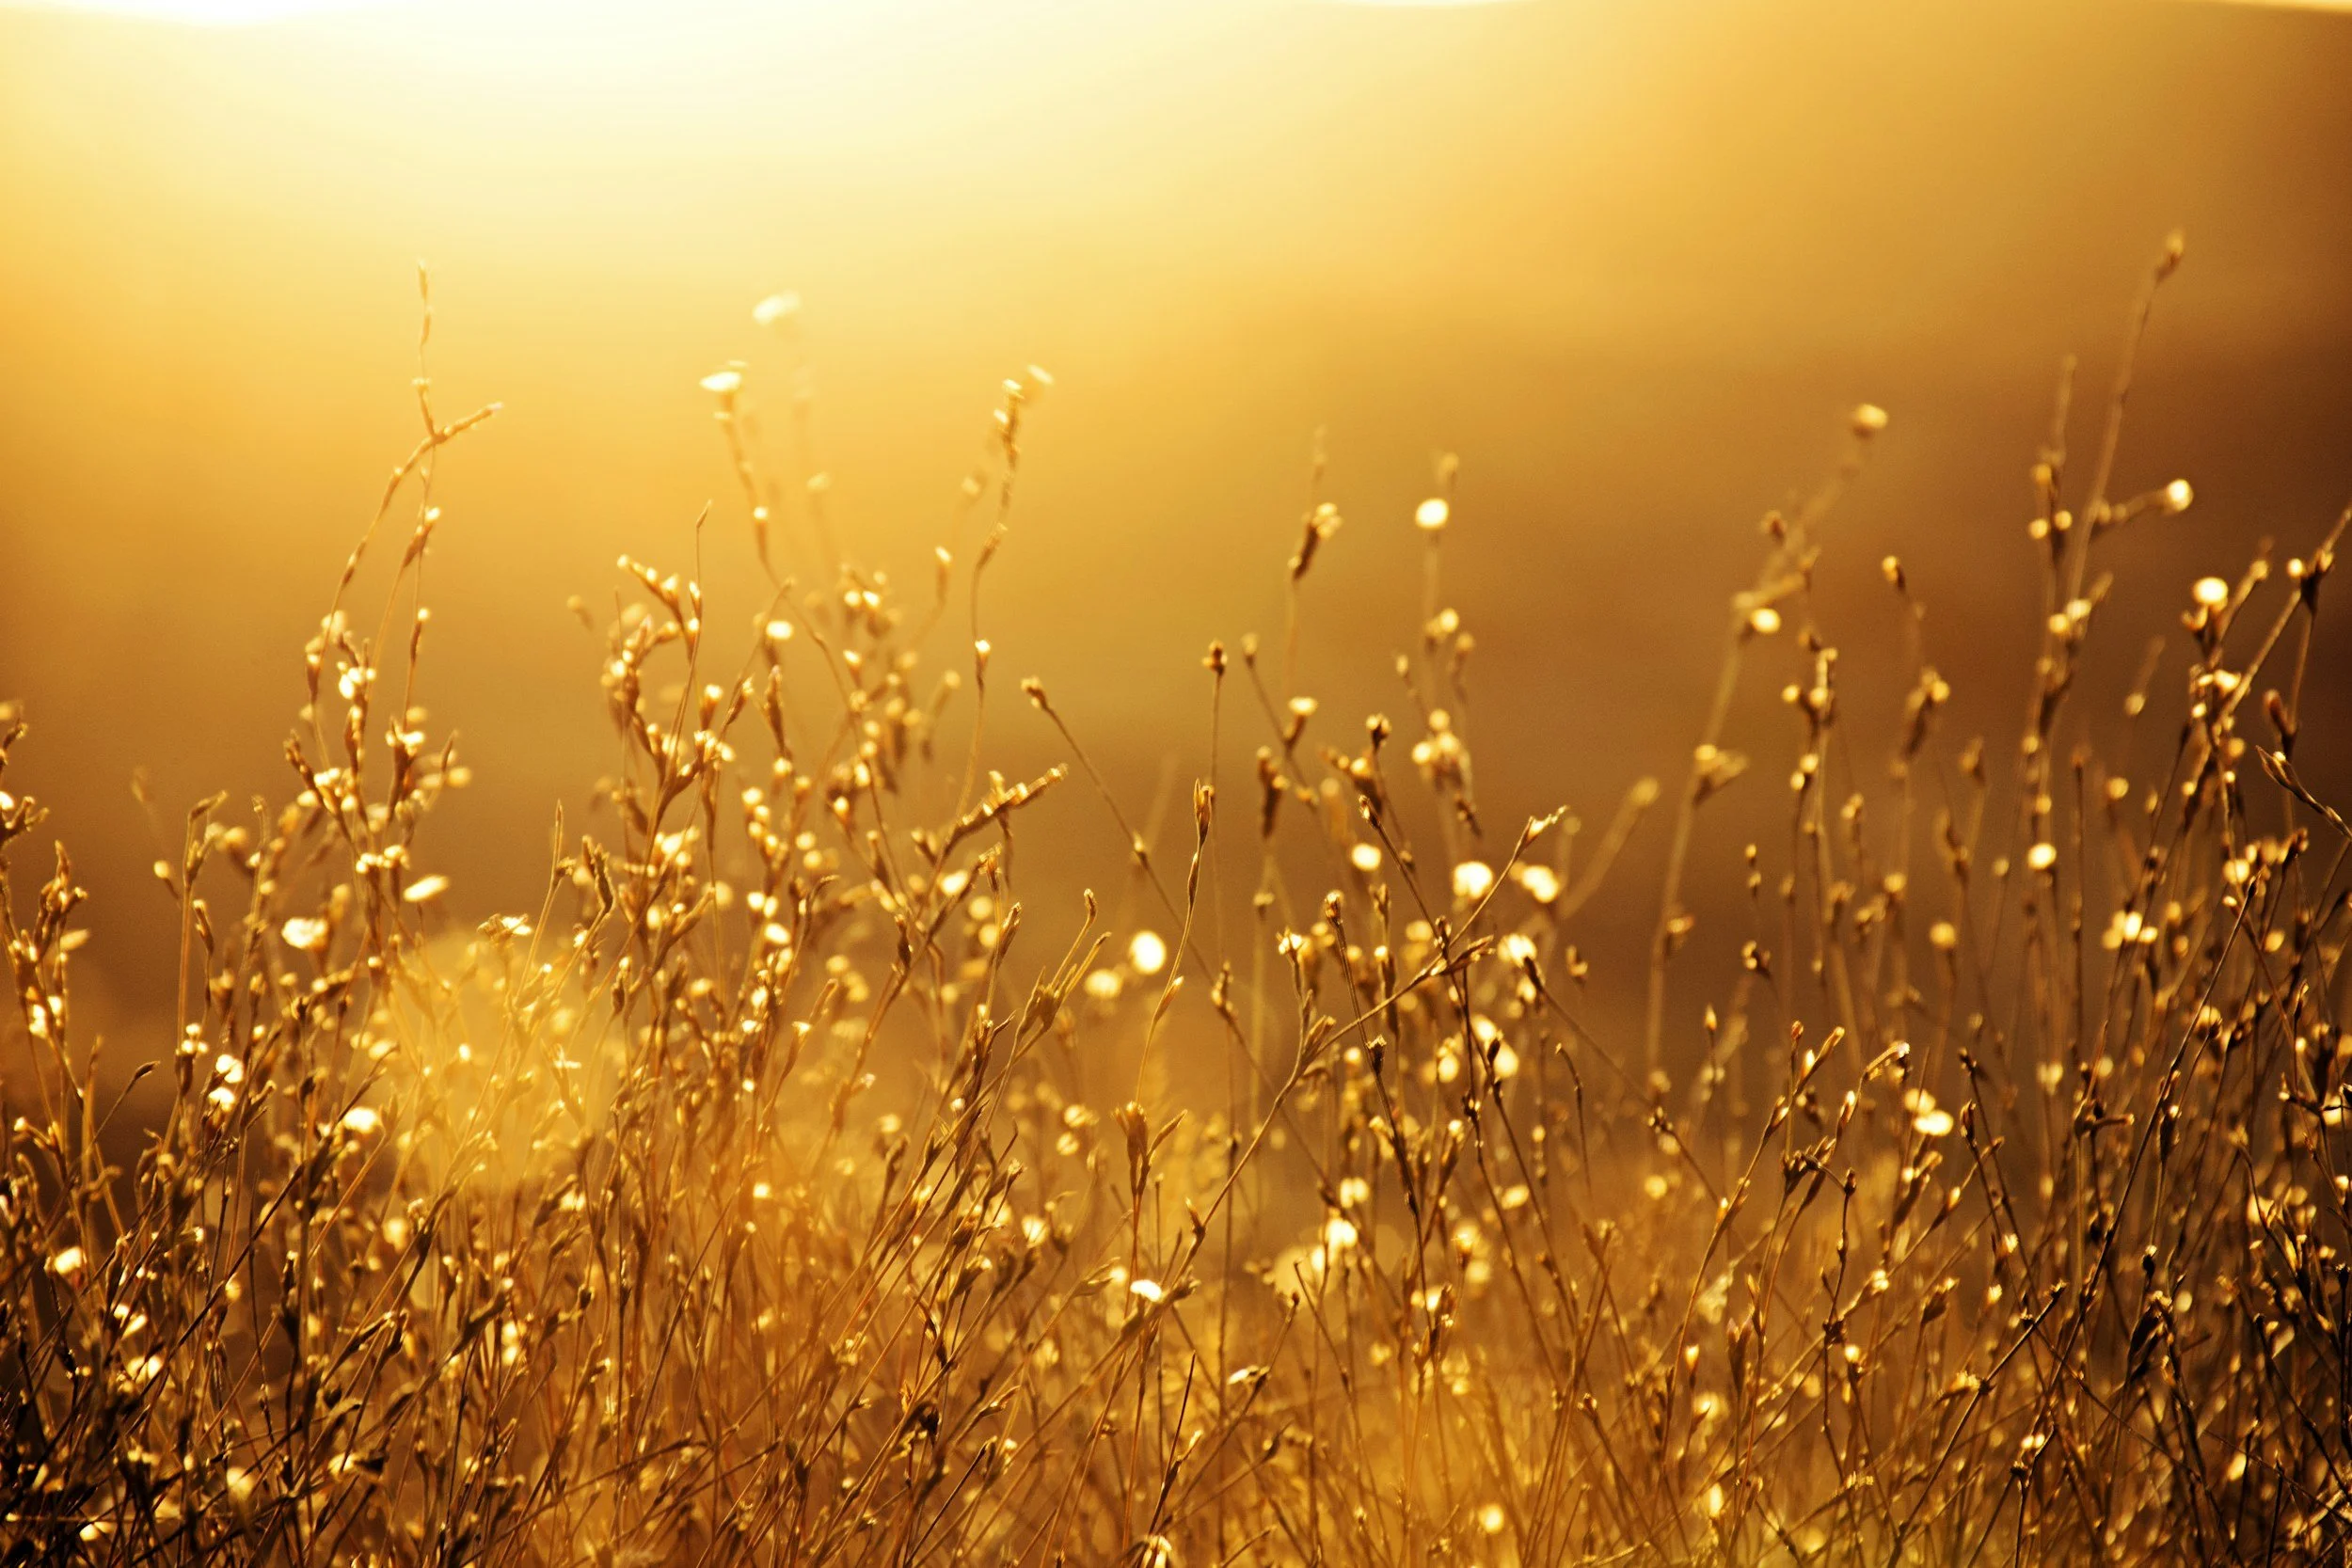
When you travel somewhere iconic, it’s tempting to rely on the scenery to do the heavy lifting. At home, you don’t have that luxury. You have to let the light and the weather create the drama.
By arriving at [Location Name] in complete darkness, I got to watch the landscape transform before a single person hit the trail.
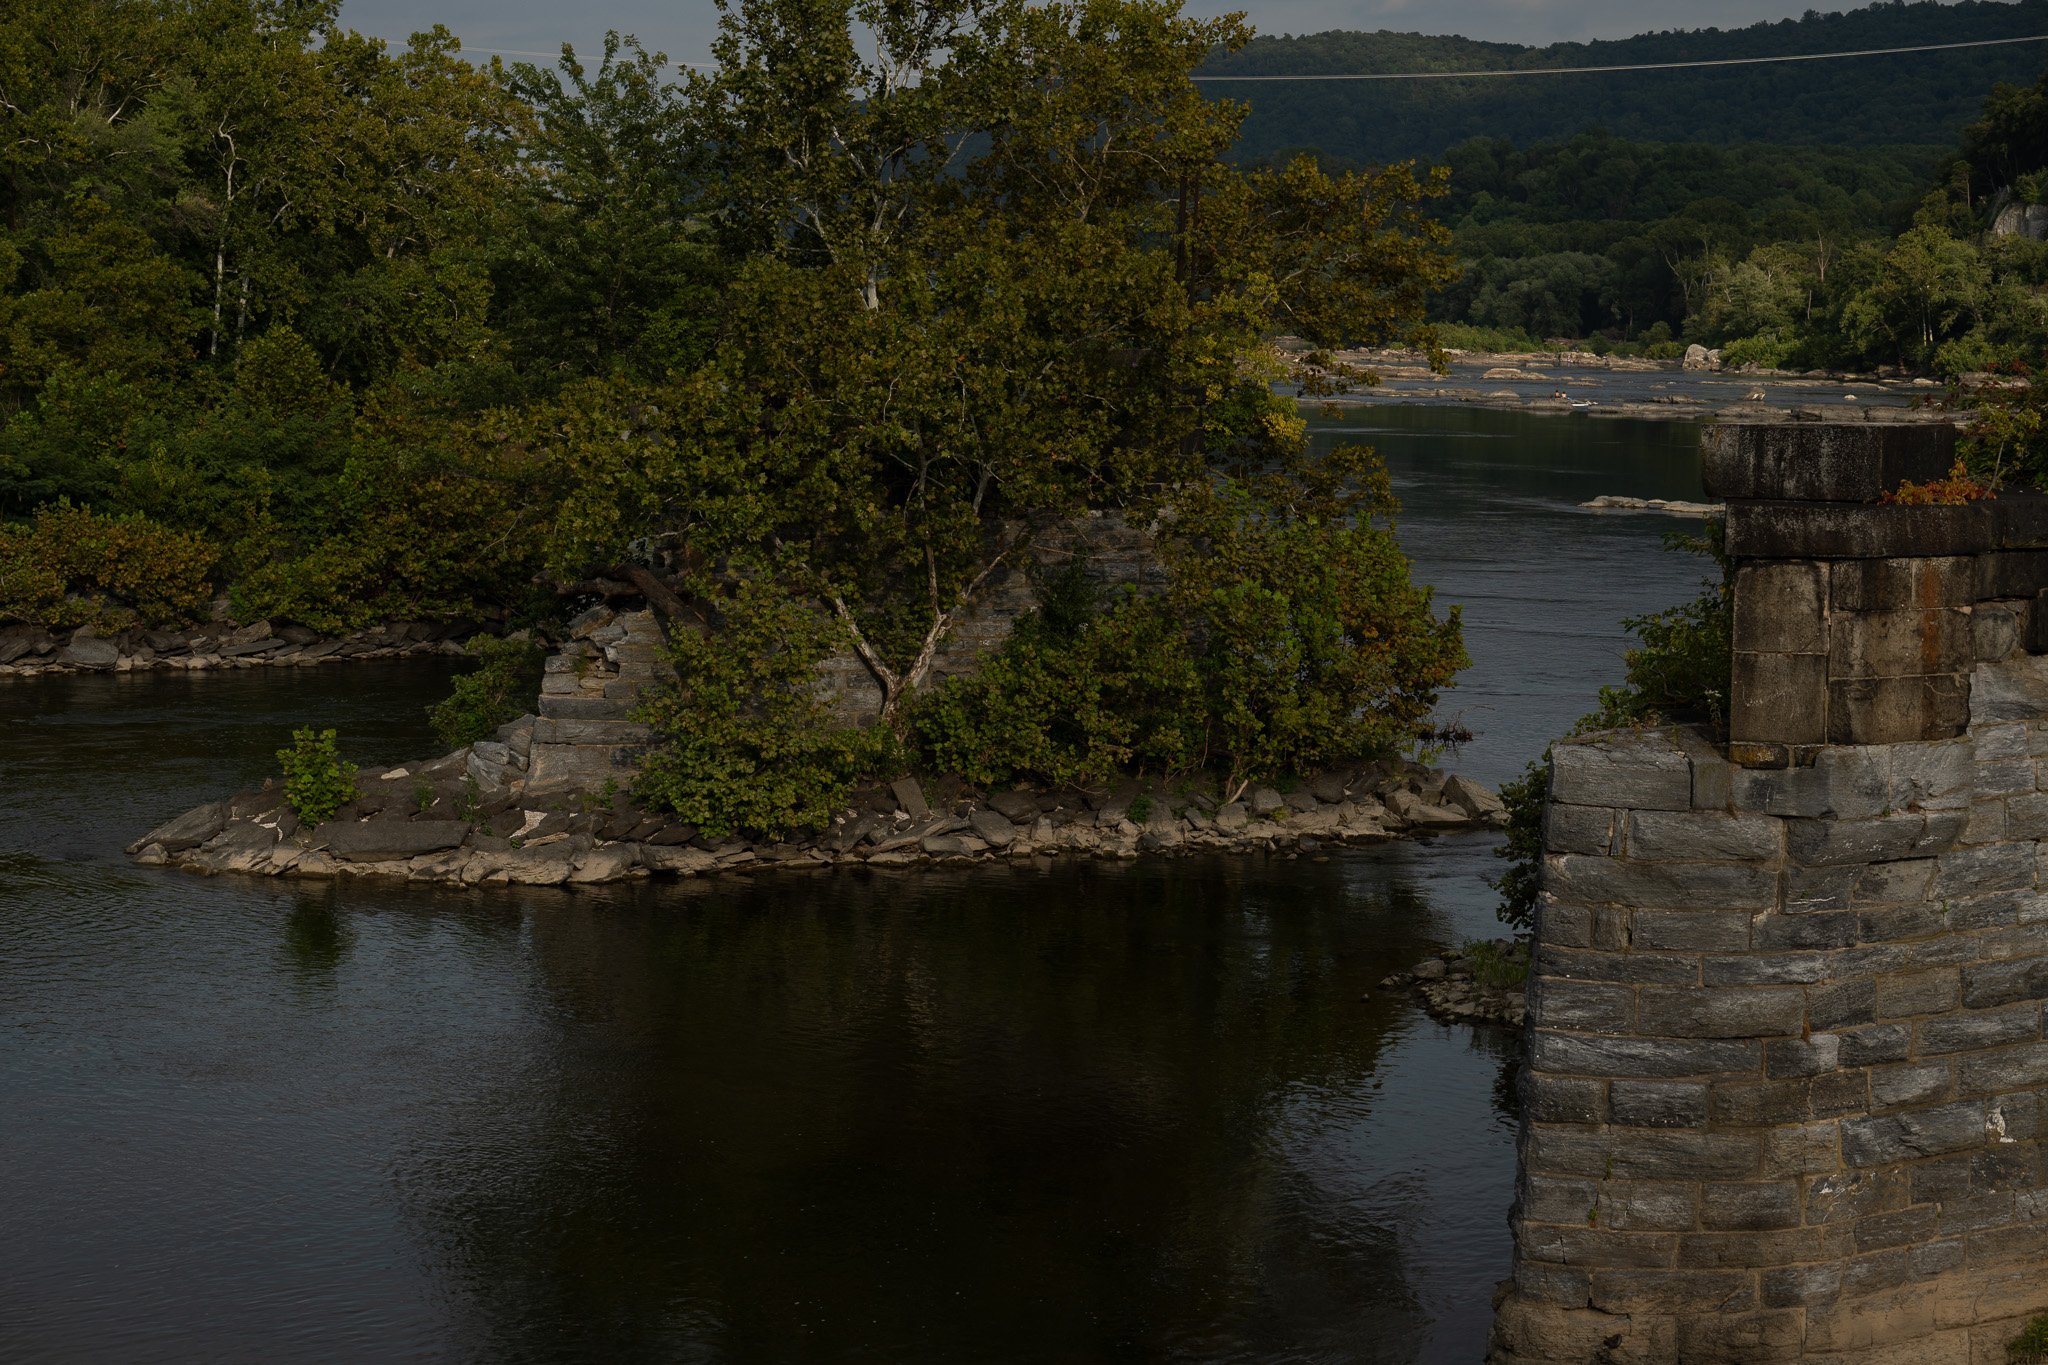
Before Dawn (Blue Hour): [Insert Shot 1: Wide angle of the trailhead/horizon in deep blue tones] — The world is quiet, shadows are soft, and the cool tones make even a familiar forest feel mysterious.
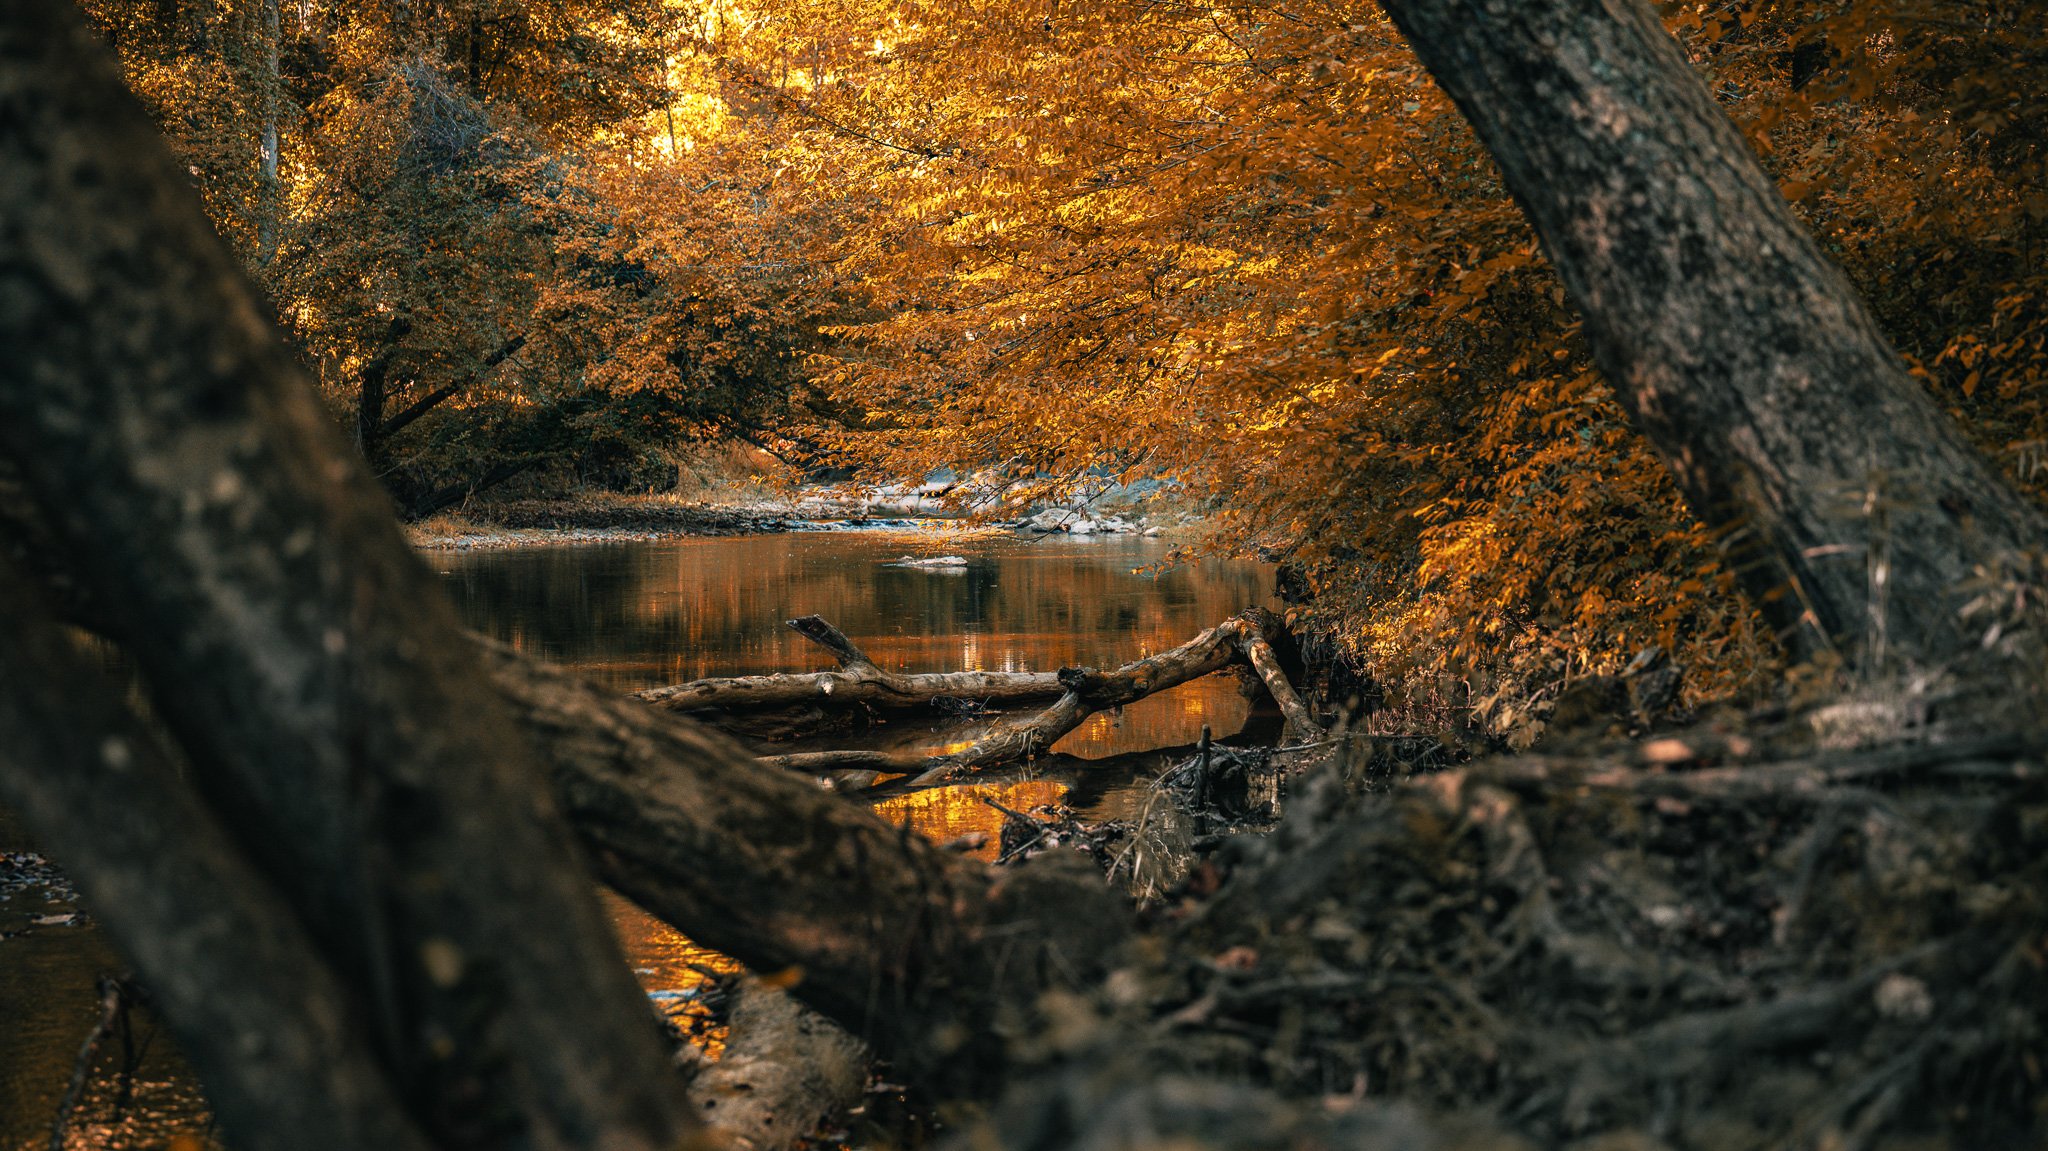
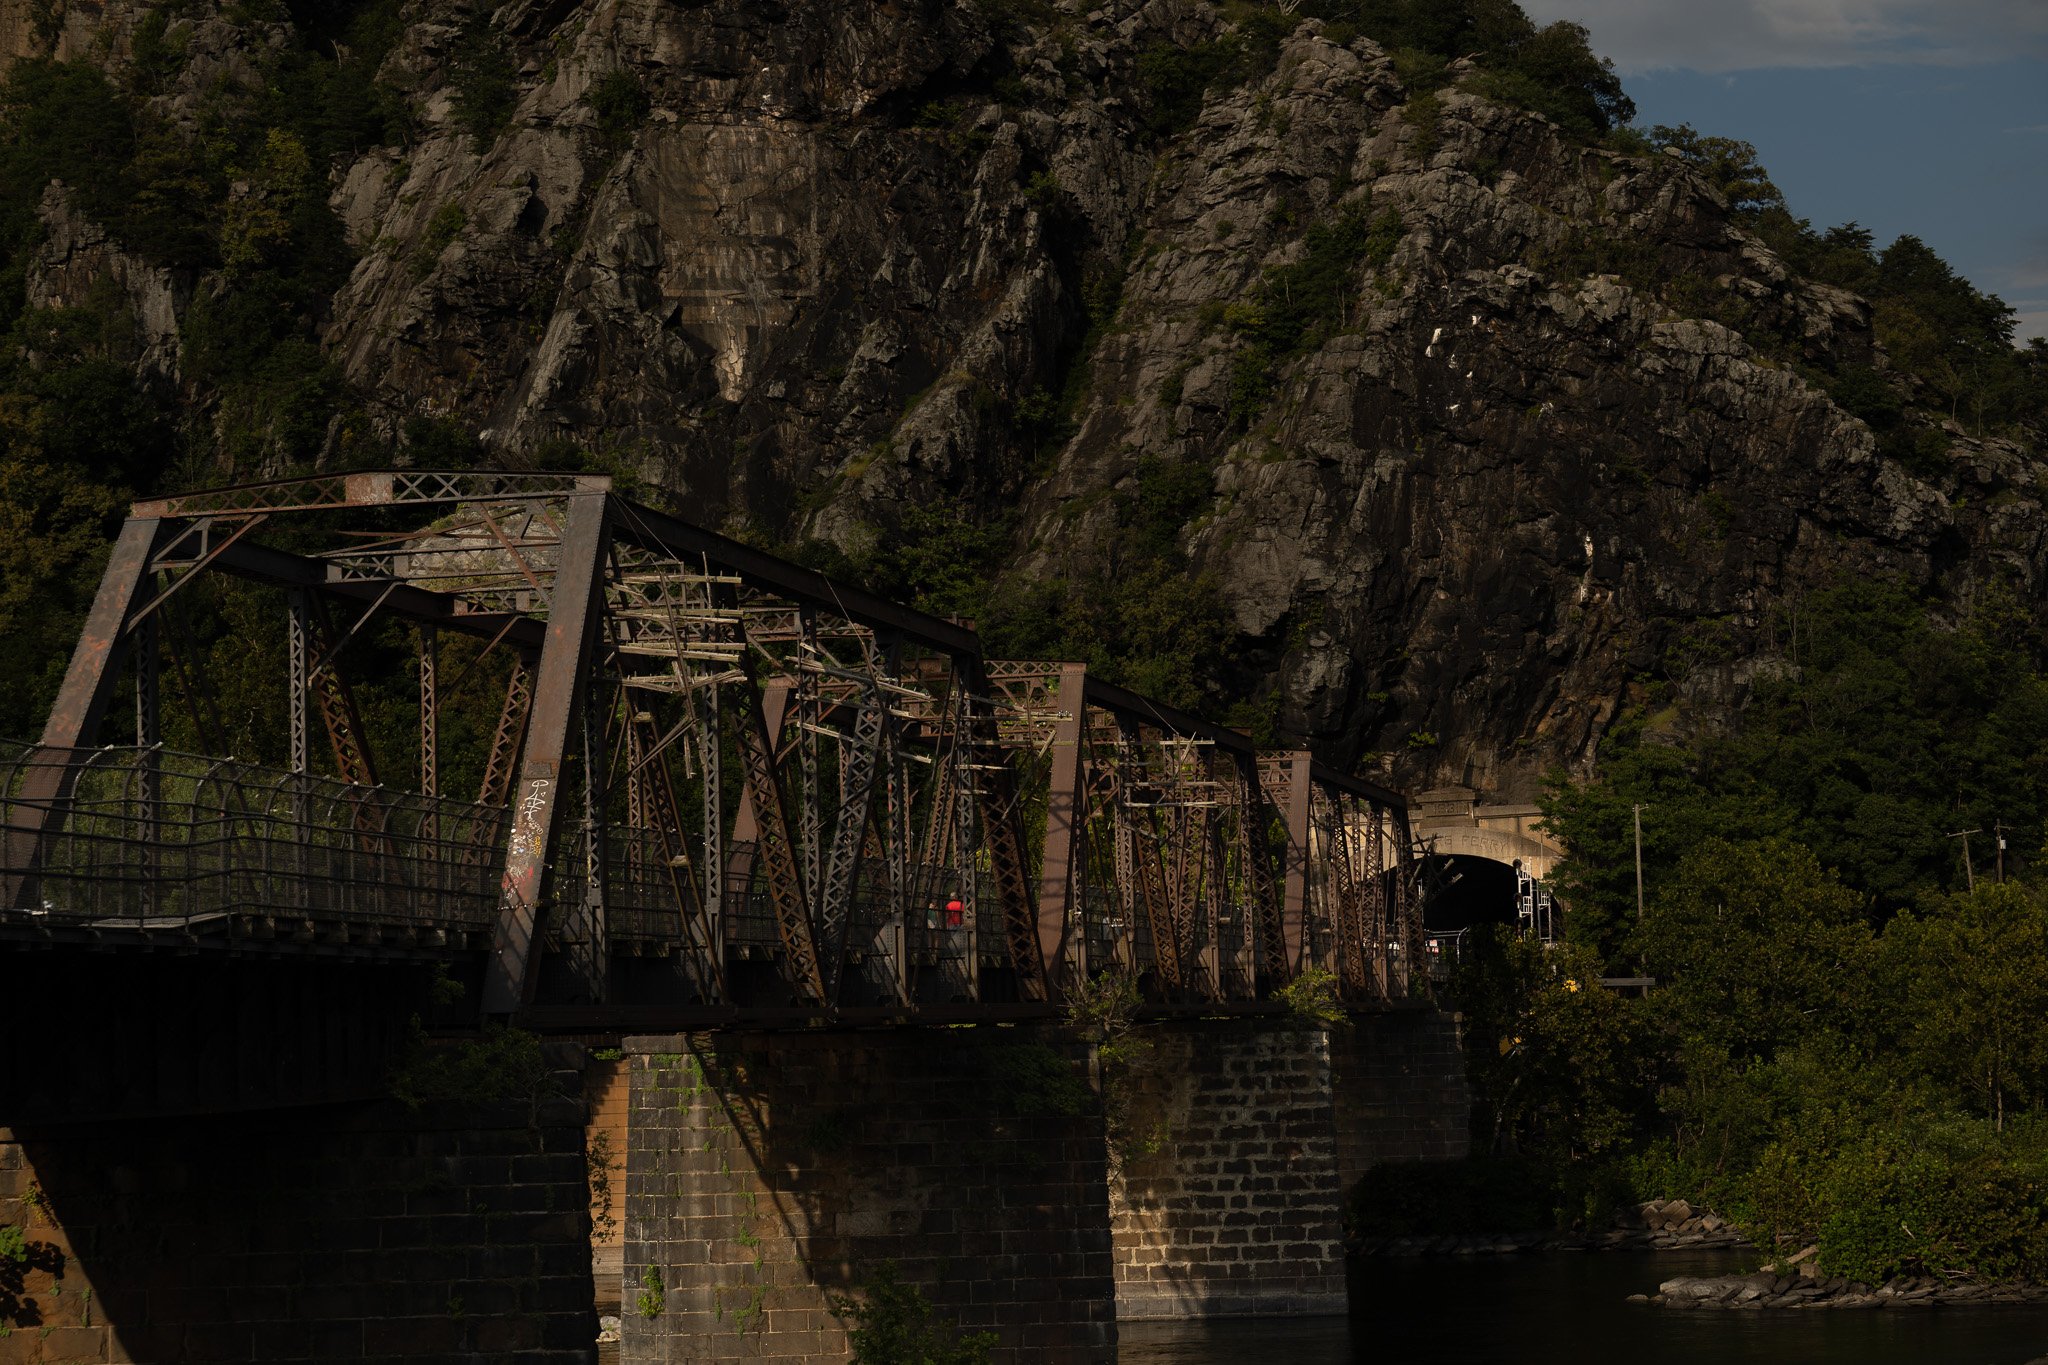
First Light (Golden Hour): [Insert Shot 2: Directional sunlight hitting a ridge, water, or trees] — Because I knew this spot well, I already knew exactly where the sun would break over the horizon.
The Takeaway: An ordinary hill in extraordinary light will always beat an extraordinary mountain under harsh midday sun.
2. Changing Your Perspective (and Your Pace)
When we hike local trails, we usually walk them for exercise—heads down, moving fast, checking the clock. When you treat a local trail like a photo assignment, you slow down.
Instead of rushing to the main overlook, I spent 45 minutes working a single [creek bed / boulder field / shoreline] just off the main path.
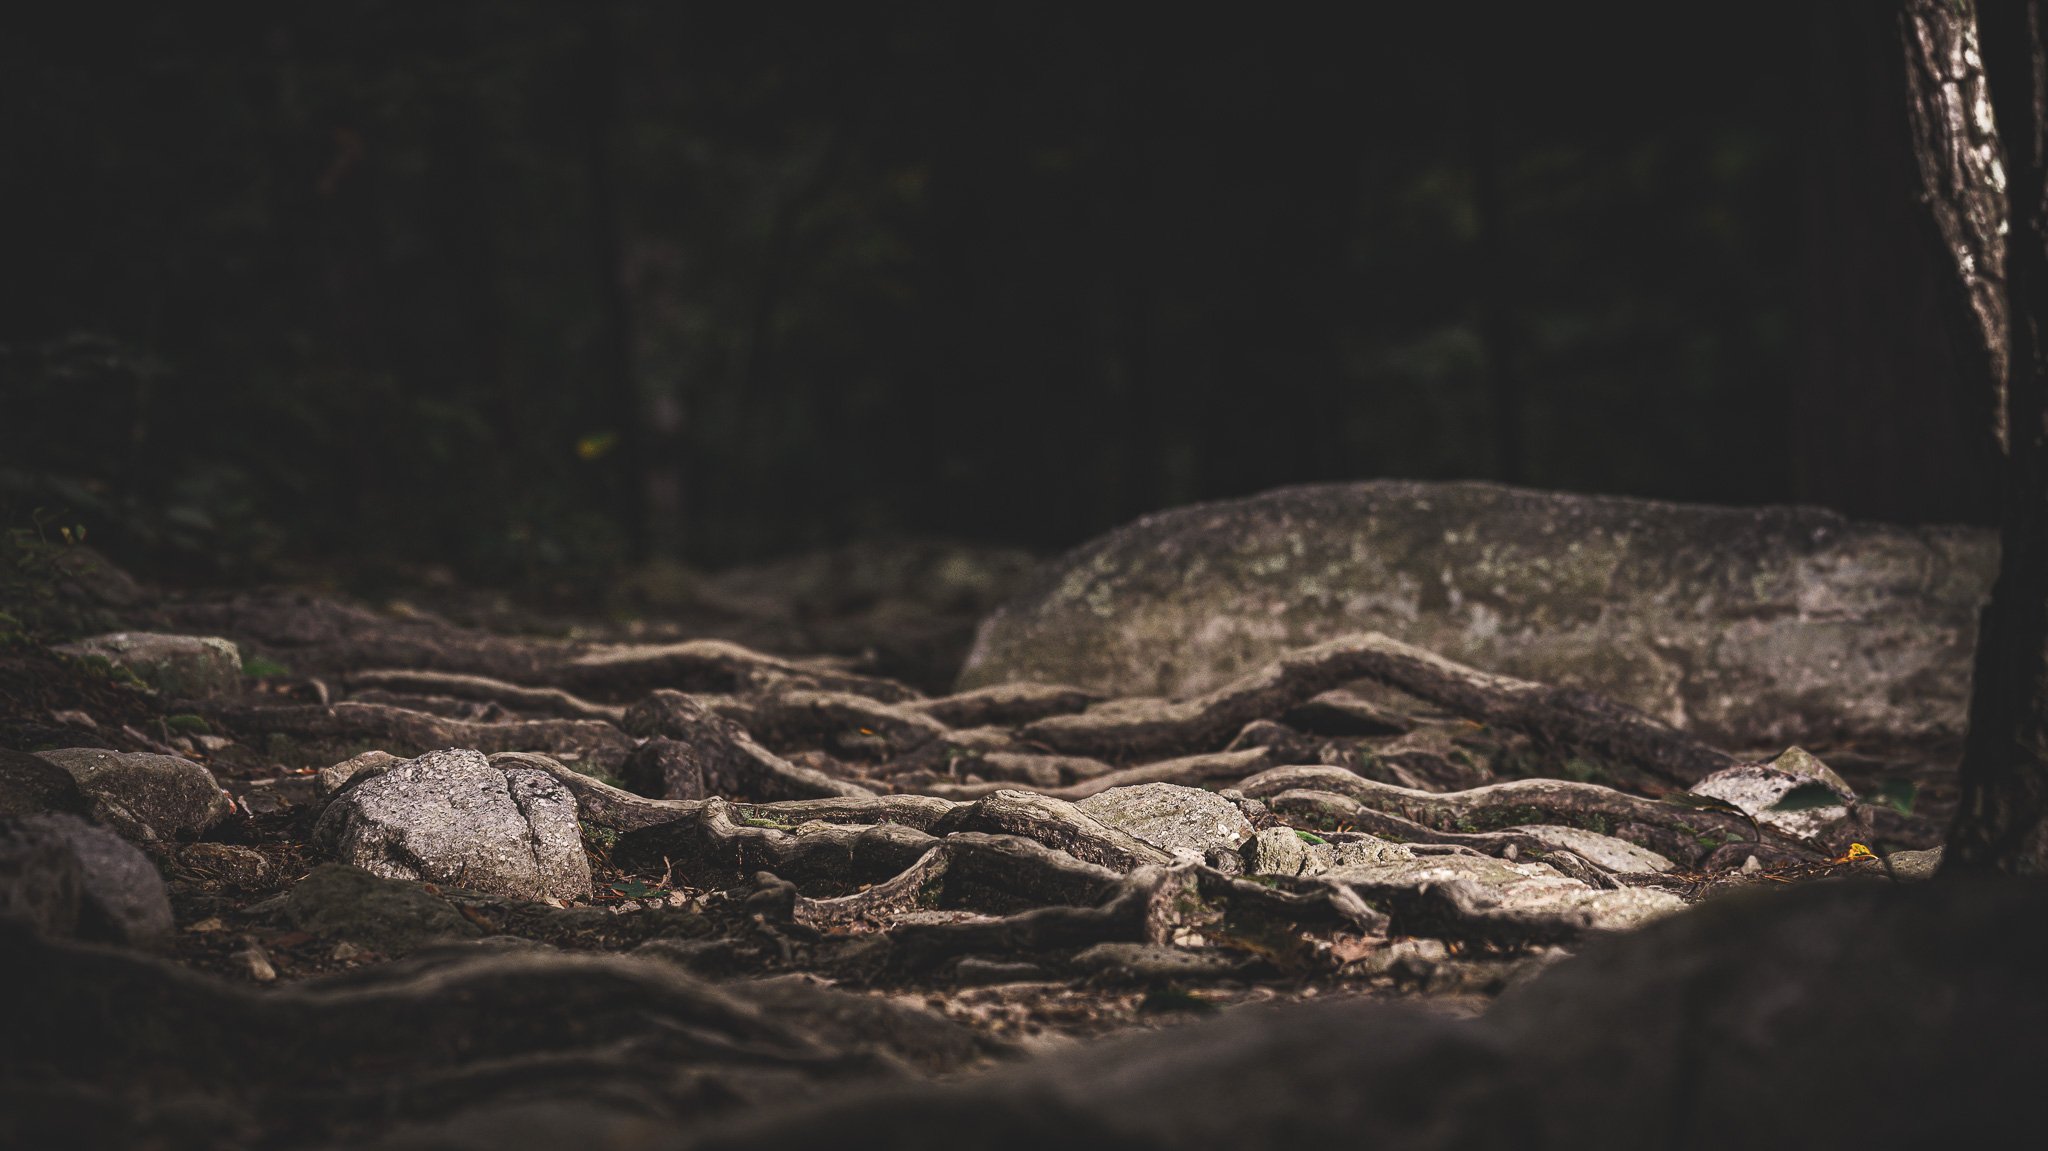
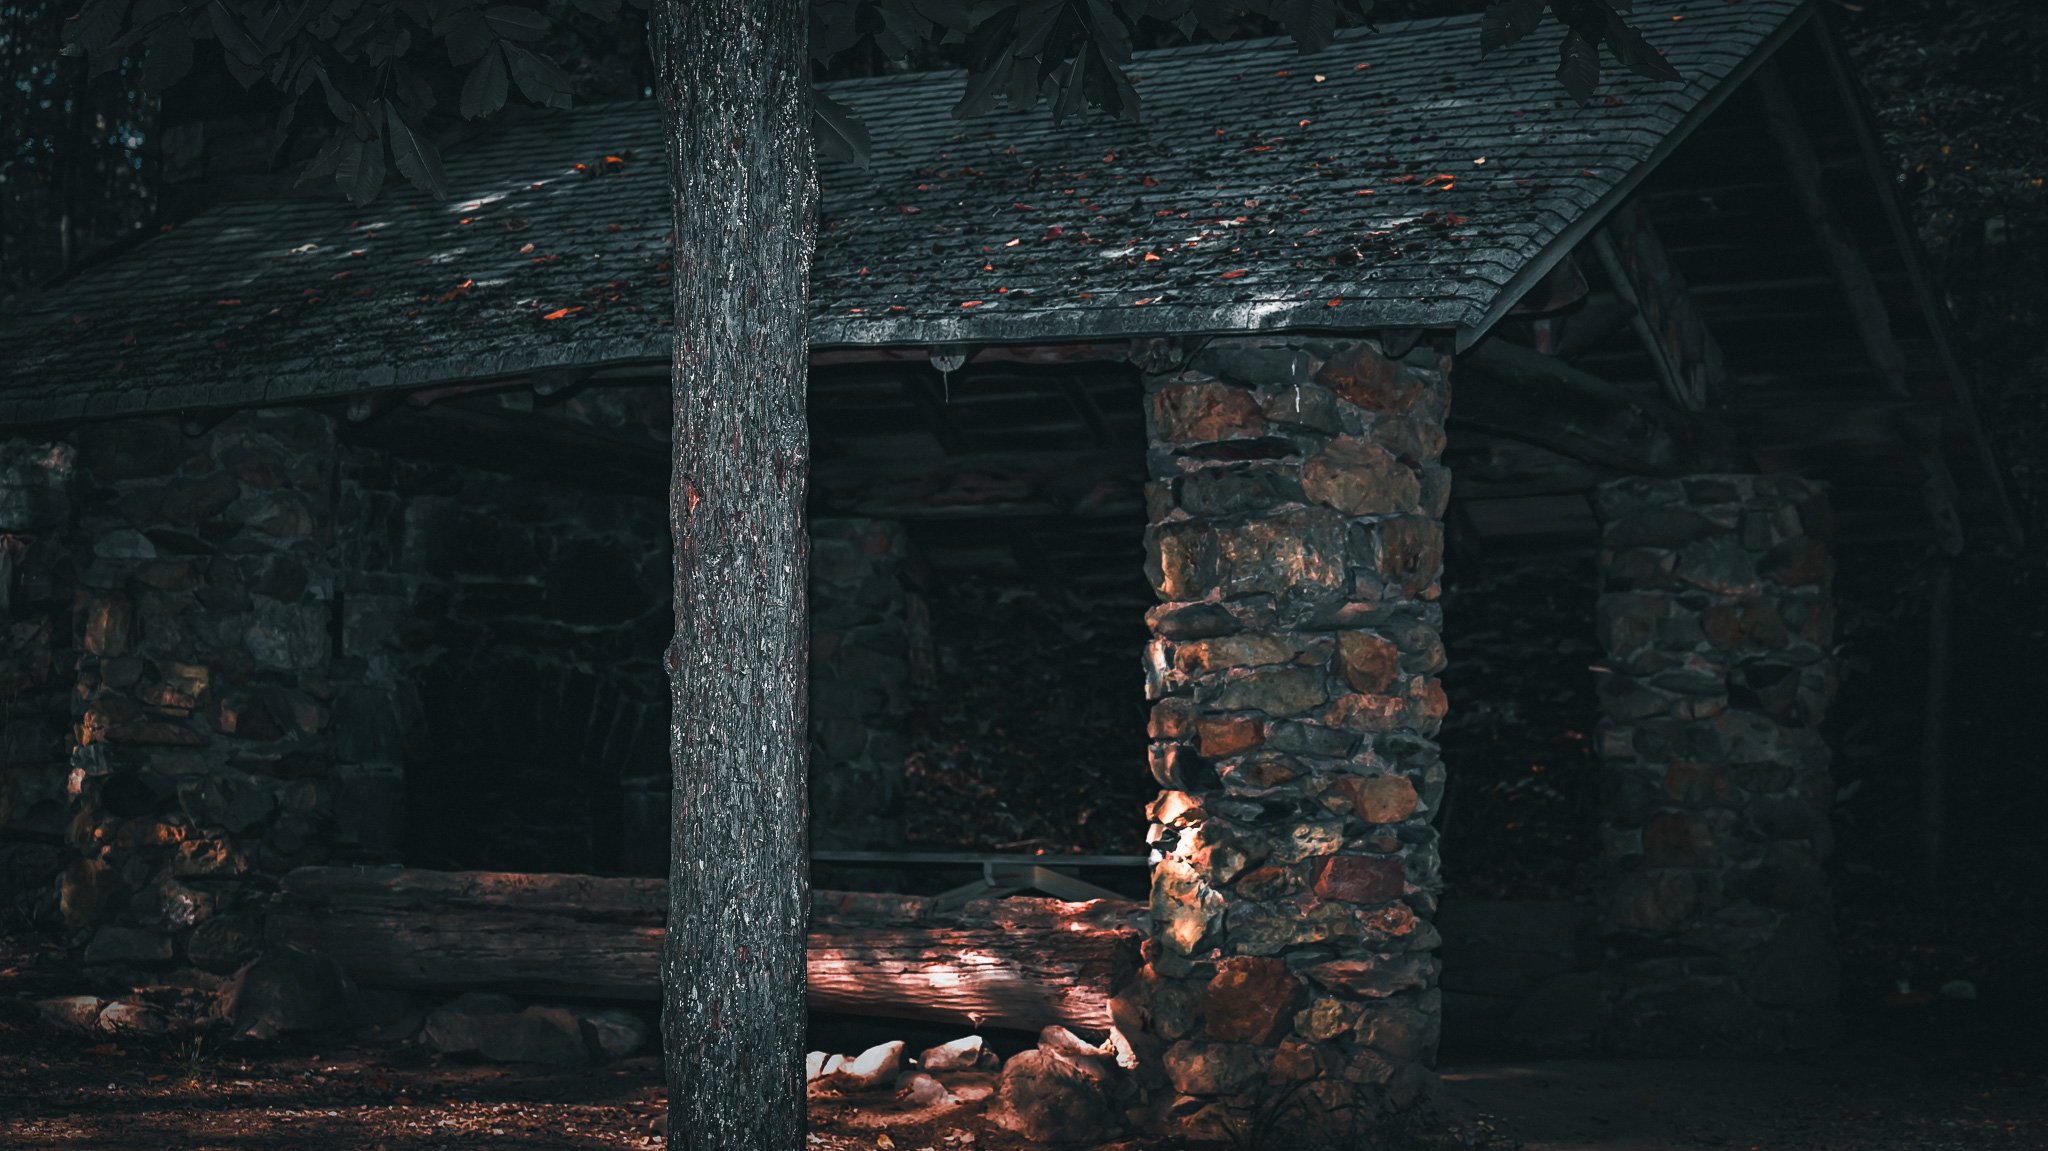
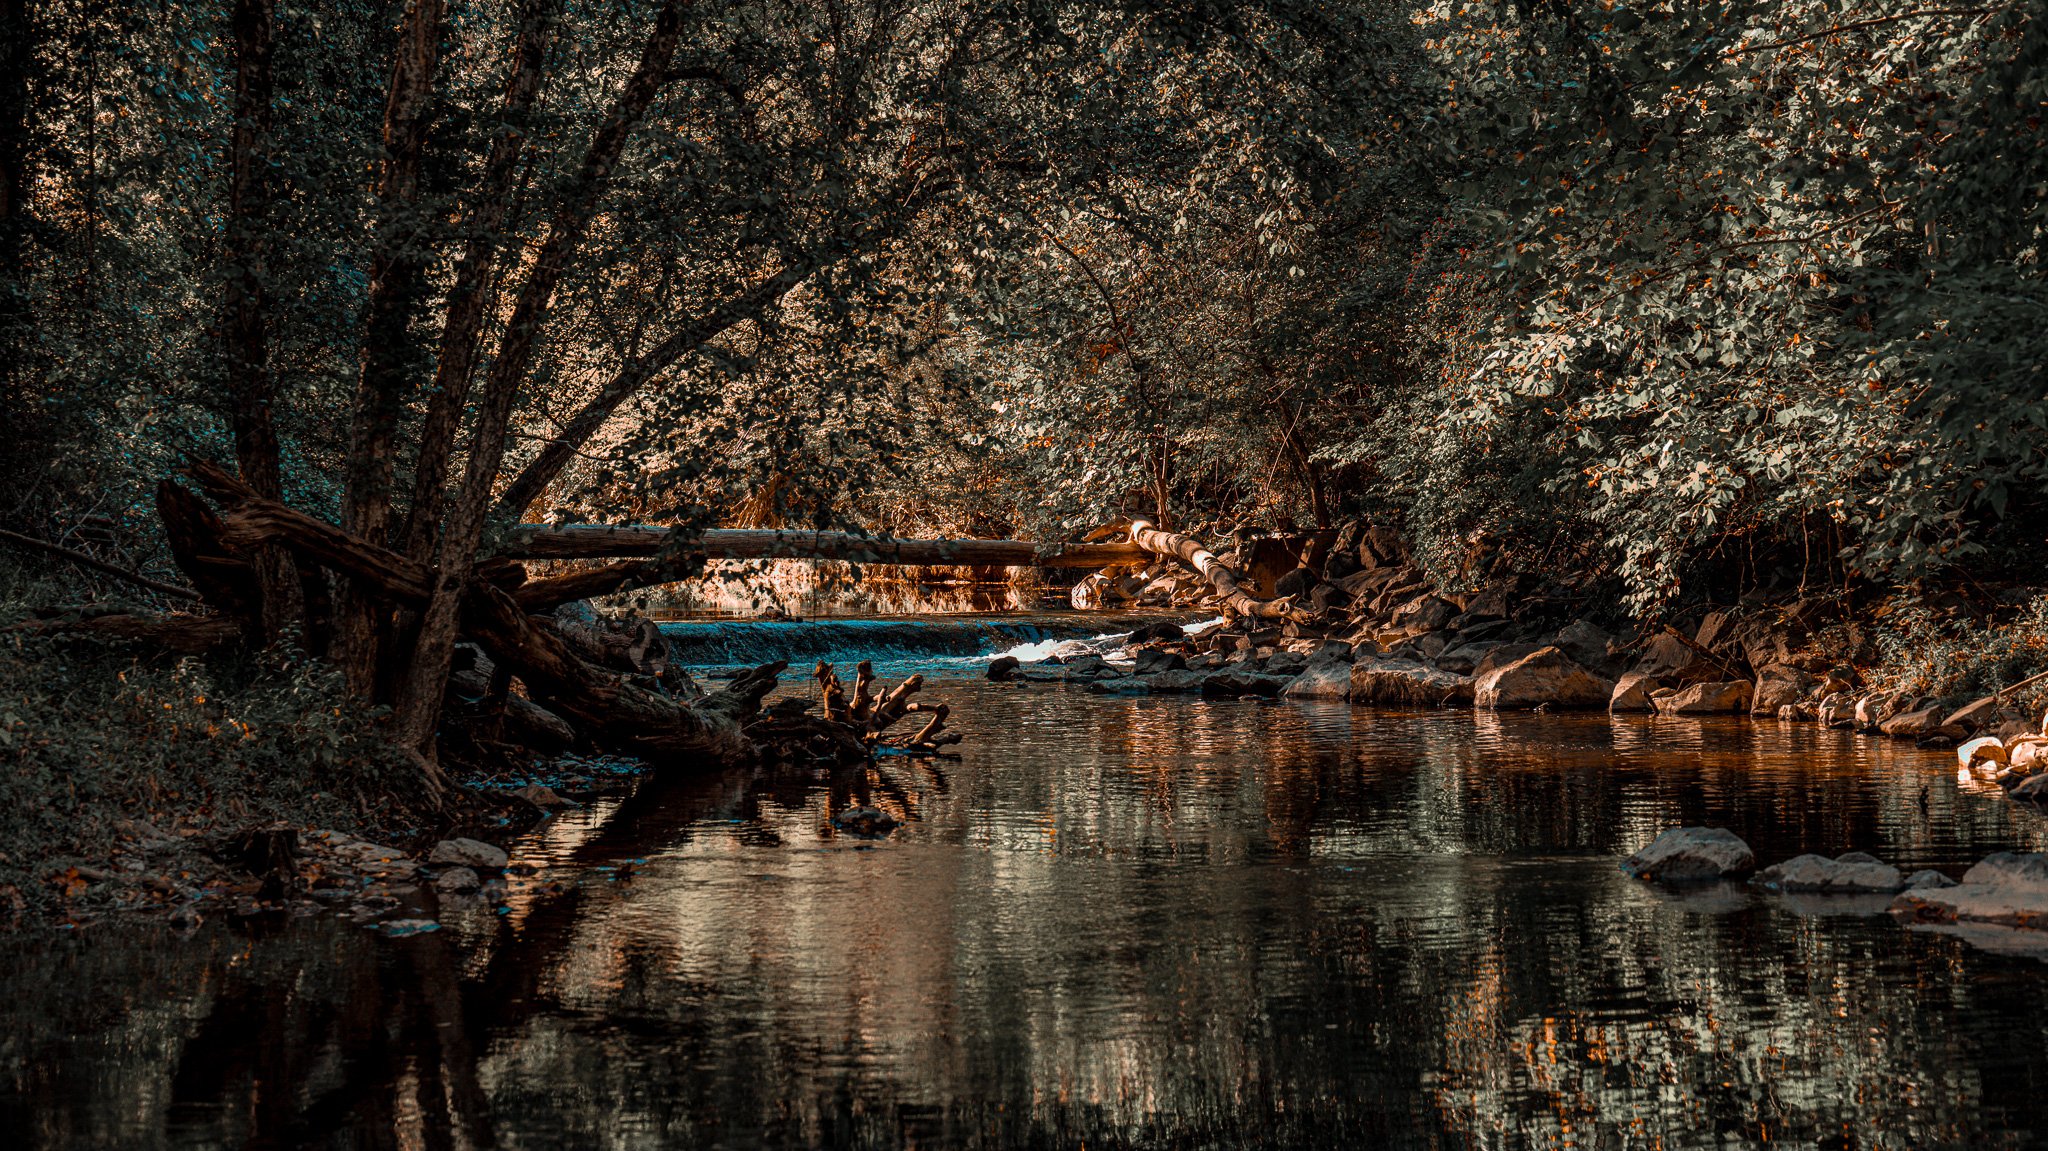
Low & Wide: [Insert Shot 3: Foreground detail like frost, ferns, or ripples leading into the background] — Getting my tripod six inches off the ground turned a simple puddle into a mirror for the morning sky.
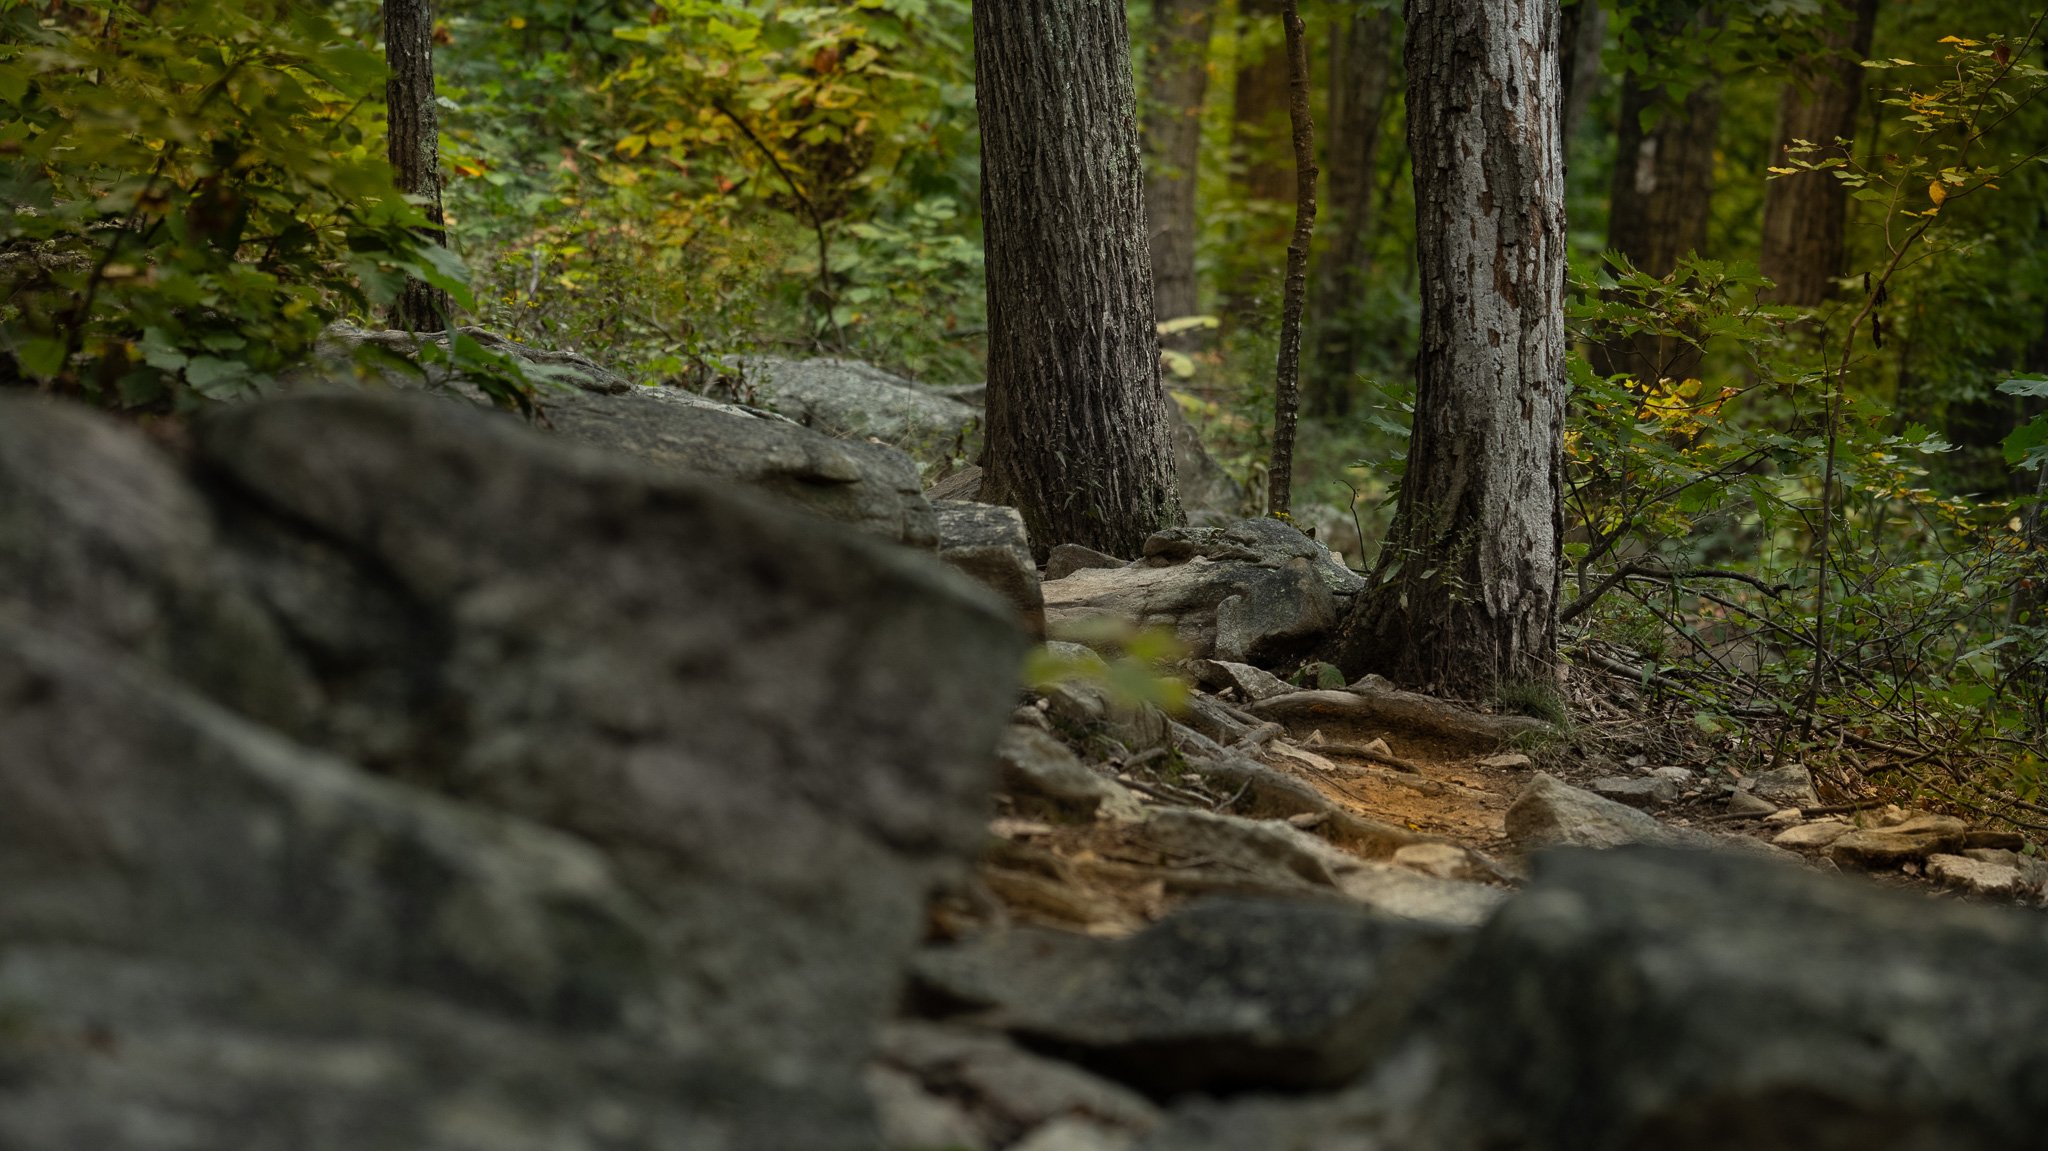
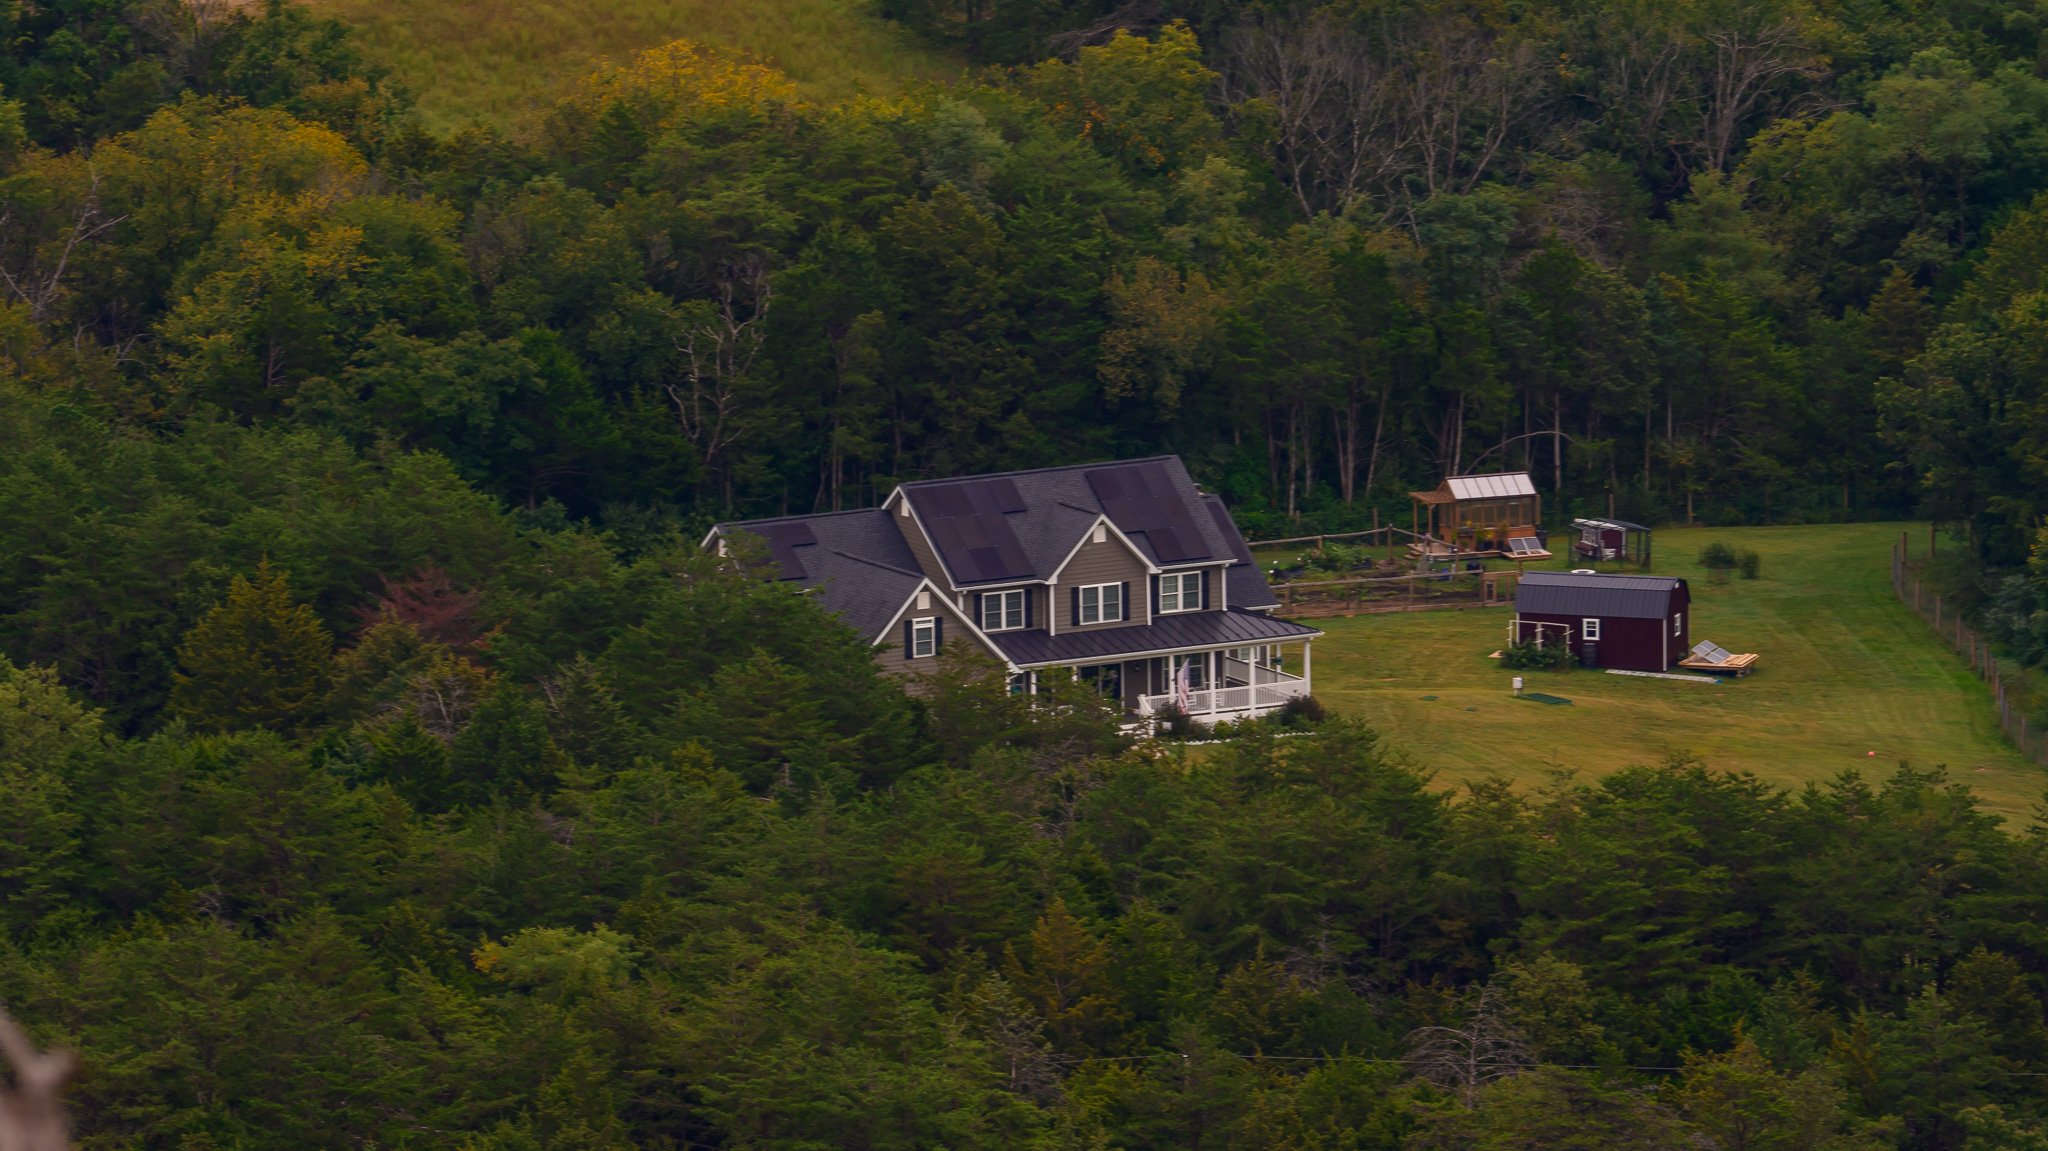
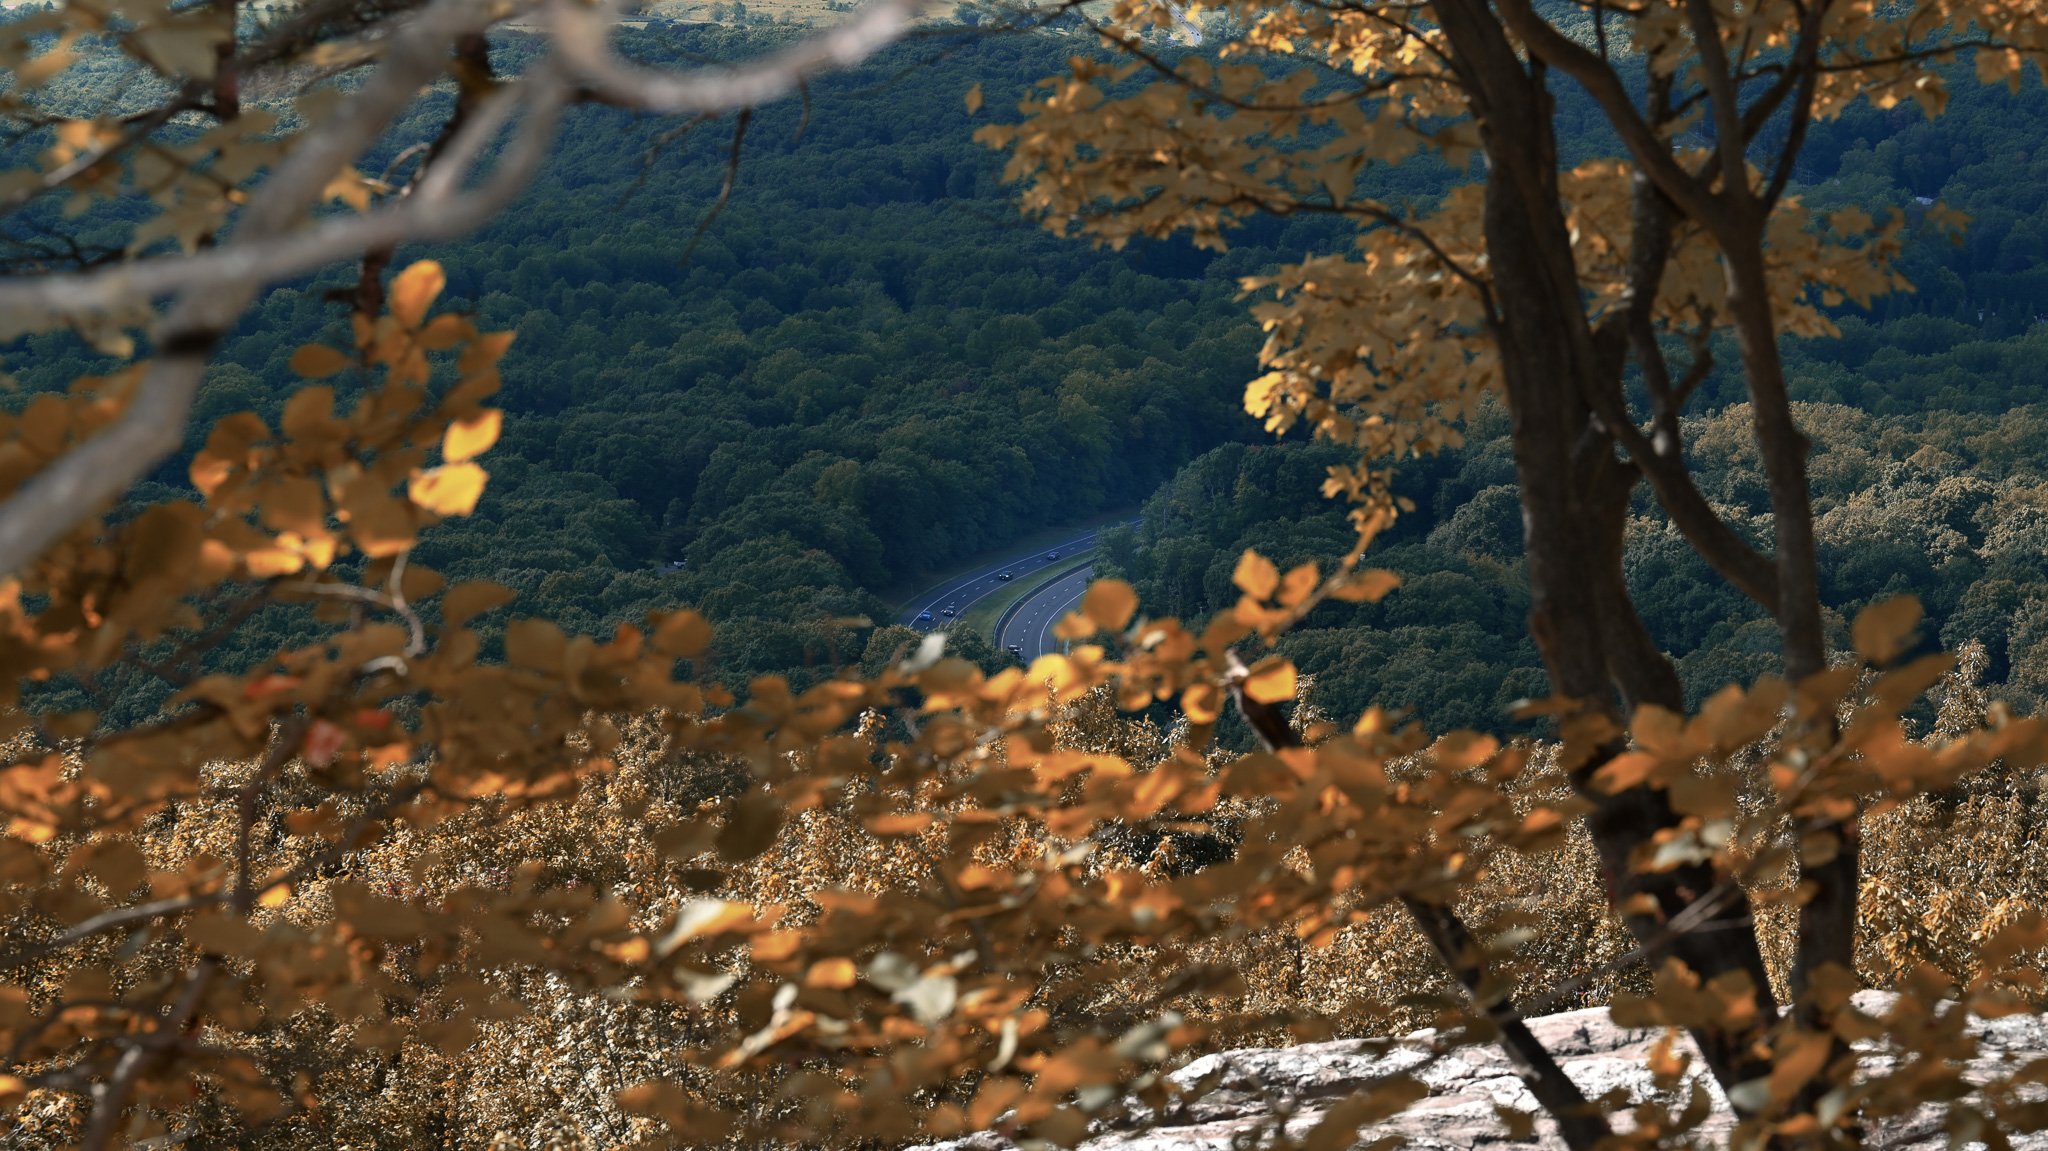
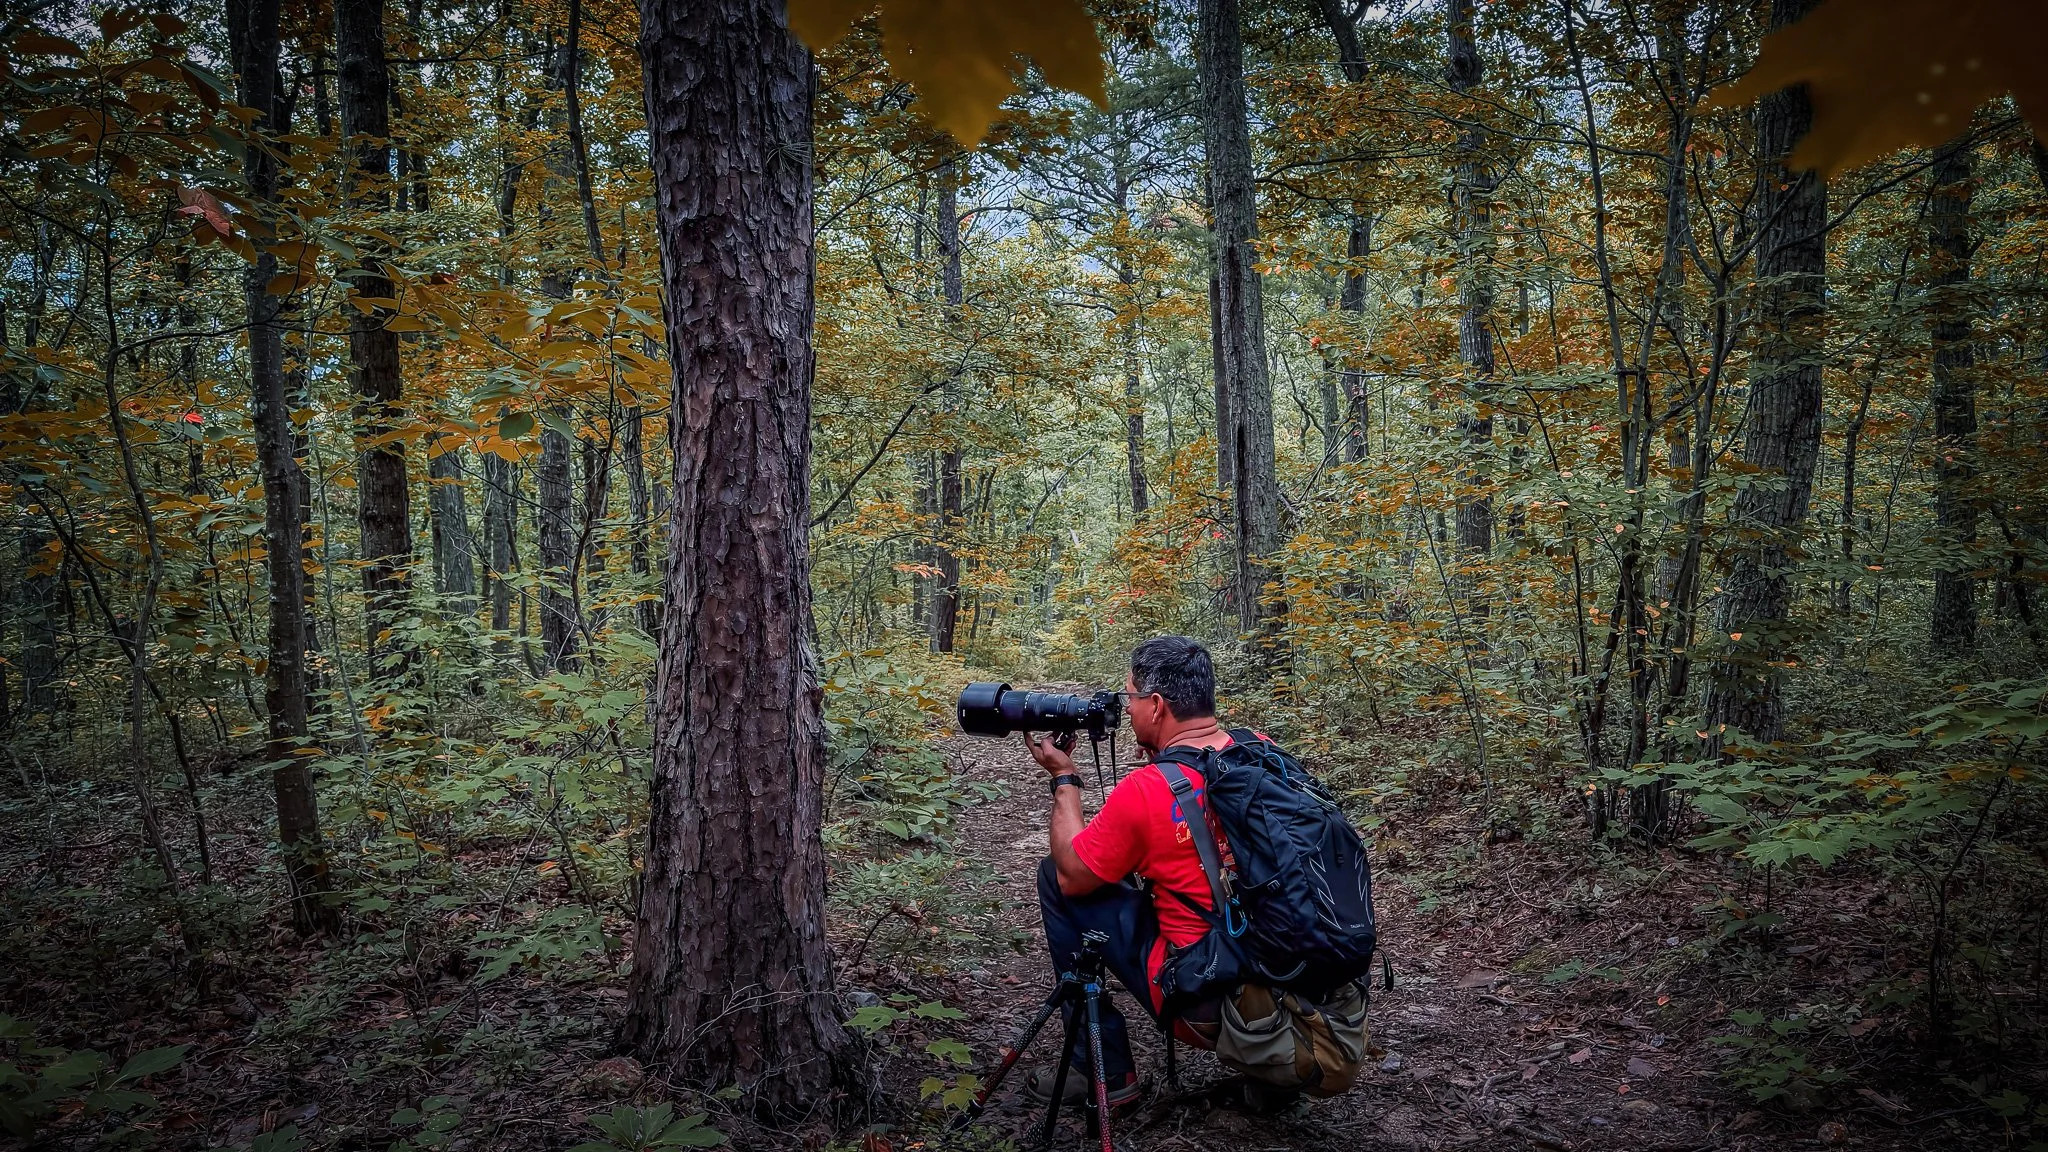
Compressed & Intimate: [Insert Shot 4: Telephoto shot isolating a single tree, fog bank, or wildlife] — Switching to a longer lens stripped away the familiar surroundings and made the scene look completely untamed.
3. Minimalist Gear, Maximum Focus
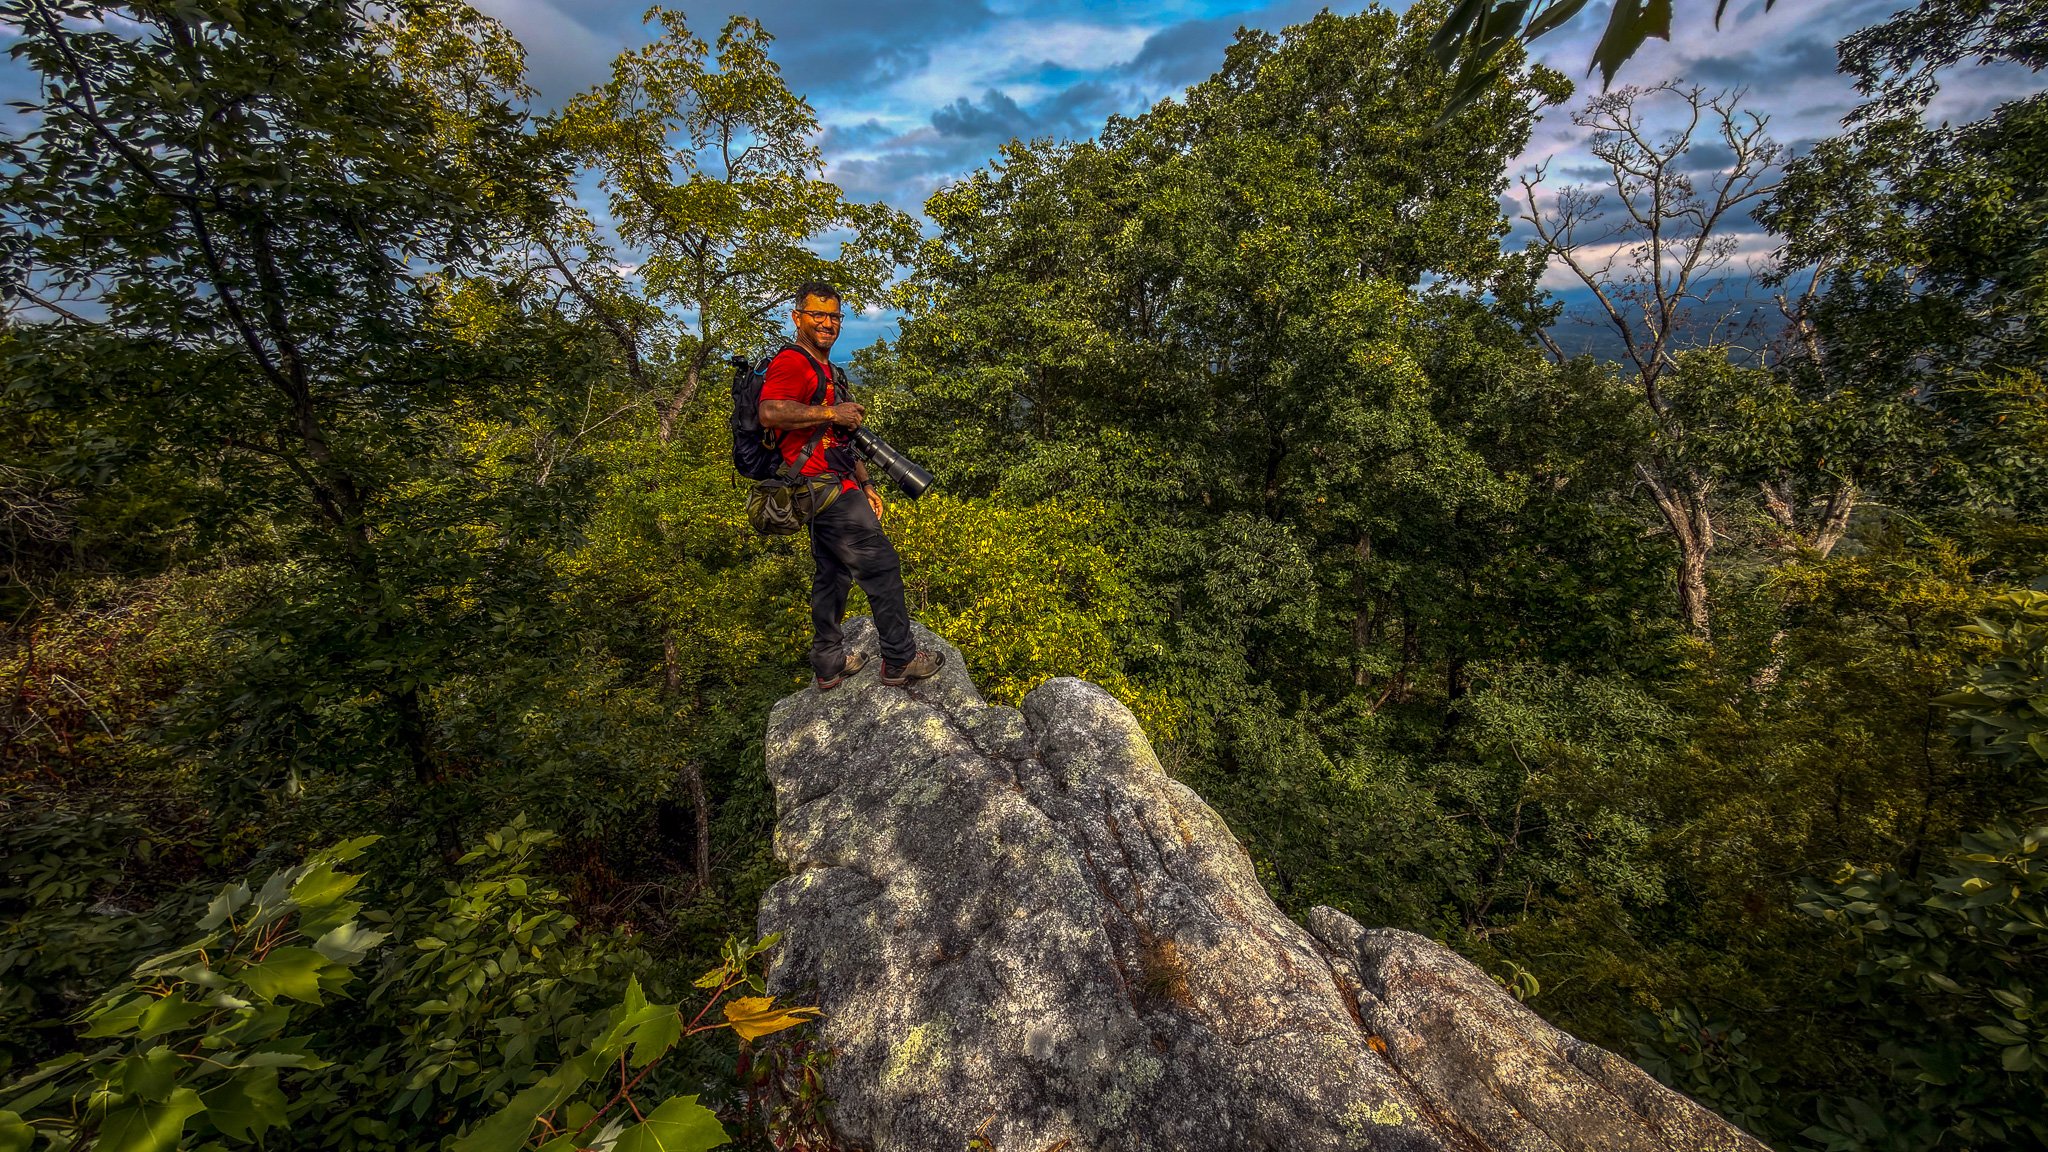
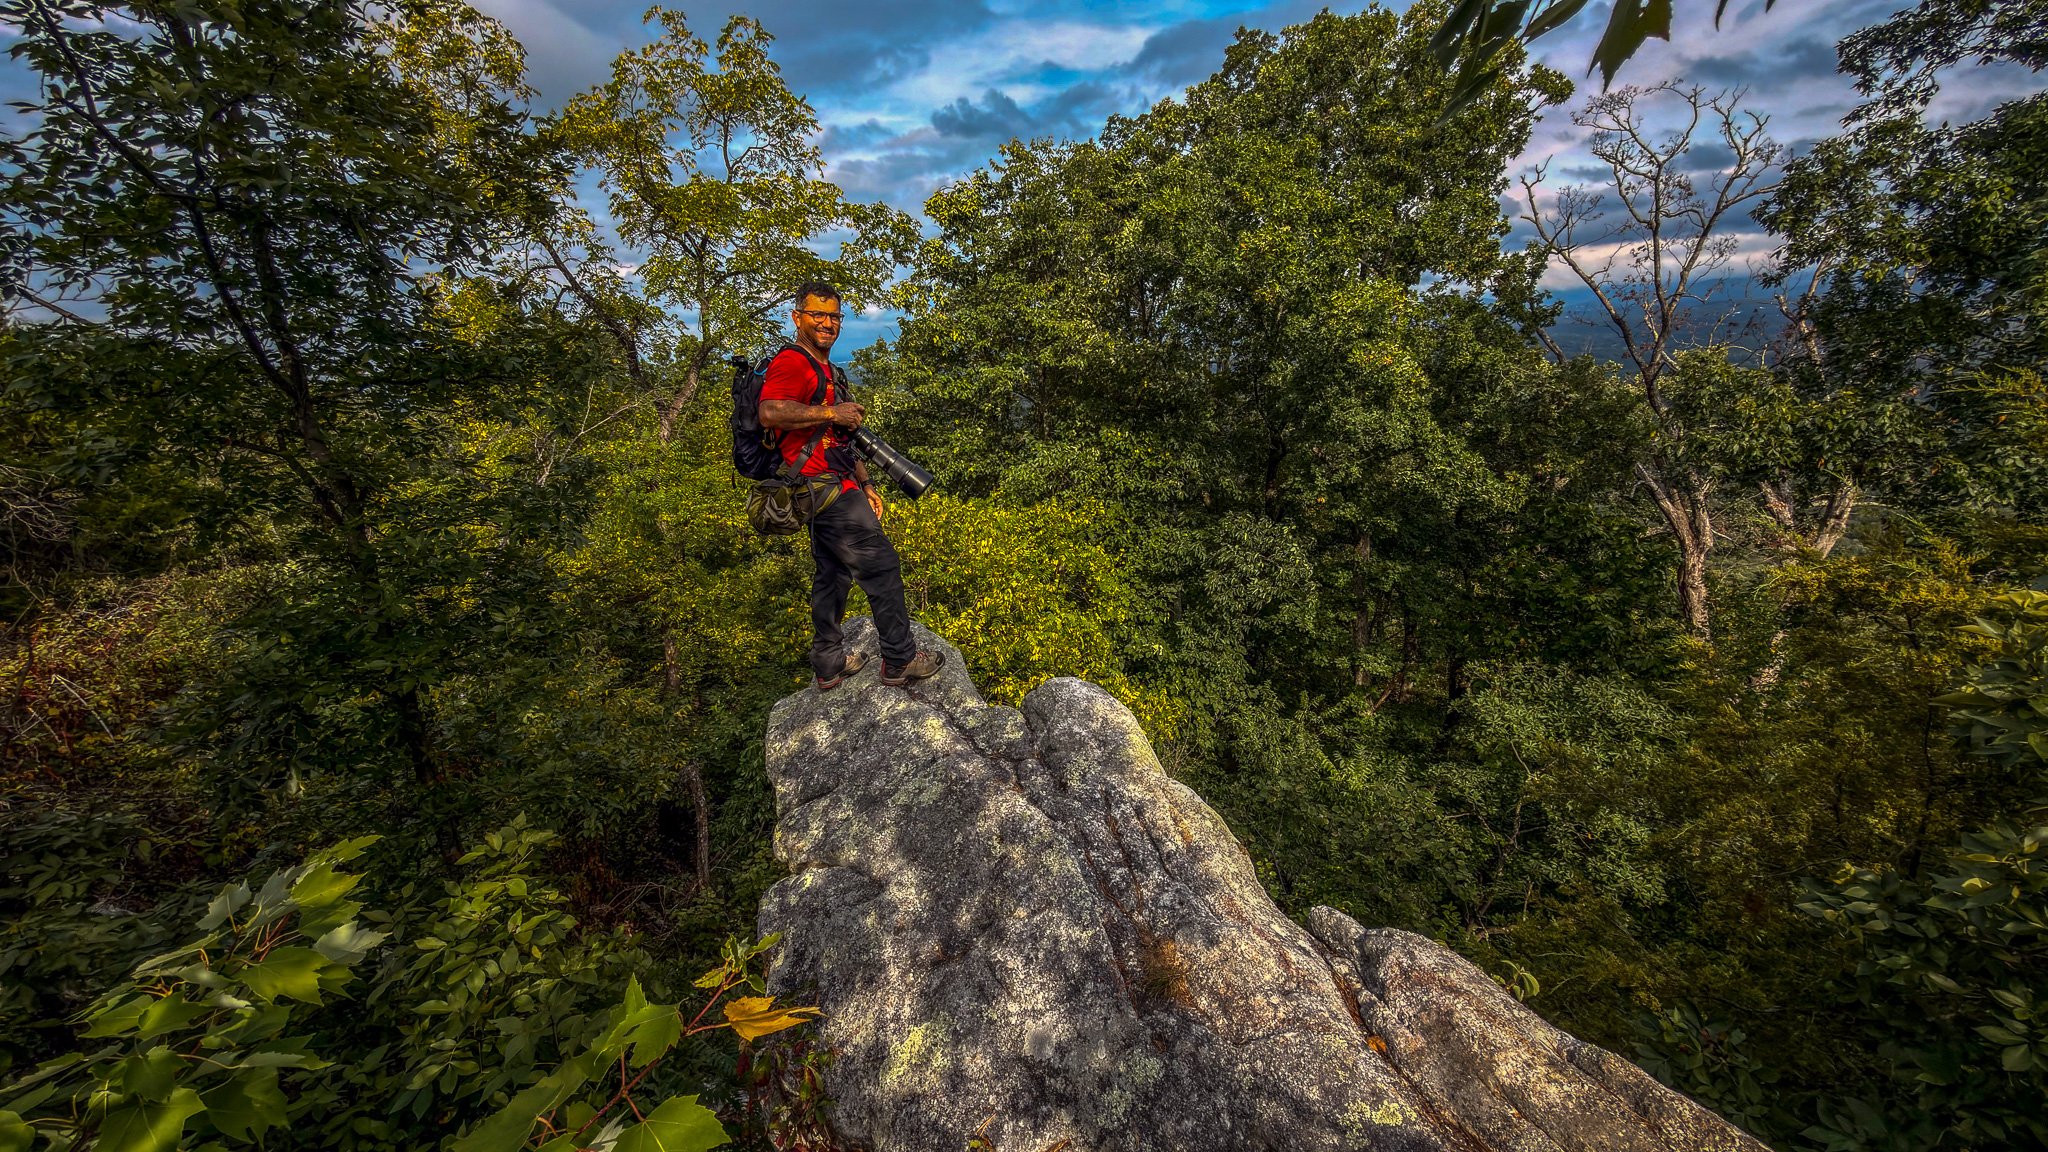
Because I wasn't packing for a multi-day trek, I didn't have to carry 40 pounds of gear. I brought one camera body, two lenses ([e.g., a 24-70mm and a 70-200mm]), a lightweight tripod, and a headlamp.
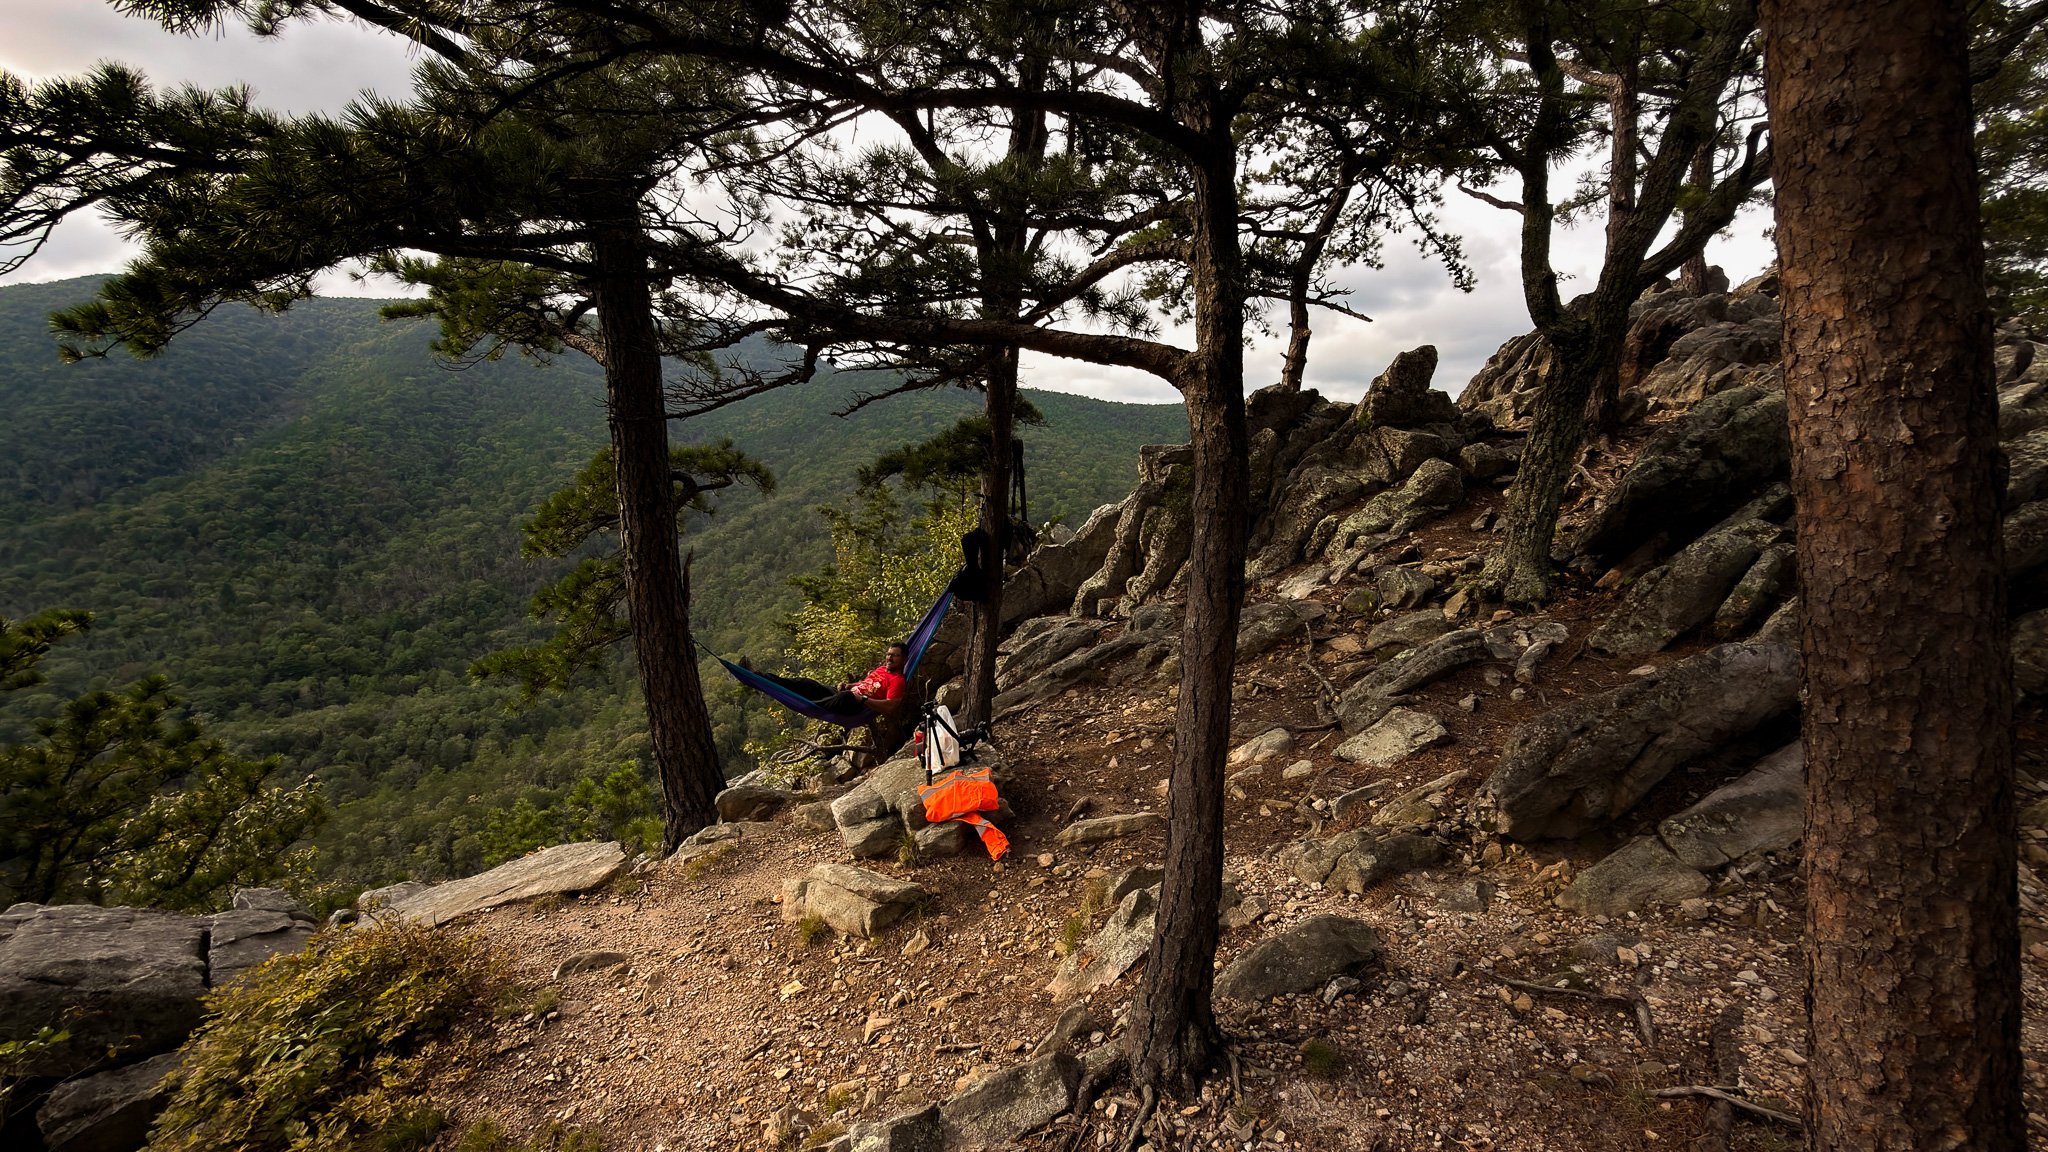
Without the stress of logistics, flight delays, or unfamiliar terrain, I was free to experiment, fail, reshoot, and actually enjoy the process of making photographs.
The Gear & Settings Behind the Shots
If you want to try a dawn mission on your own local trails this week, here is what was in my bag:
Camera: [Your Camera Model]
Lenses: [Your Lenses]
Tripod: [Your Tripod]
MVP Accessory: [e.g., A $15 headlamp with a red-light mode / microfiber cloths for morning dew]
Your Challenge This Week
You don’t need a massive budget or a stamped passport to build a portfolio you’re proud of. Pick one spot within 30 minutes of your house. Go there at an hour you’ve never been—whether that’s 4:30 AM for sunrise, during a heavy fog advisory, or right after a storm clears.
Where is your favorite hidden spot close to home? Drop it in the comments below—or tag me in your next backyard adventure!