Street Photography
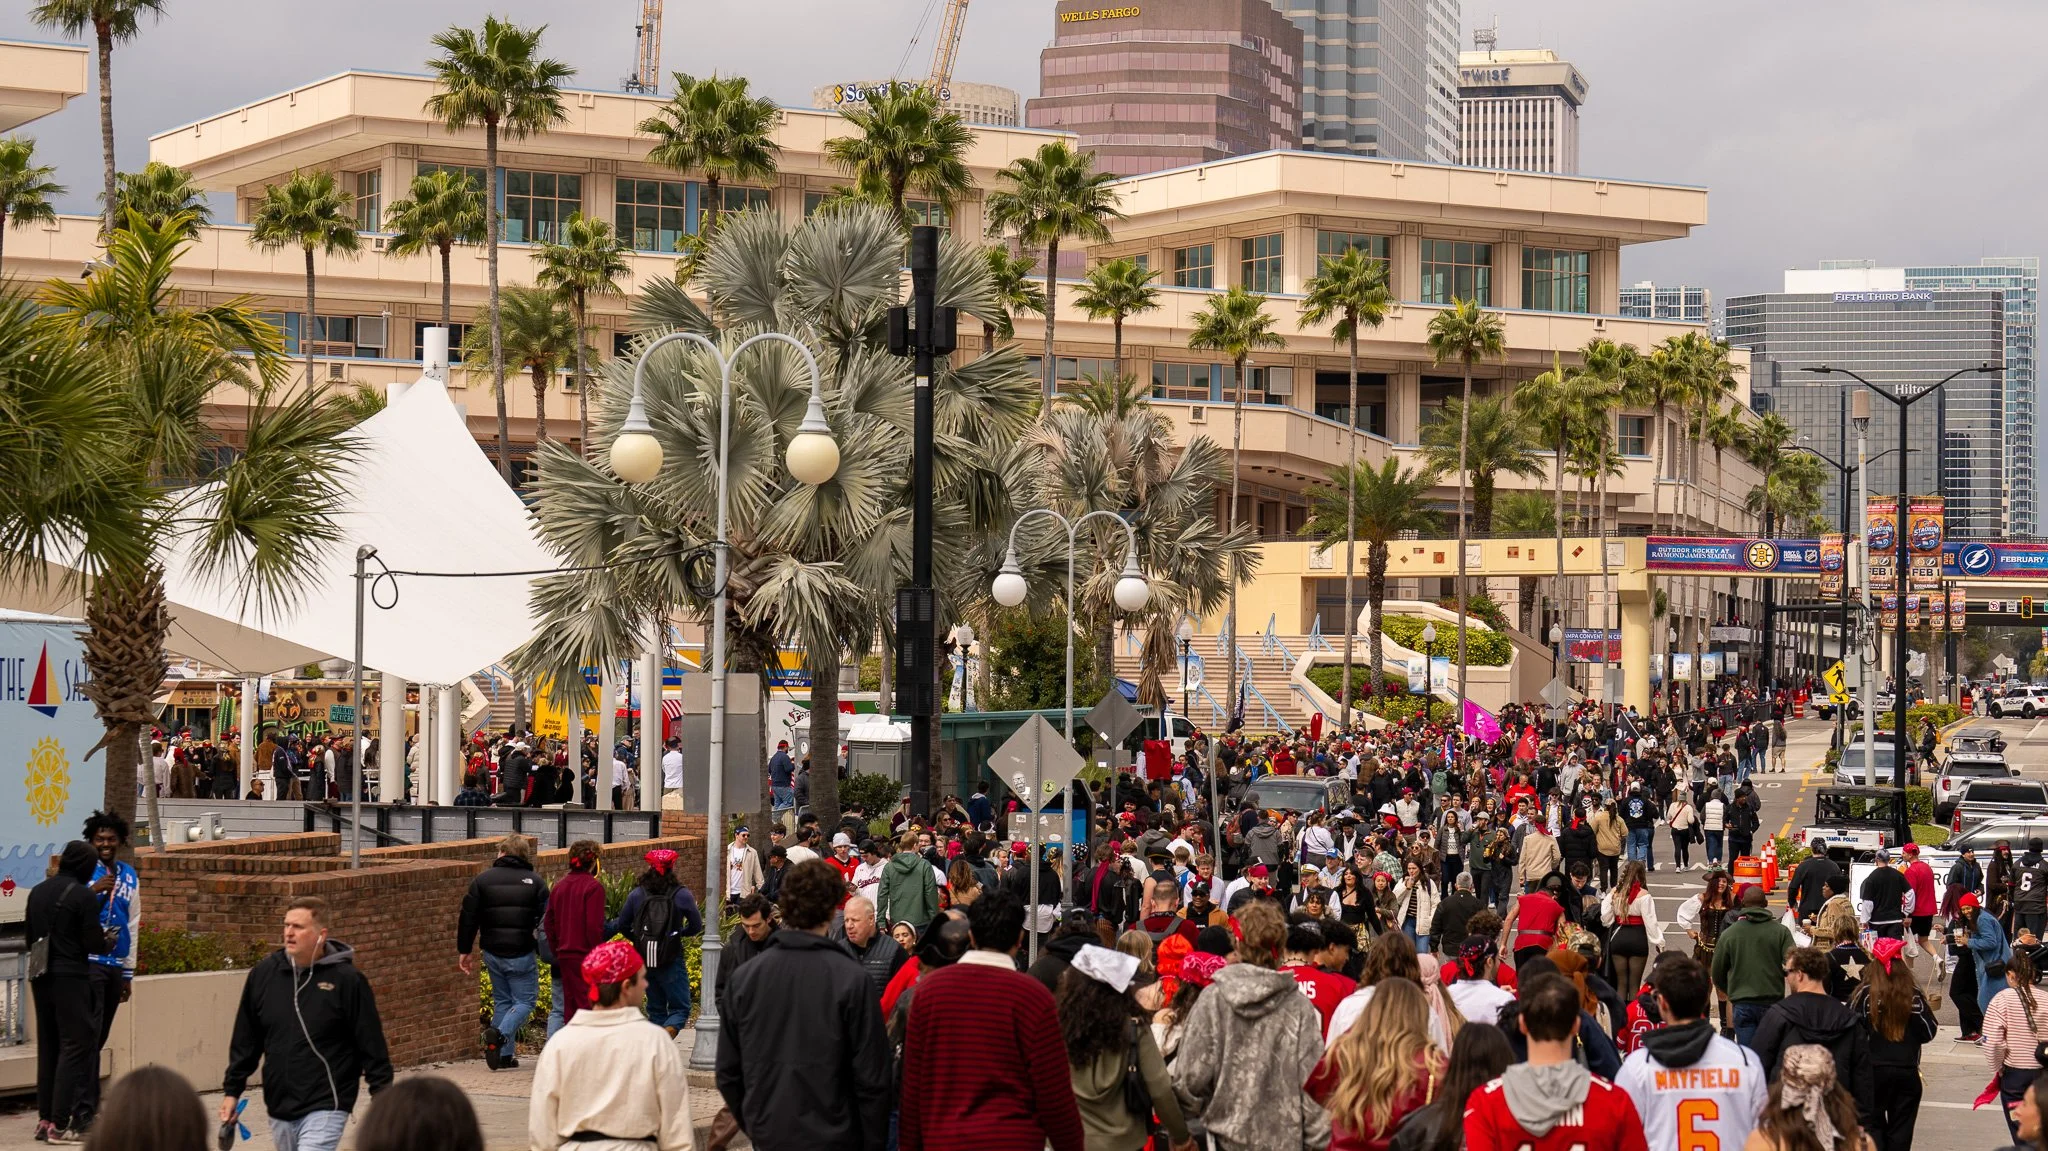
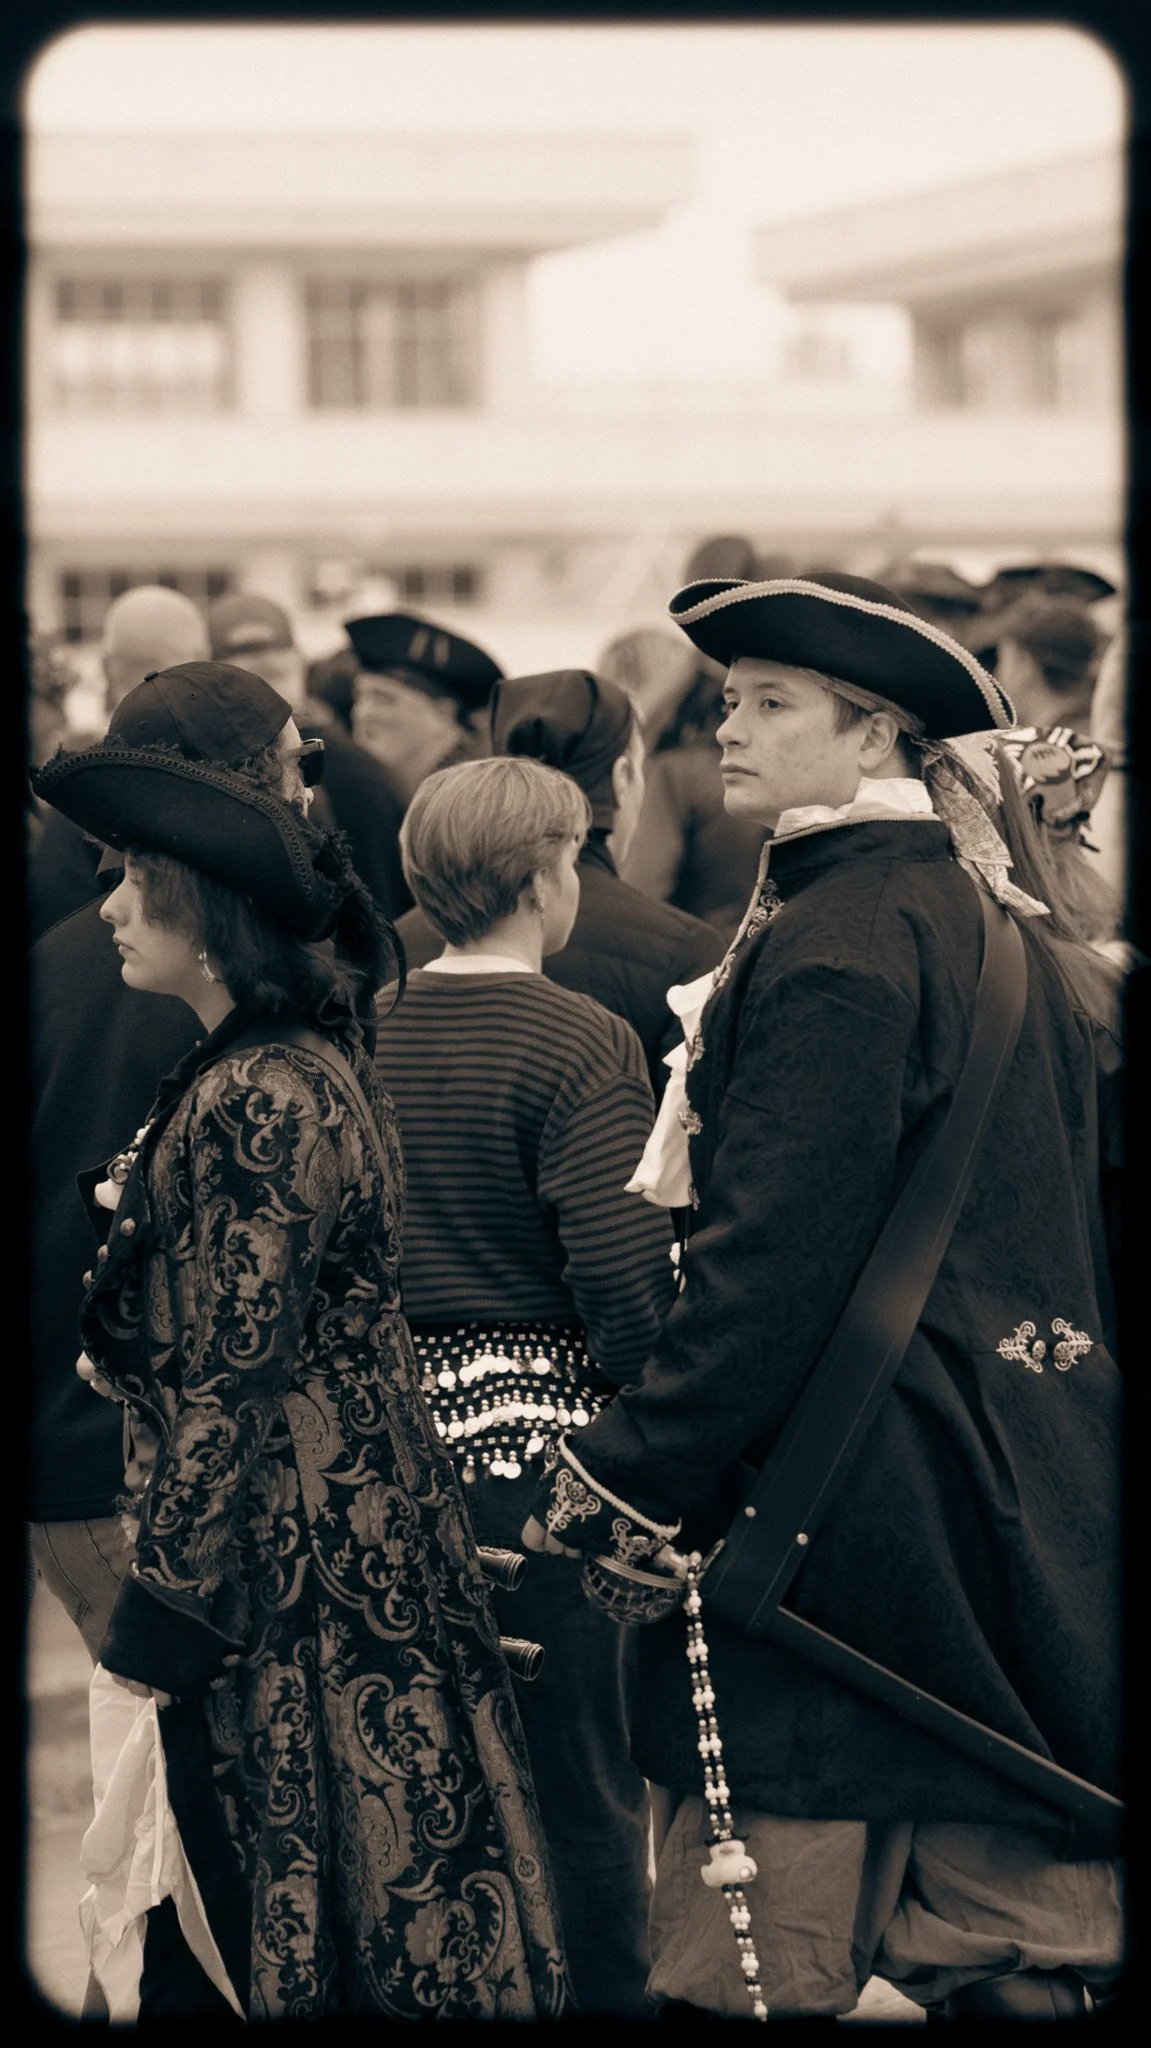
Street photography is a bold, unscripted pursuit that hunts for the decisive moment where life’s ordinary drama reveals its extraordinary shape; it’s about seeing the interplay of light, shadow, gesture, and context and compressing narrative into a single frame that feels both immediate and timeless. Practitioners move with curiosity and patience through public spaces, anticipating interactions, noticing juxtapositions, and embracing unpredictability—often sacrificing comfort for the raw authenticity of candid expression. Technical choices—lens, aperture, shutter speed—serve the story rather than dictate it, while respect for subjects and ethical awareness guide how images are made and shared. At its best, street photography holds up a mirror to society, exposing quiet humor, tension, resilience, and the small gestures that stitch everyday life together.
Photo Composition
Why composition matters Composition is the backbone of compelling imagery. It controls where the viewer’s eye lands, how they move through the frame, and what emotions the image evokes. Strong composition turns ordinary scenes into powerful stories.
Core composition principles
Rule of thirds
Divide the frame into a 3x3 grid. Place key subjects along the grid lines or at intersections to create balance and tension.
Use for landscapes, portraits, and street photography to avoid centering everything.
Leading lines
Use natural or architectural lines (roads, fences, beams, shadows) to guide the viewer’s gaze into the frame and toward your subject.
Lines can converge to create depth or direct attention to a focal point.
Framing
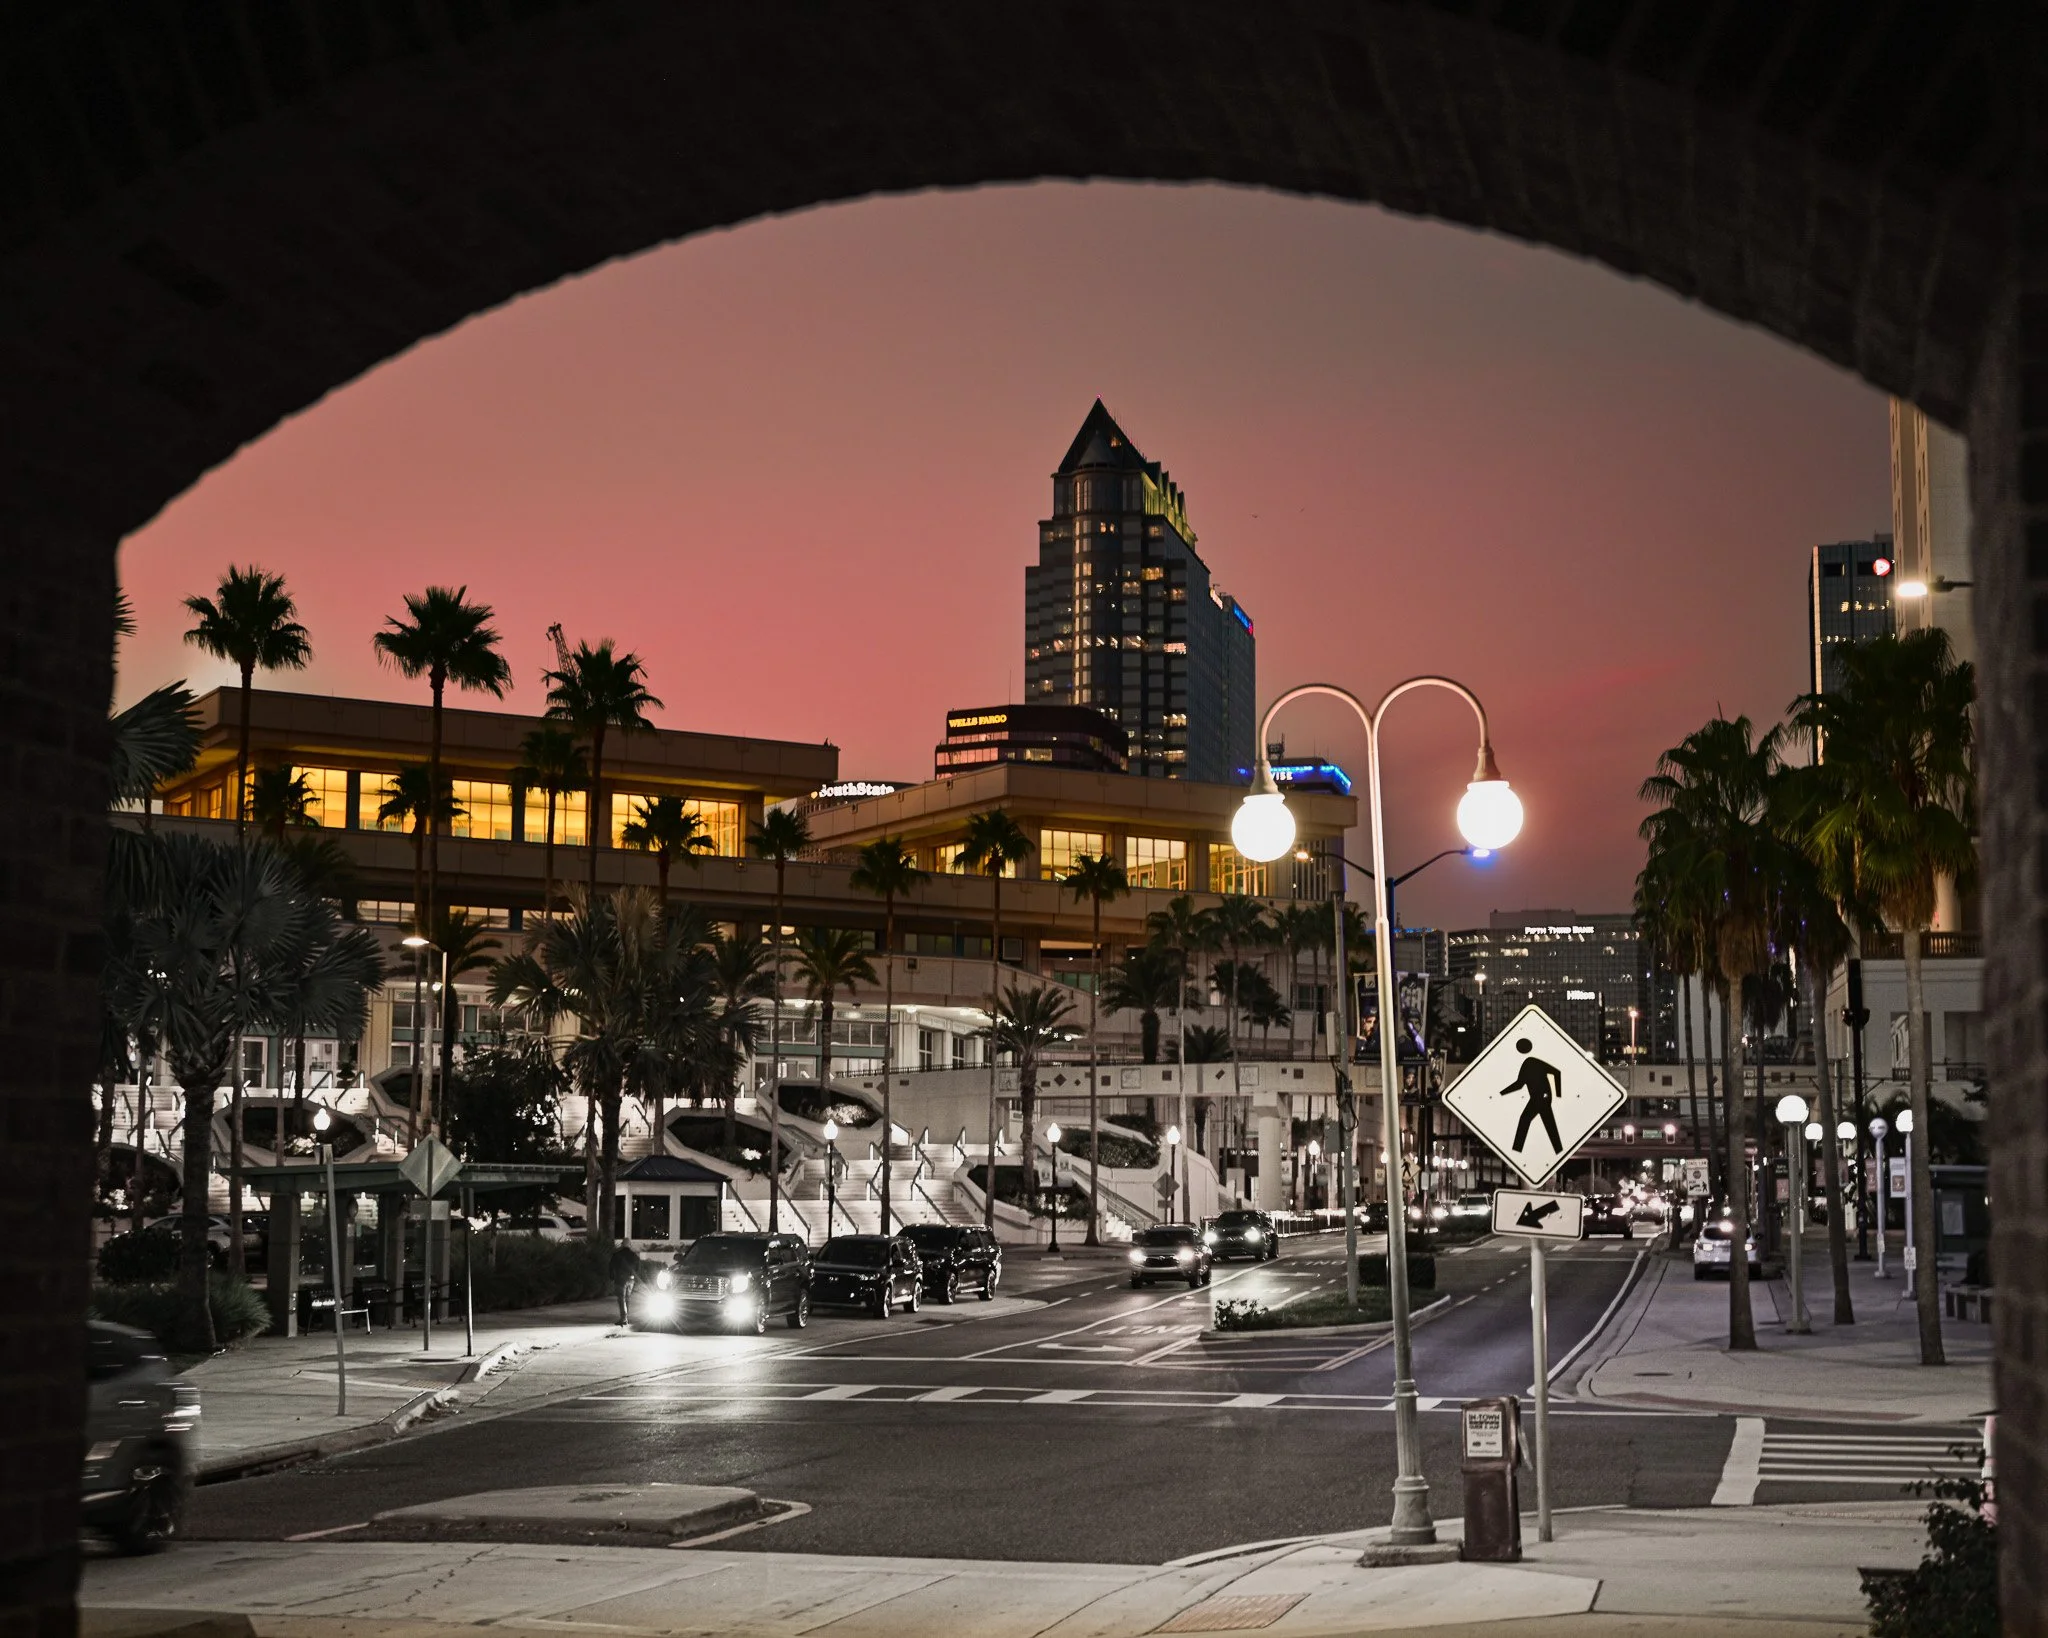
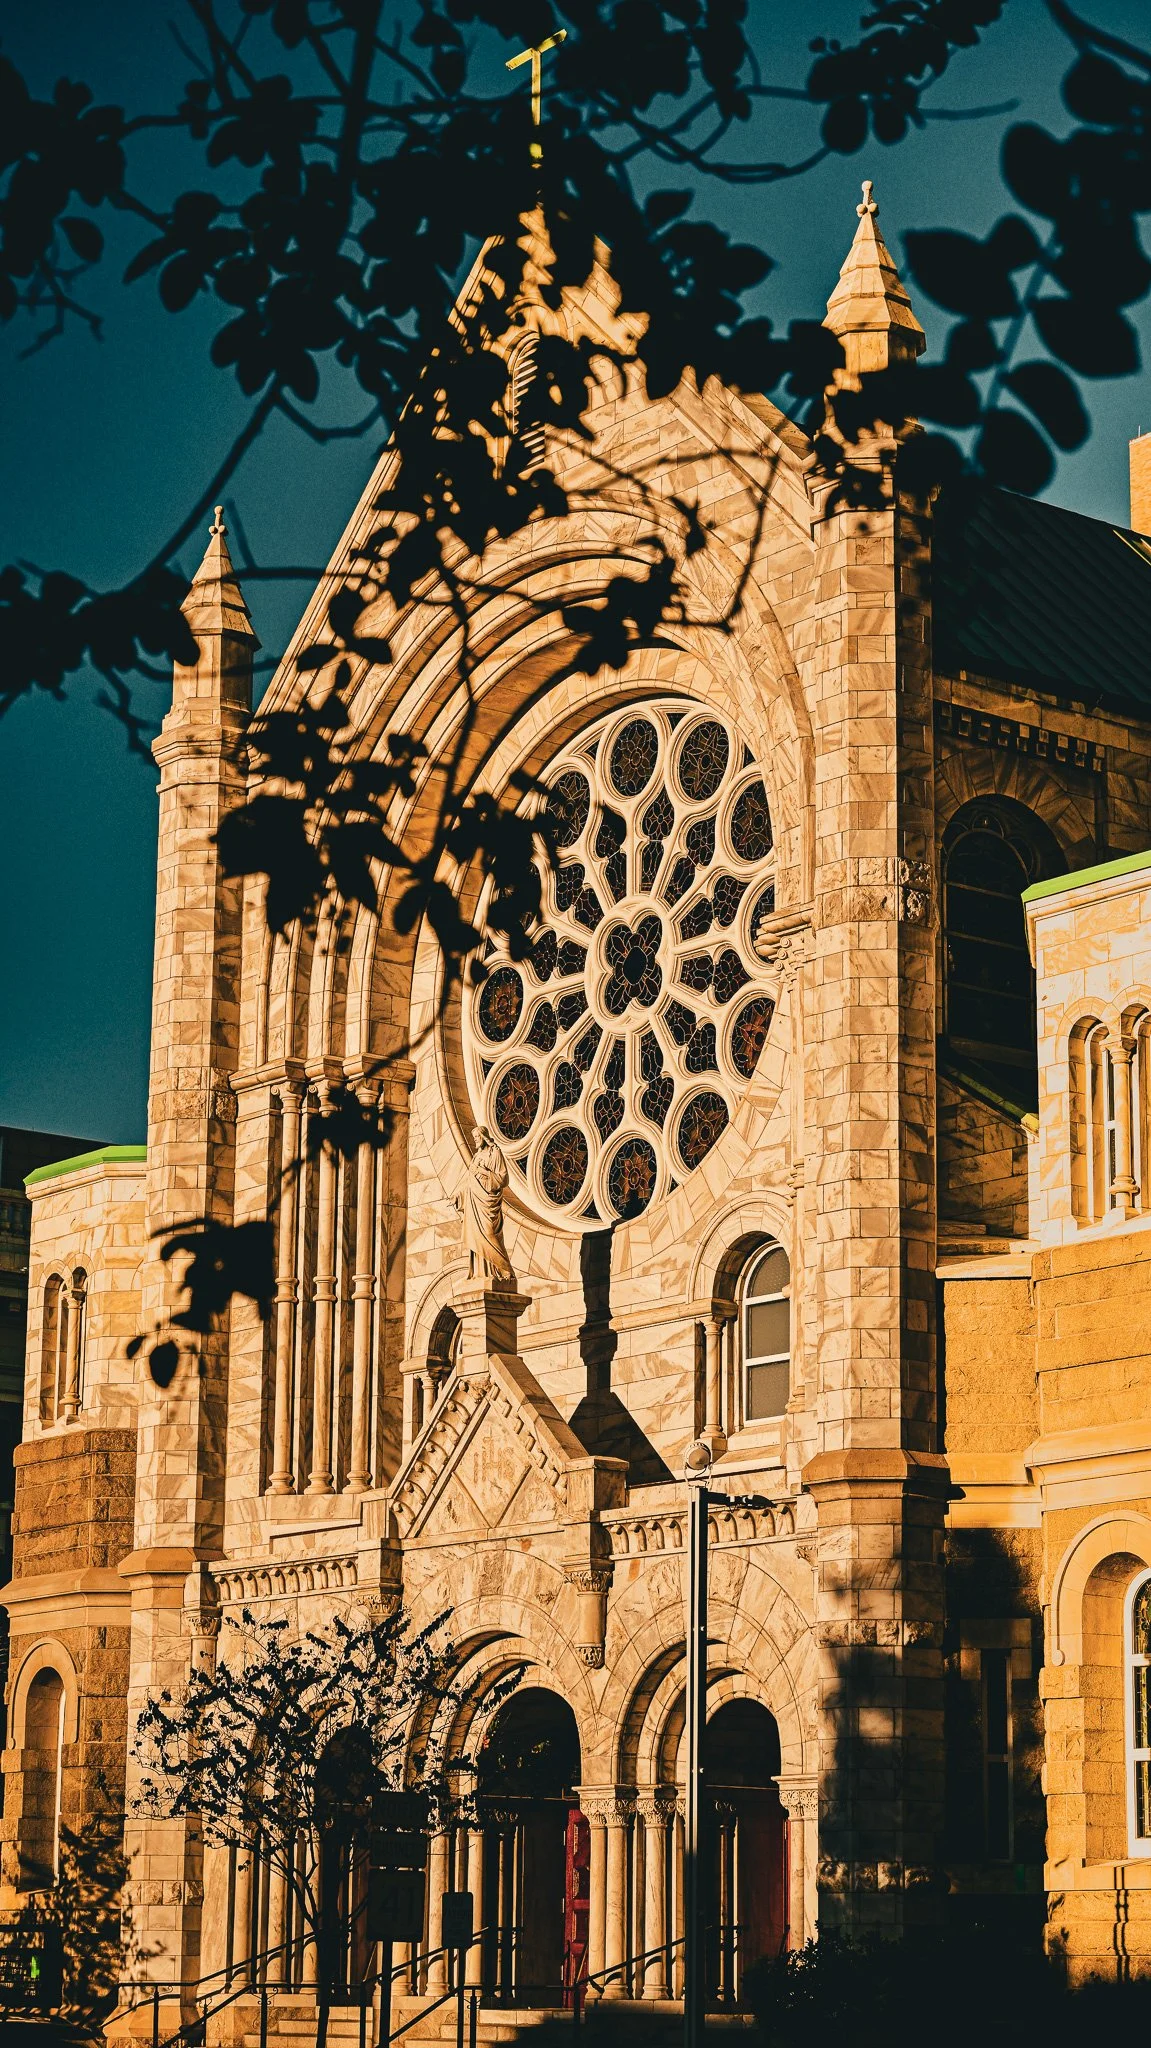
Use doorways, windows, archways, branches, or shadows to frame your subject. Framing isolates the subject and adds context and depth.
Frames within frames create layers and a sense of discovery.
Fill the frame
Get close or zoom in to remove distractions and emphasize texture, expression, or detail.
Useful for portraits and product shots; creates intimacy and impact.
Negative space
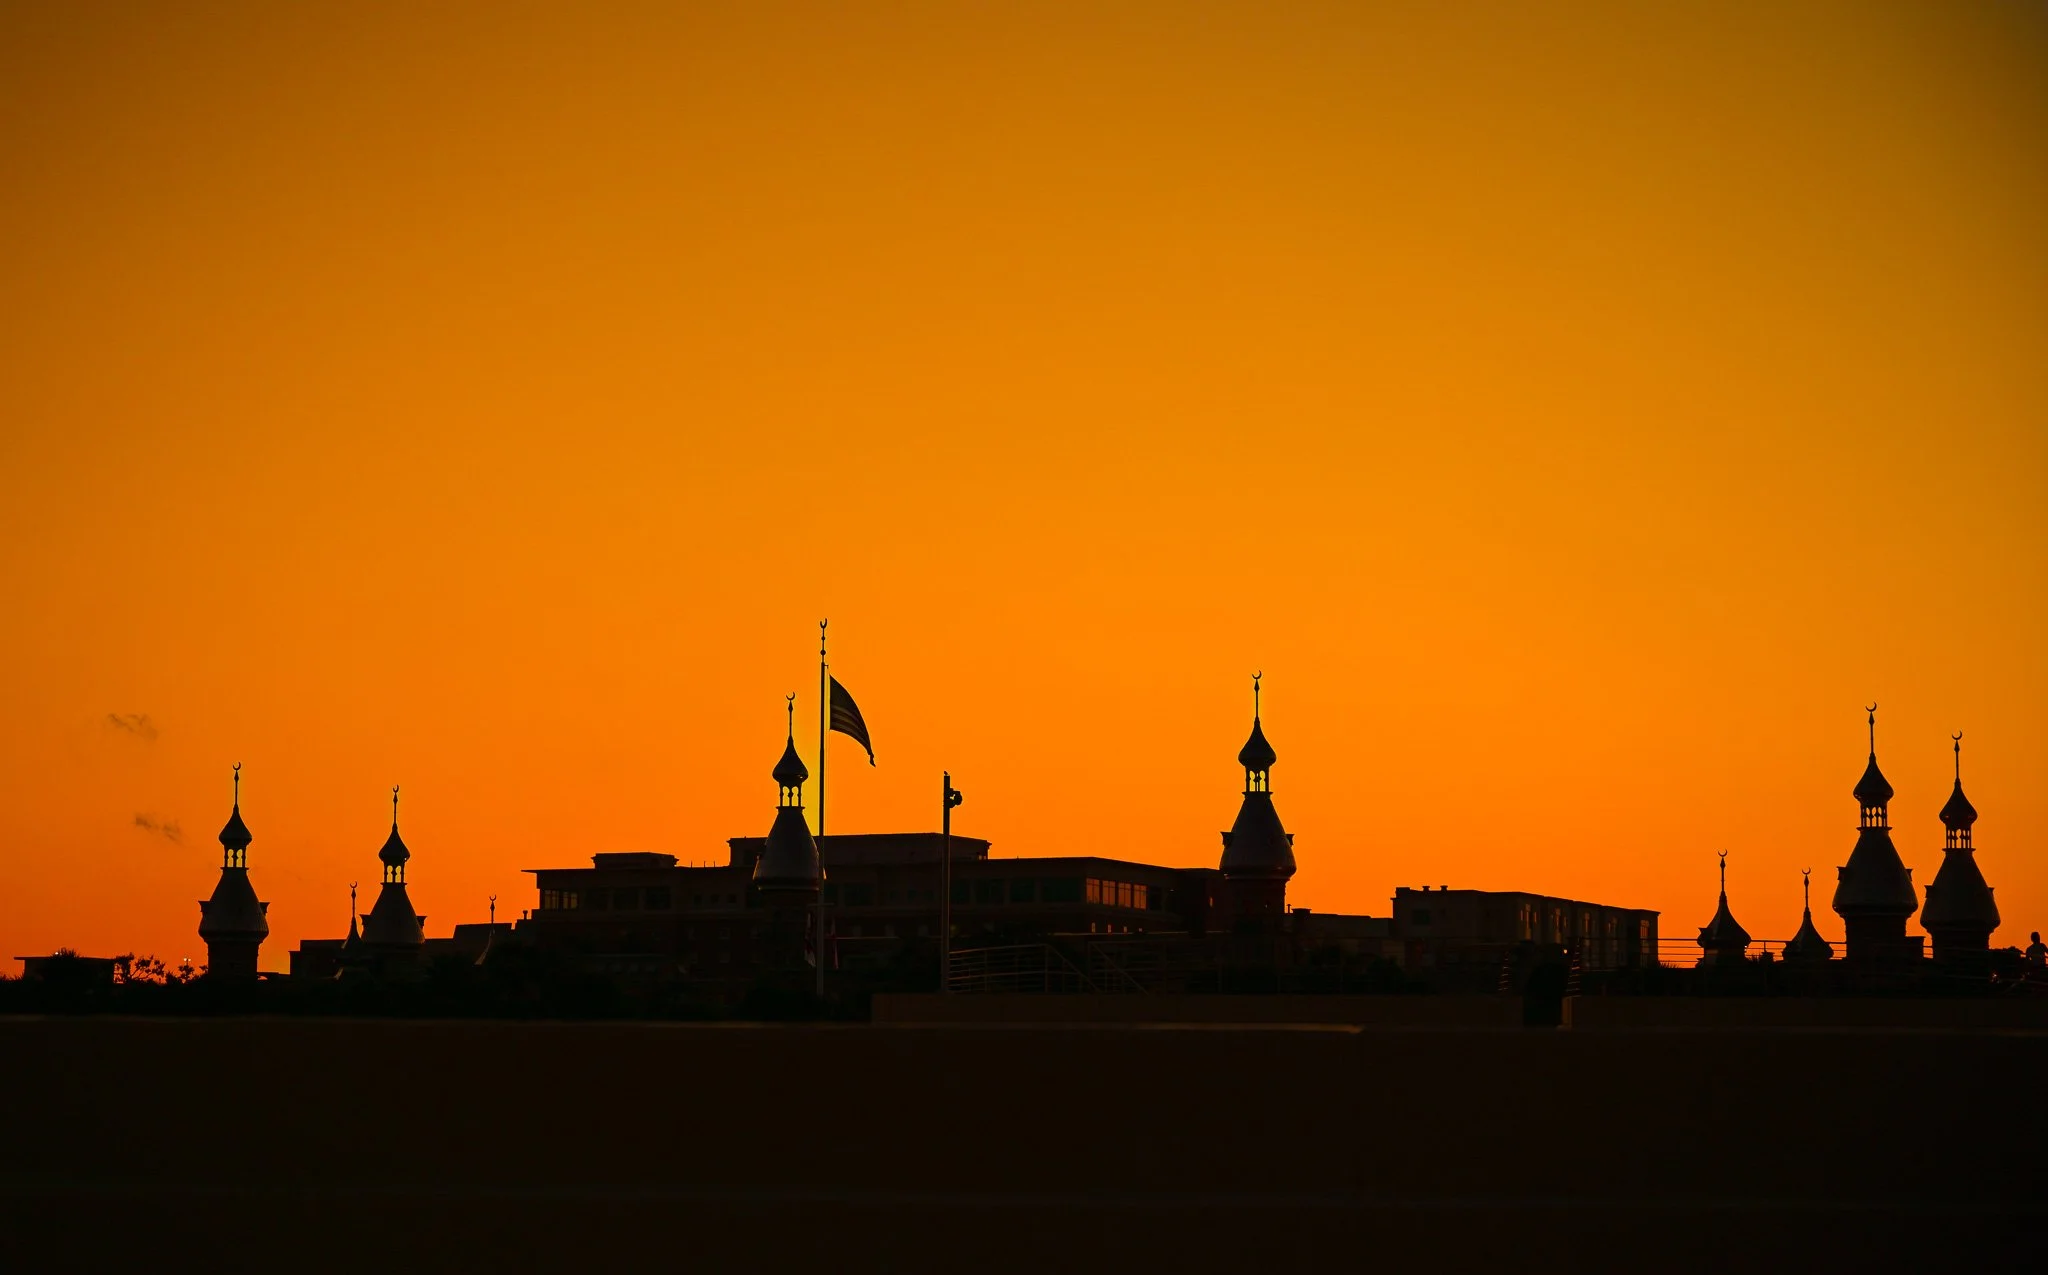
Intentionally leave empty space around your subject to convey isolation, scale, or simplicity.
Negative space balances busy elements and highlights the subject.
Symmetry and patterns
Symmetry creates a formal, stable feeling; patterns create rhythm. Use them deliberately for graphic, striking images.
Break symmetry or pattern with a single element to create a focal point and tension.
Balance
Visual weight comes from size, color, brightness, and texture. Distribute elements so the frame feels stable or intentionally off-balance for drama.
Counterbalance a small subject with a distant object or contrasting color.
Depth and layers
Include foreground, middle ground, and background elements to create three-dimensionality.
Use shallow depth of field to separate layers or deep focus to reveal detail throughout.
Perspective and angle
Change your position—low, high, tilted—to transform ordinary subjects into dynamic compositions.
Wide angles exaggerate space; telephoto compresses distance and isolates subjects.
Color and contrast
Use color relationships (complementary, analogous) to enhance mood and focal points.
Contrast (light/dark, sharp/soft) directs attention and sculpts form.
Practical tips for better composition
Pause and scan the scene before pressing the shutter. Move your feet; small shifts change everything.
Simplify: remove or crop distracting elements.
Shoot a variety: wide, medium, tight; high and low angles.
Use grids and level indicators in-camera to align horizons and maintain balance.
Mind the edges: nothing should appear to be “growing” out of a subject’s head or chop limbs awkwardly.
Break rules intentionally. Know them first, then bend or break them to make bold, original images.
Composition for different genres
Portraits: Place eyes on the top third, use shallow depth of field, and consider environmental elements for story.
Landscapes: Use foreground interest, leading lines, and layered depth; horizon on upper or lower third, not the middle.
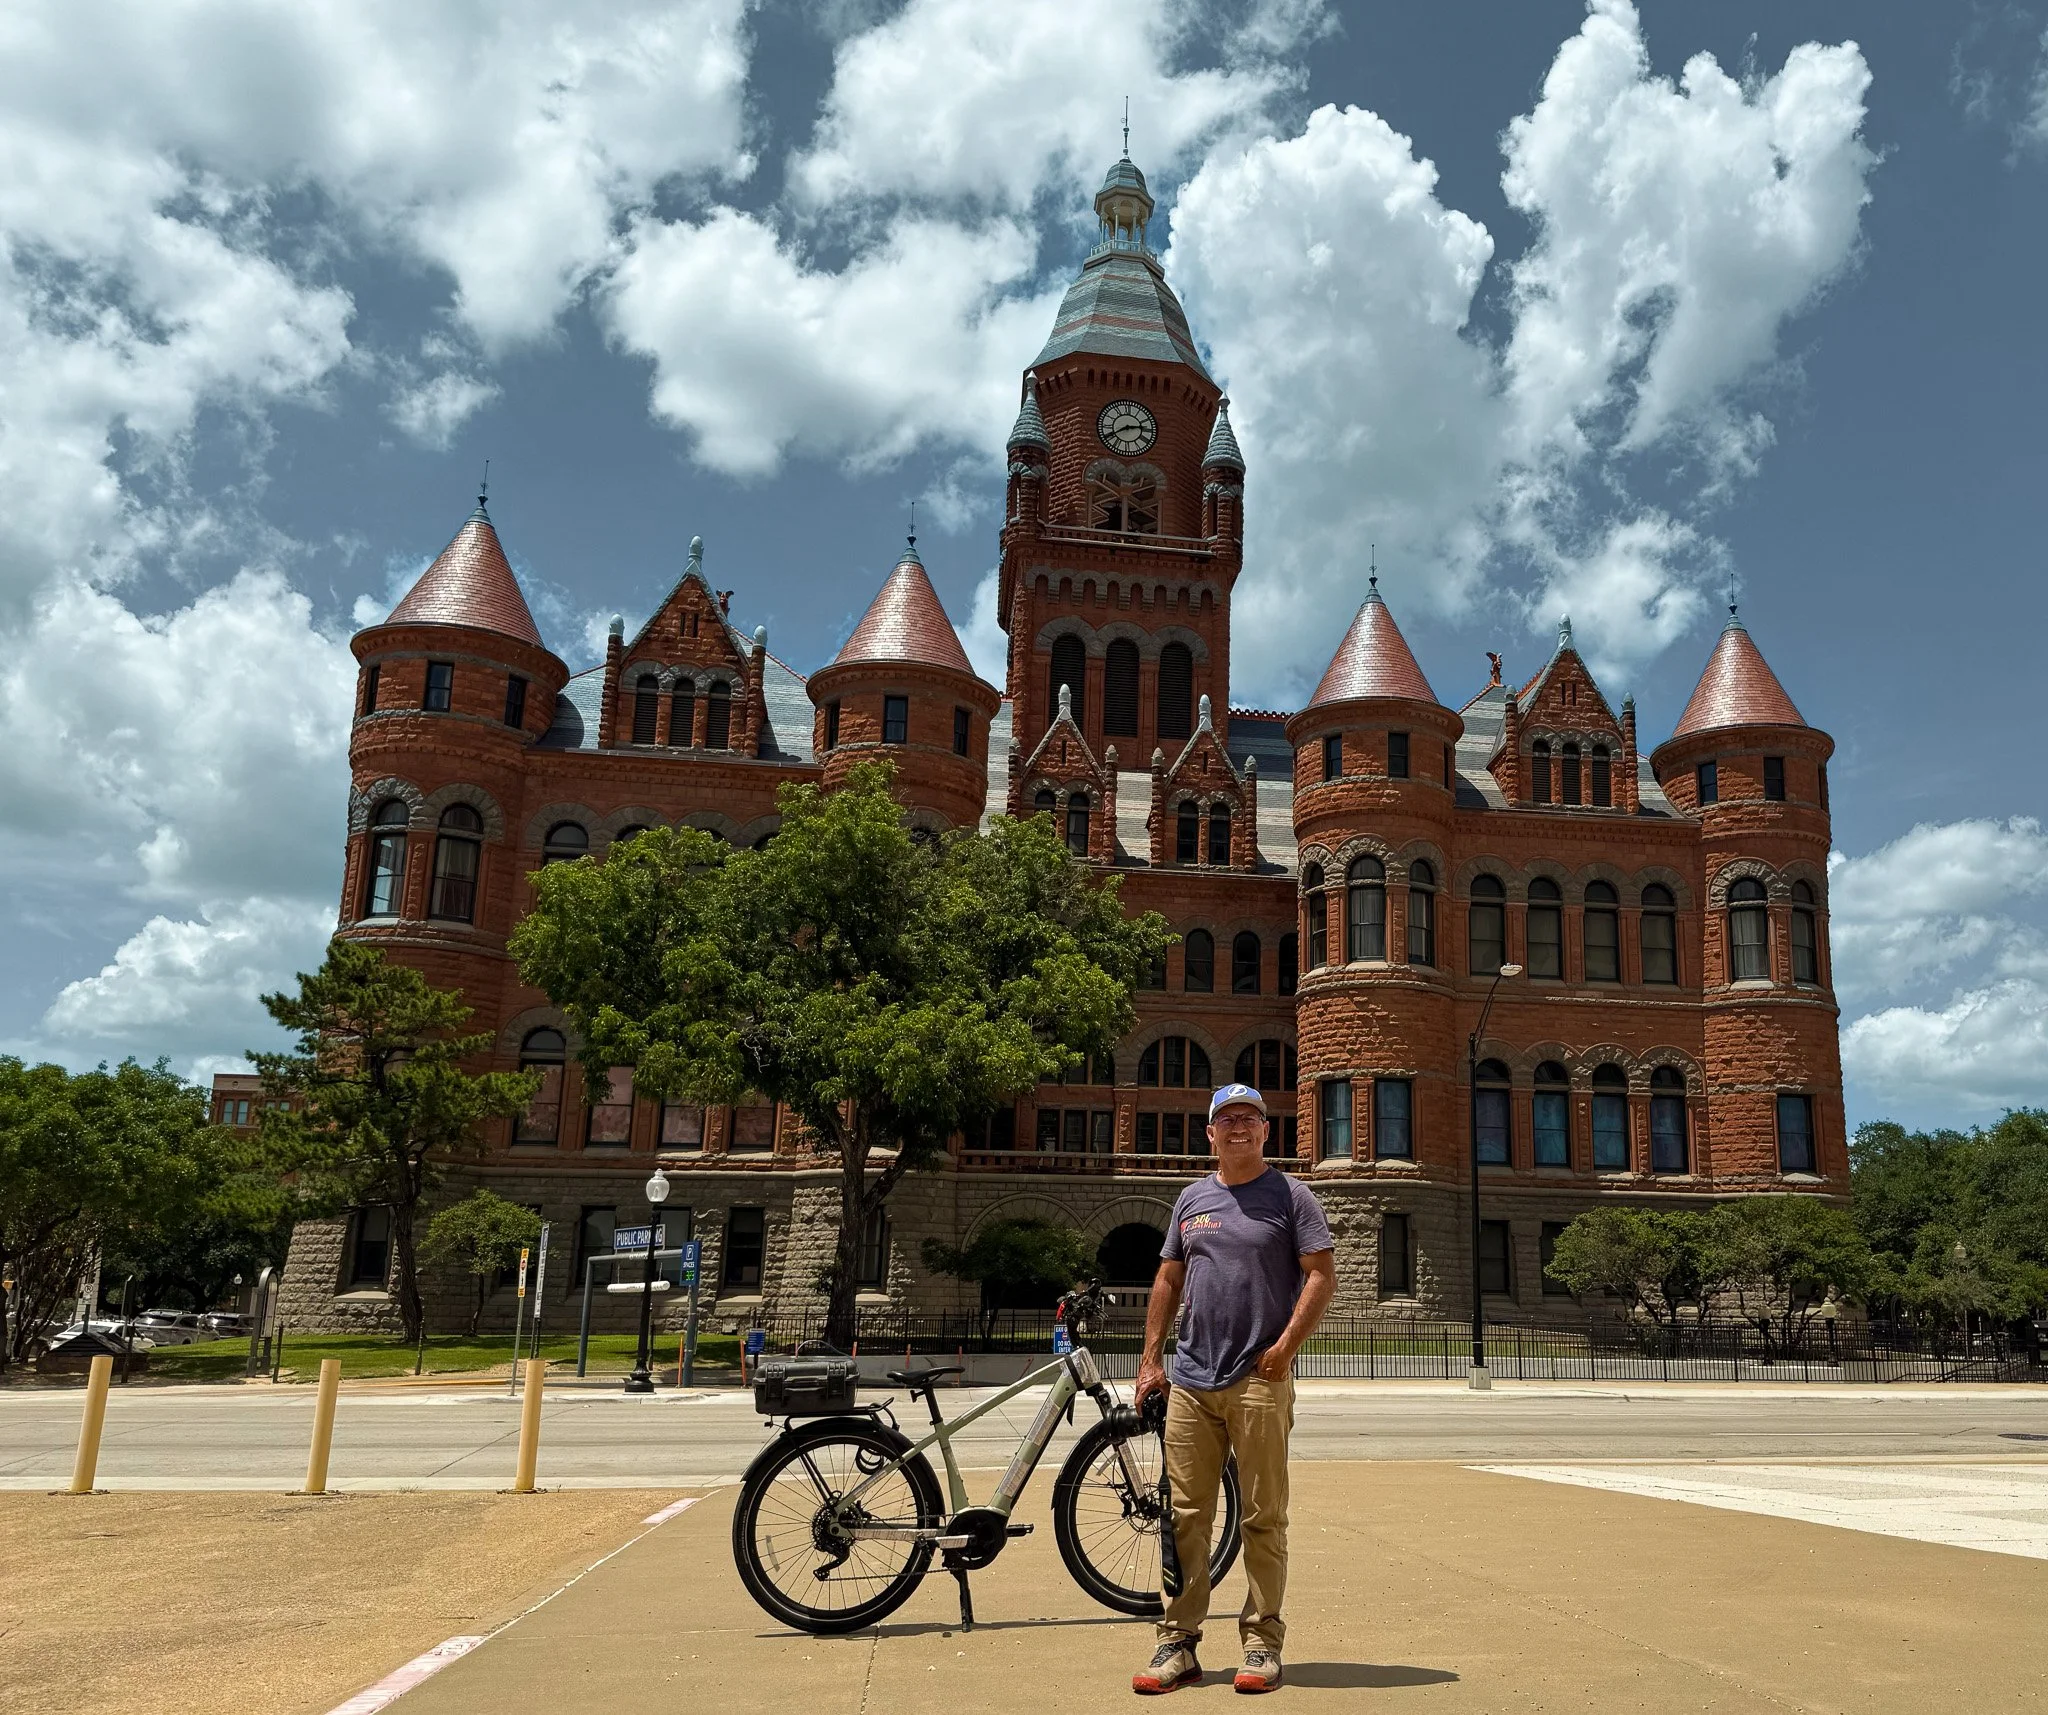
Street: Anticipate moments, use negative space and leading lines, and place subjects off-center for narrative tension.
Architecture: Emphasize lines, symmetry, and repetition; correct perspective distortion when needed.
Product: Clean backgrounds, fill the frame, and use lighting to define form and texture.
Creative exercises to practice
10-minute rule: Spend 10 minutes composing one subject in ten different ways.
Limited lens: Shoot an entire session with one focal length to force creative composition.
Frame within a frame: Find or create natural frames for every shot in a walk.
Color hunt: Compose five images that use a dominant color to guide the eye.
Final note Composition is an active decision, not an accident. Make bold choices—move, crop, simplify, and frame with intent. The strongest photographs are the ones where every element earns its place in the frame.

Dining photography:
Tips to make your restaurant food photos look mouthwatering
Use natural light when possible
Shoot near a large window or open door. Soft side light adds texture and depth.
Avoid harsh midday sun; diffuse it with a thin curtain or a white reflector.
Mind the composition
Shoot from three main angles: overhead (for flat lays and table spreads), 45° (for most plated dishes), and eye level (for burgers, stacked items, and drinks).
Keep the focal point off-center using the rule of thirds.
Leave negative space for text or menus if images will be used in ads or social posts.
Style deliberately
Keep props simple and coherent: consistent plates, linens, and cutlery that match your brand.
Add garnishes that signal freshness (herbs, microgreens, a sprinkle of salt) but avoid over-cluttering.
Show a human element occasionally: hands reaching, a fork cutting in, pouring sauces — these increase appetite appeal.
Pay attention to color and contrast
Use complementary backgrounds to make food colors pop (dark wood or slate for bright dishes, light surfaces for darker foods).
Balance warm and cool tones — a warm-toned dish benefits from a cooler backdrop and vice versa.
Focus and depth of field
Use shallow depth of field to isolate the dish (wide aperture like f/1.8–f/4) for a creamy background blur.
For group shots or platters, increase depth of field (f/5.6–f/11) to keep more items in focus.
Capture texture and steam
Emphasize texture by angling light to create small shadows.
Capture steam or gloss to communicate warmth and freshness — shoot quickly and use a colder environment to make steam visible.
Edit to enhance, not overcook
Adjust exposure, contrast, white balance, and saturation subtly.
Remove distractions but preserve natural textures. Avoid heavy filters that make food look unrealistic.
Plan for use cases
Crop for different platforms: square for Instagram, vertical for Stories/Reels, horizontal for websites.
Shoot extra negative space for overlays and promotion text.
Quick checklist before shooting
Plate is clean and garnished
Lighting consistent across shots
Props match brand aesthetic
Multiple angles captured
High-resolution files backed up
Need help shooting a menu, social content, or a campaign? I can create a shot list and moodboard tailored to your cuisine and brand.